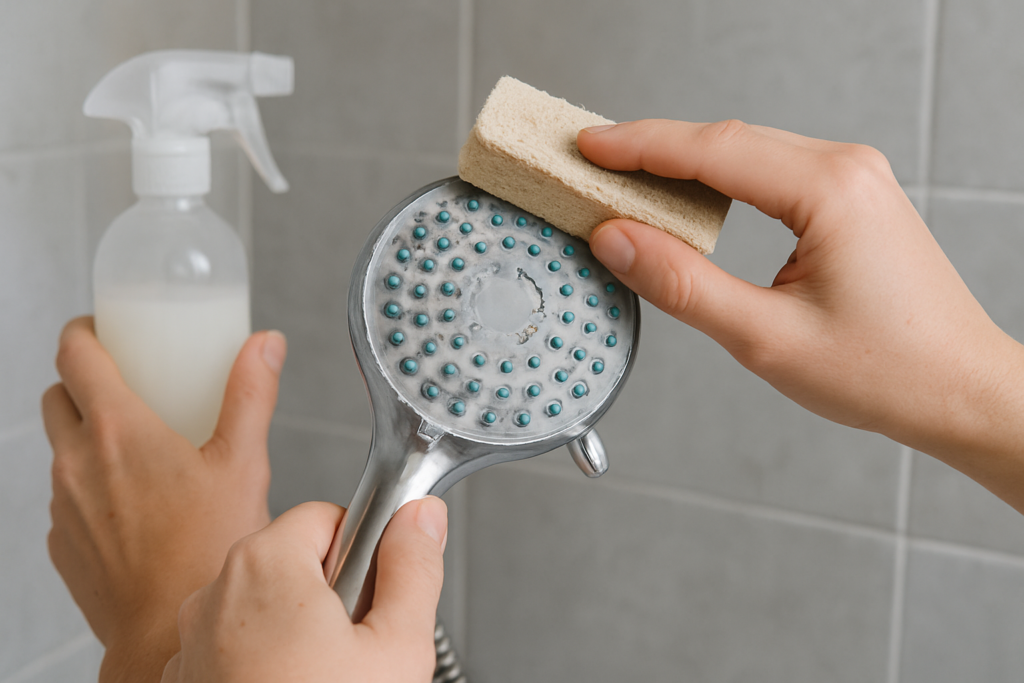
Your shower head once delivered a perfect, invigorating spray, but lately it feels more like a weak drizzle with water shooting in odd directions. Those white, chalky deposits clogging the spray holes aren’t just an eyesore – they’re mineral buildup that can completely ruin your shower experience.
The good news is you don’t need harsh chemicals or expensive cleaners to restore your shower head to like-new condition. With a few common household items and some simple techniques, you can eliminate mineral buildup naturally and effectively.
The Vinegar Bag Method: Your Go-To Solution
This method works for most shower heads without requiring removal. You’ll need white vinegar, a plastic bag large enough to cover the shower head, and a rubber band or zip tie.
Fill the plastic bag with enough white vinegar to completely submerge the shower head’s spray face. Carefully slip the bag over the shower head and secure it tightly with the rubber band, ensuring the shower head is fully immersed in vinegar.
Let it soak for 4-8 hours, or overnight for heavily clogged heads. The acetic acid in vinegar naturally dissolves calcium and lime deposits without damaging most shower head finishes.
Remove the bag and run hot water through the shower head for several minutes. Use an old toothbrush to gently scrub away any remaining deposits from the spray holes. For stubborn buildup, use a toothpick to carefully clear individual holes.
CLR Calcium Lime Rust Remover
For extremely stubborn mineral buildup that vinegar can’t handle alone
Alternative Natural Cleaning Methods
Baking soda paste works exceptionally well for surface mineral buildup. Mix three parts baking soda with one part water to create a thick paste. Apply it to the shower head surface and let it sit for 30 minutes before scrubbing with a soft brush.
Lemon juice provides citric acid that breaks down minerals effectively. Cut a fresh lemon in half and rub it directly on mineral deposits, or soak the shower head in fresh lemon juice for an hour. The natural oils also leave a fresh scent.
For a powerful combination, alternate between vinegar soaks and baking soda scrubs. The acid-base reaction helps break down tough deposits that single methods might miss.
Cleaning Different Types of Shower Heads
Fixed Shower Heads
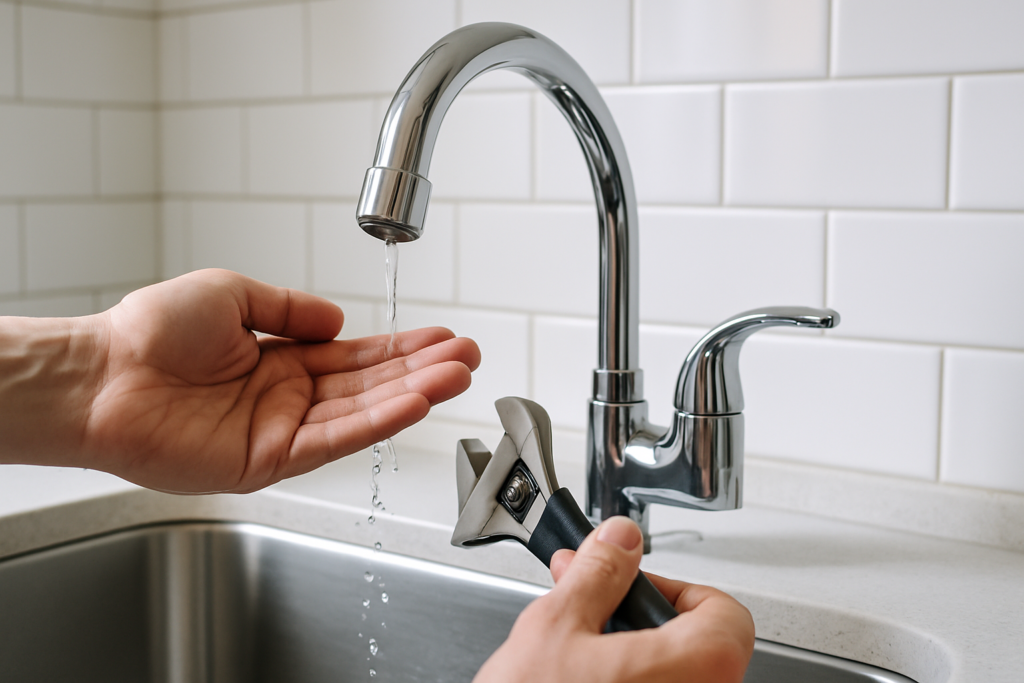
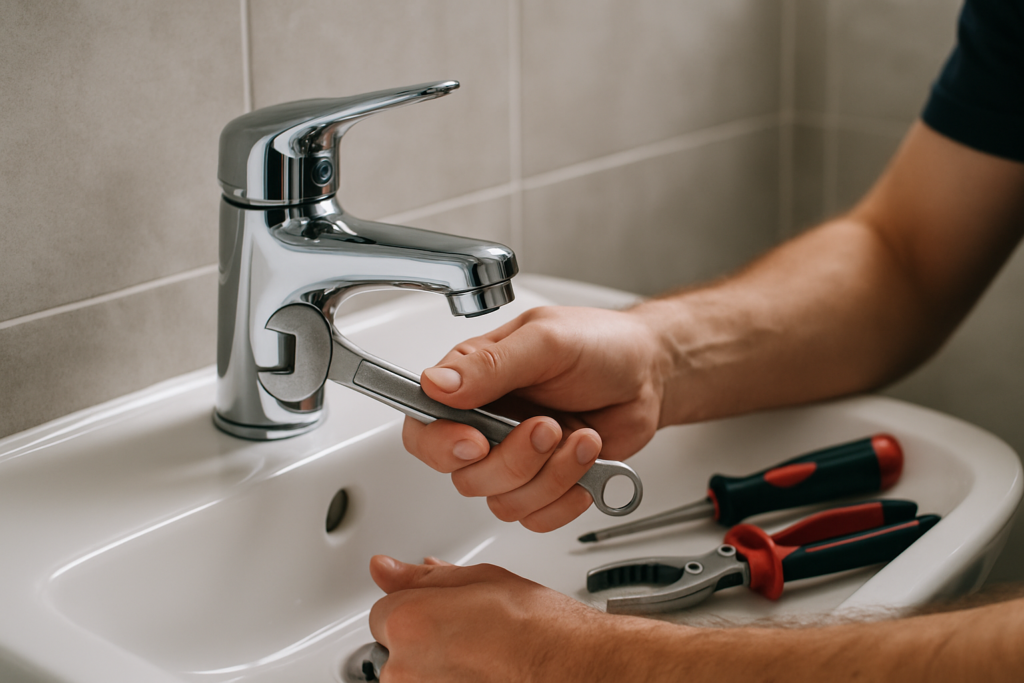
Most wall-mounted shower heads benefit from the vinegar bag method since removal can be challenging. For deep cleaning, you may need to unscrew the shower head using an adjustable wrench (wrap the connection in cloth to prevent scratching).
Once removed, disassemble any removable parts and soak them separately in vinegar. Clean the internal components with a bottle brush or pipe cleaner to remove buildup from inside the head.
Handheld Shower Heads
These are easier to clean since you can detach them from the hose. Remove the shower head and unscrew the face plate if possible. Soak all components in a bowl of vinegar for several hours.
Clean the flexible hose connection where minerals often accumulate. Run water through the hose after reattaching to flush out any loosened debris.
Rainfall Shower Heads
Large rainfall heads require more vinegar for the bag method, but the process remains the same. Pay special attention to the outer edges where water flow is often weakest, as these areas tend to clog first.
For ceiling-mounted rainfall heads, you might need a step ladder for safe access. Consider having someone assist you with holding the vinegar bag in position while you secure it.
Waterpik PowerPulse Massage Handheld Showerhead
Features easy-clean spray holes that resist mineral buildup better than standard models
Prevention Tips to Minimize Future Buildup
Wipe down your shower head weekly with a damp cloth to remove water spots before they harden into mineral deposits. This simple habit significantly extends the time between deep cleanings.
Install a water filter if you have particularly hard water. These filters reduce mineral content before it reaches your shower head, dramatically slowing buildup.
Run the shower for 30 seconds after each use to flush out standing water from the head’s internal chambers. Stagnant water accelerates mineral crystallization inside the spray holes.
Consider shower heads with silicone spray holes, which resist mineral buildup better than metal alternatives. You can often clear these by simply rubbing the flexible tips with your finger.
Signs It’s Time for Replacement
Sometimes cleaning isn’t enough. Replace your shower head if cleaning doesn’t restore proper water flow after multiple attempts. Internal corrosion or damaged components might be blocking water passages permanently.
Visible cracks in the shower head body or connection threads indicate structural damage. These can worsen over time and potentially cause leaks or complete failure.
If the finish is severely corroded or pitted, replacement makes more sense than continued cleaning. Heavy corrosion often signals that internal components are similarly degraded.
Older shower heads (10+ years) may lack modern water-saving features and easy-clean designs. Upgrading can improve both performance and maintenance ease.
Frequently Asked Questions
How often should I clean my shower head?
Clean your shower head every 2-3 months in areas with moderately hard water, or monthly if you have very hard water. Weekly wipe-downs help extend these intervals significantly.
Can I use apple cider vinegar instead of white vinegar?
White vinegar works better because it has higher acetic acid content and won’t leave residue. Apple cider vinegar contains sugars and other compounds that can leave sticky residue on your shower head.
Is it safe to use vinegar on all shower head finishes?
Vinegar is safe for most finishes including chrome, stainless steel, and most painted surfaces. However, avoid prolonged exposure on natural stone, brass, or oil-rubbed bronze finishes, as acid can damage these materials.
This article contains affiliate links. We may earn a small commission at no extra cost to you.