Your water heater works around the clock to provide hot water for showers, dishes, and laundry. But like any hardworking appliance, it needs regular maintenance to keep running efficiently. Most homeowners only think about their water heater when it breaks down, often leading to expensive repairs or premature replacement.
Regular maintenance can extend your water heater’s lifespan from 8-12 years to 15+ years while reducing energy bills and preventing those dreaded cold showers. Here are seven essential maintenance tasks you can perform annually to keep your water heater in top condition.
Essential Water Heater Maintenance Tasks
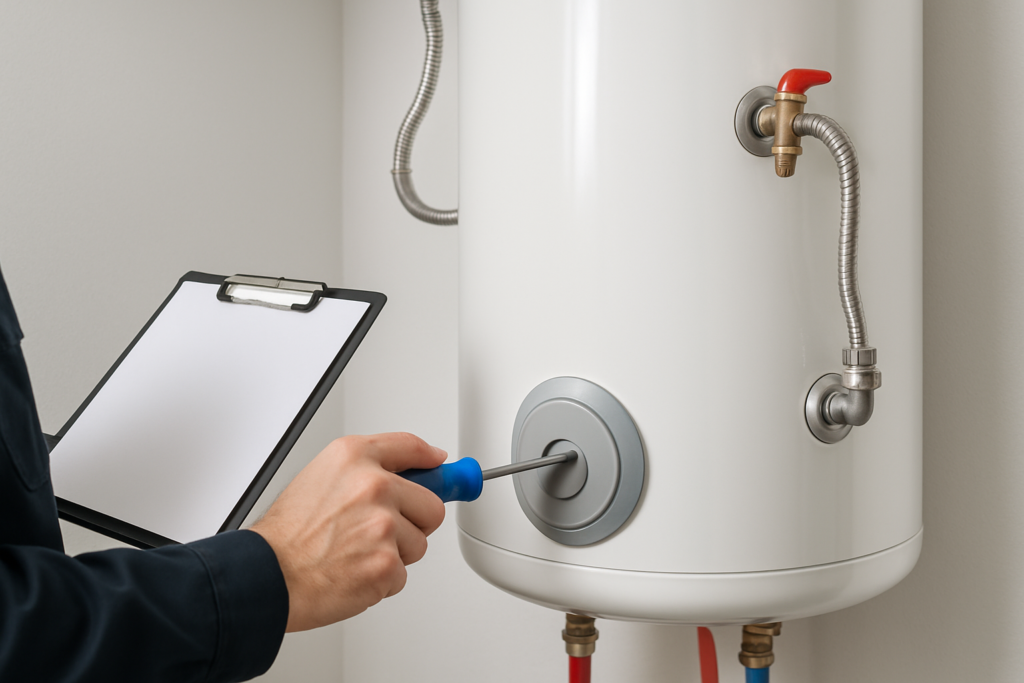
1. Flush the Tank to Remove Sediment
Sediment buildup is your water heater’s biggest enemy. Minerals from hard water settle at the bottom of the tank, creating an insulating layer that forces your heating element to work harder. This leads to higher energy bills and potential damage to the tank.
Turn off the power (electric) or gas supply, then connect a garden hose to the drain valve at the bottom of the tank. Open the valve and let the water flow until it runs clear. You’ll be surprised how much sediment comes out, especially if you’ve never done this before.
Water Heater Drain Kit
Makes the flushing process much easier with proper connections and longer hoses.
2. Test the Pressure Relief Valve
The temperature and pressure relief valve prevents your tank from becoming a dangerous pressure cooker. This critical safety component should be tested annually to ensure it’s working properly.
Lift the valve’s lever slightly to allow some water to discharge through the overflow pipe. If no water comes out, or if it continues leaking after you release the lever, the valve needs replacement. Don’t skip this step – a faulty relief valve can lead to catastrophic tank failure.
3. Check and Replace the Anode Rod
The anode rod is your tank’s sacrificial lamb. Made of magnesium or aluminum, it attracts corrosive elements that would otherwise attack your tank walls. Most homeowners don’t even know this component exists, yet it’s crucial for preventing rust and extending tank life.
Remove the anode rod using a socket wrench (you may need to apply significant force). If it’s less than 1/2 inch thick or coated with calcium, replace it immediately. A quality replacement anode rod can add years to your tank’s lifespan.
4. Adjust the Temperature Setting
Most water heaters come set to 140°F from the factory, but 120°F is adequate for most households and much more energy-efficient. This simple adjustment can reduce your water heating costs by 6-10% while preventing scalding.
Locate the temperature dial (usually behind a panel on electric units) and adjust accordingly. Wait a few hours before testing the water temperature at your faucets to ensure the change has taken effect.
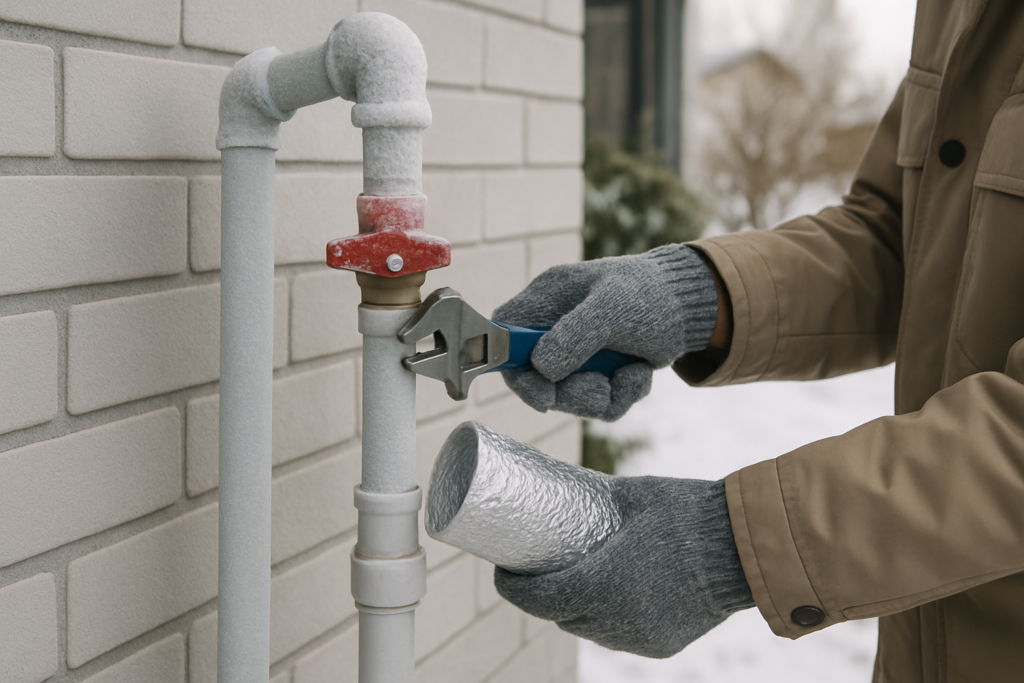
5. Insulate Older Units and Pipes
If your water heater feels warm to the touch, it’s losing heat and costing you money. Adding an insulation blanket can improve efficiency by 7-16% on older units. Wrap the tank according to manufacturer instructions, being careful not to cover the thermostat, burner, or relief valve.
Water Heater Insulation Blanket
Easy DIY installation that pays for itself quickly through energy savings.
Don’t forget to insulate the first few feet of hot and cold water pipes connected to your unit. This prevents heat loss as water travels through your home.
6. Clean the Venting System
Gas water heaters rely on proper venting to remove combustion gases safely. Check the vent pipe for rust, corrosion, or blockages from bird nests or debris. A blocked vent can cause dangerous carbon monoxide buildup in your home.
Ensure the vent pipe has a slight upward slope and secure connections. If you notice rust flakes, white staining, or a damaged vent, call a professional immediately.
7. Inspect for Leaks and Corrosion
Walk around your water heater monthly, looking for signs of trouble. Check all connections, fittings, and the tank itself for water drips, rust stains, or corrosion. Small leaks often indicate bigger problems developing.
Pay special attention to the area where the tank meets the floor. Pooled water here could indicate a failing tank that needs replacement soon.
Safety Precautions
Water heater maintenance involves hot water, electrical connections, and potentially gas lines. Always turn off power and fuel sources before starting work. Let the unit cool for several hours before draining.
Wear safety glasses and gloves when working around your water heater. The water coming out during flushing will be extremely hot and may contain sediment that can cause burns or eye injury.
If you smell gas around a gas water heater, don’t attempt any maintenance. Leave the area immediately and call your gas utility company.
When to Call a Professional
While these maintenance tasks are generally DIY-friendly, some situations require professional help. Call a licensed plumber or HVAC technician if you notice:
- Rusty or discolored hot water that doesn’t clear up after flushing
- Strange noises like popping, crackling, or rumbling from the tank
- Frequent pilot light outages on gas units
- Water temperature that won’t stay consistent despite thermostat adjustments
- Visible rust or corrosion on the tank exterior
- Age-related issues (units over 10 years old showing multiple problems)
Frequently Asked Questions
How often should I perform water heater maintenance?
Most maintenance tasks should be done annually, with the exception of visual inspections for leaks and proper operation, which you should do monthly. Flushing the tank, testing the relief valve, and checking the anode rod once per year will keep most water heaters running efficiently. In areas with very hard water, you may need to flush the tank twice yearly.
Can I maintain a tankless water heater the same way?
Tankless units require different maintenance procedures. Instead of flushing a tank, you’ll need to descale the heat exchanger using a vinegar solution or commercial descaling product. The frequency depends on your water hardness, but annual descaling is typical. Tankless units don’t have anode rods, but they do have intake filters that need regular cleaning.
This article contains affiliate links. We may earn a small commission at no extra cost to you.