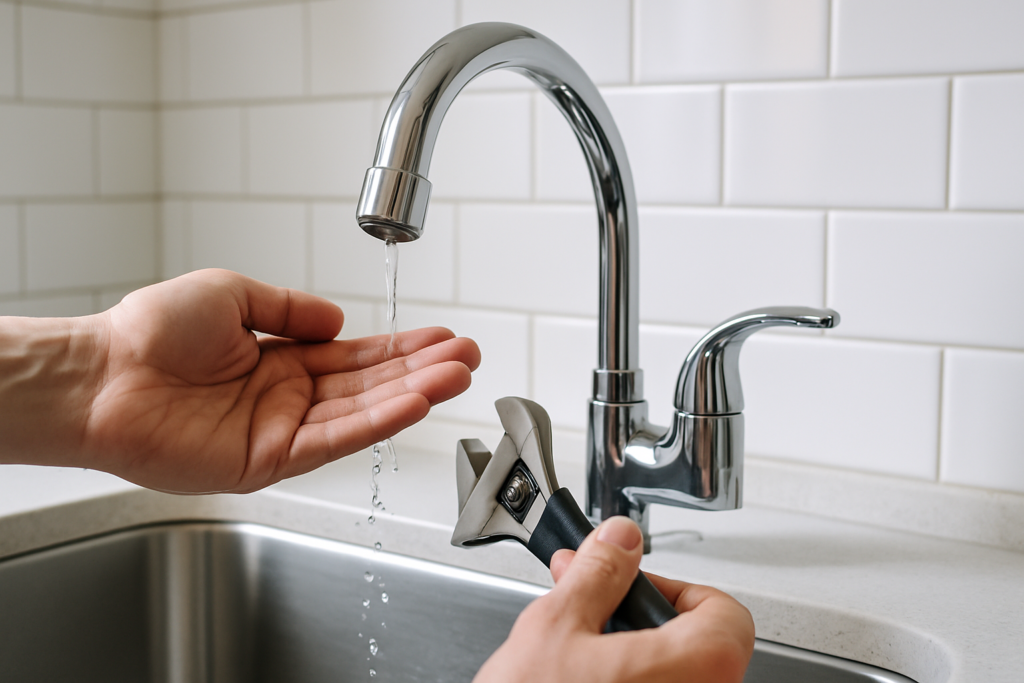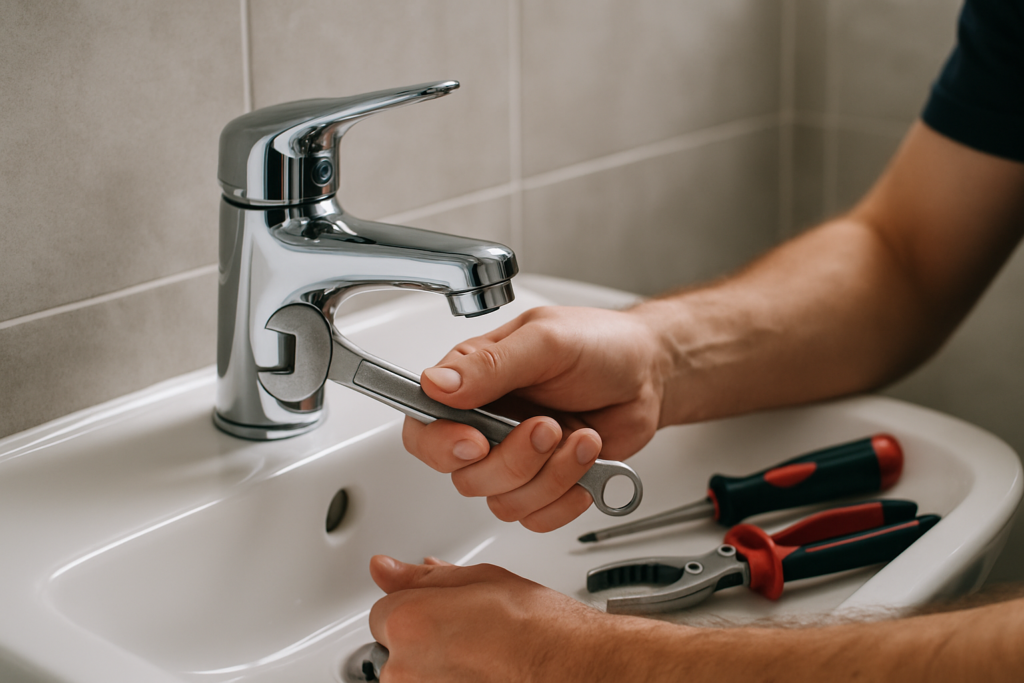
That persistent drip, drip, drip from your kitchen or bathroom faucet isn’t just annoying – it’s literally money going down the drain. A single leaky faucet can waste over 3,000 gallons of water per year, adding unnecessary dollars to your utility bill. The good news is that most faucet leaks are surprisingly simple to fix yourself with the right tools and know-how.
Before you call a plumber and pay for a service call, take 30 minutes to diagnose and potentially solve the problem yourself. Most faucet repairs require basic tools you probably already have and replacement parts that cost just a few dollars. Let’s walk through how to identify your faucet type and fix the most common leak issues step by step.
Identifying Your Faucet Type
The key to successful faucet repair starts with correctly identifying which type you’re dealing with. Each faucet type has different internal mechanisms and requires specific repair approaches.
Compression Faucets
Compression faucets are the oldest and most basic type, typically found in homes built before 1980. They have separate hot and cold handles that turn multiple times to fully open or close. When you turn the handle, it compresses a rubber washer against a seat to stop water flow.
You’ll recognize a compression faucet if the handles turn several times and you can feel resistance increasing as you tighten them. These faucets are most prone to leaking because the rubber washers wear out over time.
Ball Faucets
Ball faucets have a single handle that moves in multiple directions over a rounded ball assembly. Popular in kitchen sinks, these faucets use a ball with chambers and slots that align with hot and cold water inlets to control flow and temperature.
The single handle moves freely in all directions, and you’ll often see the Delta brand name on these units. Ball faucets contain many small parts, making them slightly more complex to repair.
Cartridge Faucets
Cartridge faucets come in both single-handle and double-handle varieties. They use a cartridge mechanism that slides up and down or rotates to control water flow. Single-handle cartridge faucets move forward and backward for temperature, side to side for flow.
You can identify a cartridge faucet because the handle moves smoothly with little resistance. Double-handle cartridge faucets turn only a quarter to half turn from off to full flow, unlike compression faucets that require multiple turns.
Ceramic Disk Faucets
These are the newest and most durable faucet type, featuring a single handle that moves over a cylindrical body. Inside, two ceramic disks with openings rotate against each other to control water flow and temperature.
Ceramic disk faucets feel substantial and move smoothly with precise control. They’re less likely to leak but can be damaged by sediment in the water lines.
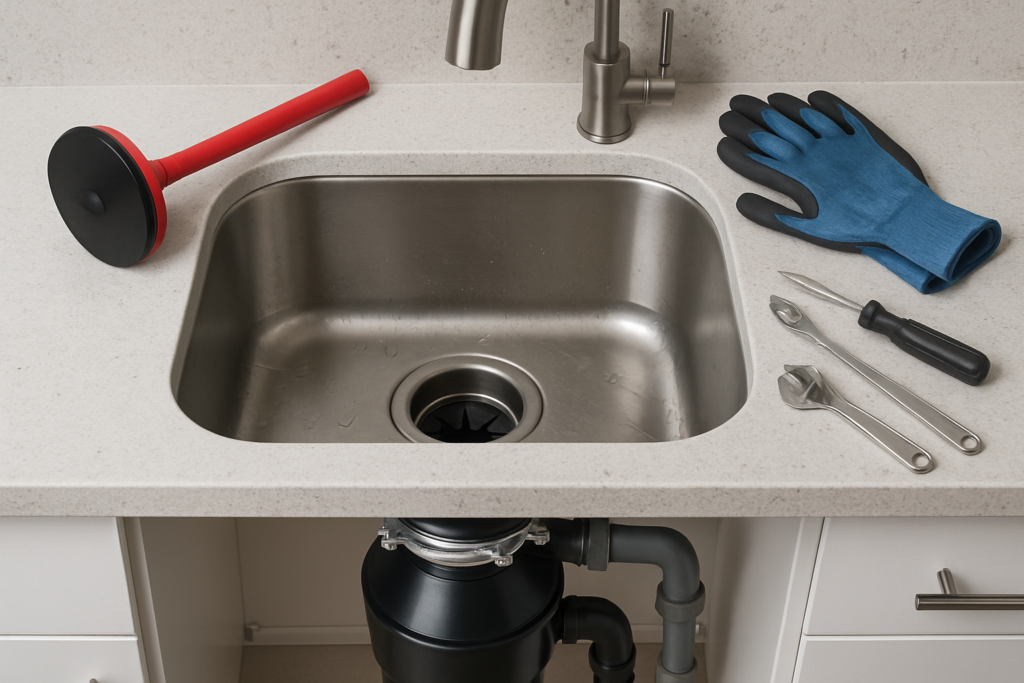
Essential Tools and Materials
Before starting any faucet repair, gather these basic tools. Having everything ready saves time and prevents frustration mid-repair.
- Adjustable wrench
- Screwdrivers (both flathead and Phillips)
- Needle-nose pliers
- Flashlight or headlamp
- Penetrating oil (like WD-40)
- Plumber’s silicone grease
For replacement parts, you’ll likely need O-rings, washers, or cartridges depending on your faucet type. It’s smart to take the old parts with you to the hardware store to ensure you get exact matches.
Faucet Repair Kit
Contains most common washers, O-rings, and seals for multiple faucet types.
Repairing Compression Faucets
Compression faucets leak most commonly from worn washers or O-rings. Start by turning off the water supply valves under the sink or at the main shutoff.
Removing the Handle
Remove the decorative cap on top of the handle (usually marked hot or cold) to expose the screw underneath. Remove this screw and pull the handle straight up. If it’s stuck, apply penetrating oil and wait 10 minutes before trying again.
Use an adjustable wrench to remove the packing nut – the large hexagonal nut directly below the handle. Turn counterclockwise to loosen. Once removed, you can lift out the entire stem assembly.
Replacing Washers and O-Rings
At the bottom of the stem, you’ll find a rubber washer held by a brass screw. This washer is likely worn, cracked, or warped if water drips from the spout. Remove the screw and replace both the washer and the screw (screws often corrode).
Check the O-ring around the stem body. If it’s cracked, stretched, or hardened, replace it with an exact match. Apply a thin coat of plumber’s grease to the new O-ring before installation.
Reassemble everything in reverse order, but don’t overtighten. Hand-tight plus a quarter turn with the wrench is usually sufficient.
Fixing Ball Faucets
Ball faucets have more components than other types, but repairs follow a logical sequence. The most common issues are worn seats, springs, or the ball itself.
Disassembly Process
Remove the handle by loosening the setscrew (usually located on the side of the handle) with an Allen wrench. Lift off the handle to expose the ball assembly.
Remove the cap and collar using needle-nose pliers or a special ball faucet tool. You’ll see the ball, seats, springs, and O-rings. Take a photo before disassembly to remember the correct orientation.
Replacing Internal Components
Remove the ball and inspect it for cracks, corrosion, or rough spots. A damaged ball needs replacement, but often cleaning with fine steel wool resolves minor issues.
The rubber seats and metal springs underneath control water flow. These small components wear out and should be replaced as a set. Use needle-nose pliers to remove old seats and springs.
Install new seats and springs, ensuring the springs sit properly in their recesses. Replace any worn O-rings on the ball assembly, coating them lightly with plumber’s grease.
Ball Faucet Repair Kit
Includes seats, springs, O-rings, and ball for complete ball faucet restoration.
Cartridge Faucet Repair
Cartridge faucets are generally reliable, but when they leak, the solution usually involves replacing the entire cartridge. This repair is often easier than fixing other faucet types.
Cartridge Removal
For single-handle models, remove the handle and decorative escutcheon to expose the cartridge. You’ll see a retaining nut or clip holding the cartridge in place.
Remove the retaining mechanism and grab the cartridge stem with pliers. Pull straight up while gently rotating. Stubborn cartridges may require a special cartridge puller tool, available at hardware stores.
Note the cartridge’s orientation before removal. Some cartridges have a flat side or notch that must align correctly for proper hot/cold operation.
Installing the New Cartridge
Take the old cartridge to your hardware store to ensure you get the correct replacement. Cartridges are brand and model specific, and using the wrong one won’t work properly.
Coat the new cartridge O-rings with plumber’s grease and insert it in the same orientation as the old one. Replace any worn O-rings on the stem while you have everything apart.
Reassemble the faucet and test operation. If hot and cold are reversed, remove the cartridge, rotate it 180 degrees, and reinstall.
Ceramic Disk Faucet Repair
Ceramic disk faucets rarely leak from worn seals like other types. Instead, problems usually stem from sediment buildup or cracked ceramic disks.
Accessing the Cartridge
Remove the handle by loosening the setscrew underneath or behind it. Lift off the handle and remove the escutcheon cap to expose the cartridge.
The cartridge is held by a mounting nut. Remove this nut and lift out the entire cartridge assembly. These cartridges are typically larger and heavier than standard cartridge faucet types.
Cleaning and Replacement
Disassemble the cartridge carefully and inspect the ceramic disks. Small scratches can sometimes be polished out with very fine automotive polishing compound, but cracked disks require cartridge replacement.
Clean all sediment from the cartridge body and valve seat. Even small particles can prevent proper sealing in ceramic disk faucets.
Replace any worn rubber seals and O-rings. These components are usually available separately, making ceramic disk faucets economical to maintain.
Common Troubleshooting Tips
Sometimes faucet problems aren’t immediately obvious or the first repair attempt doesn’t solve the issue completely. These troubleshooting steps help identify less common problems.
Leaks from the Base
Water pooling around the faucet base usually indicates worn O-rings on the cartridge or stem. This is different from spout dripping and requires removing the cartridge to access the base seals.
Check that all connections are properly tightened, but avoid overtightening, which can crack fixtures or strip threads.
Low Water Pressure
Reduced flow often results from sediment buildup in the aerator or cartridge. Remove and clean the aerator first, as this is the easiest fix.
If cleaning the aerator doesn’t help, sediment may be blocking the cartridge or valve seats. This requires faucet disassembly and thorough cleaning of all components.
Handle Problems
Loose handles usually need tightening of the packing nut or handle screw. Handles that spin freely without affecting water flow indicate a stripped connection between the handle and stem.
Hard-to-turn handles often benefit from lubrication with plumber’s silicone grease on all moving parts and O-rings.
When to Call a Professional
Most faucet repairs are within the skill range of average homeowners, but certain situations warrant professional help. Recognize these scenarios to avoid causing expensive damage.
If you encounter corroded or stripped valve seats, the repair requires special reseating tools and experience. Attempting this without proper tools often makes the problem worse.
Leaks behind the wall or under the sink involving supply lines should be handled by a plumber. Water damage from supply line failures can be extensive and expensive.
When replacement parts aren’t available for very old faucets, a plumber can recommend compatible alternatives or suggest faucet replacement options that work with your existing plumbing.
Frequently Asked Questions
How do I know which replacement parts to buy?
Always take the old parts with you to the hardware store. Faucet components vary significantly between brands and models, and visual matching is the most reliable way to get correct replacements. Many stores have experienced staff who can help identify parts if you bring the old components.
Why does my faucet leak only sometimes?
Intermittent leaks often indicate worn washers or seals that sometimes seal properly depending on water pressure or temperature. The components are failing but haven’t completely worn out yet. Replace these parts before they fail completely and cause constant dripping.
Can I use any type of grease on faucet parts?
Only use plumber’s silicone grease on faucet components. Regular petroleum-based greases can damage rubber seals and O-rings. Plumber’s grease is specifically formulated to be safe with all plumbing materials and won’t cause premature deterioration of rubber components.
How long should faucet repairs last?
Properly done repairs should last 5-10 years depending on water quality and usage frequency. Hard water with high mineral content wears out components faster than soft water. Kitchen faucets typically need more frequent maintenance than bathroom faucets due to heavier use.
This article contains affiliate links. We may earn a small commission at no extra cost to you.