There’s nothing quite like opening your oven door and being greeted by layers of baked-on grease, food splatters, and mysterious burnt spots that seem to have taken up permanent residence. While your oven might have a self-cleaning feature, maybe it’s broken, or perhaps you’d rather avoid the intense heat and chemical smells that come with it.
The good news is you don’t need that self-cleaning cycle to get your oven sparkling again. I’ve tested three different deep cleaning methods extensively, and each has its own strengths and weaknesses. Whether you prefer natural ingredients, want maximum cleaning power, or need something that works with minimal scrubbing, one of these approaches will work for your situation.
Method 1: The Baking Soda Paste Approach
This natural method has become incredibly popular, and for good reason. It’s safe, inexpensive, and surprisingly effective for most cleaning jobs.
Start by removing your oven racks and any loose debris. Mix 1/2 cup of baking soda with just enough water to create a thick paste. You want the consistency of peanut butter, not runny like pancake batter.
Spread this paste over every interior surface except the heating elements. Pay extra attention to the bottom of the oven where grease tends to accumulate. The paste might look a bit brown as it picks up grime, which means it’s working.
Let it sit overnight, or at least 12 hours. This waiting period is crucial because it gives the baking soda time to break down the grease and burnt-on food. When you’re ready to clean, spray the paste with white vinegar. It’ll foam up and help lift the loosened grime.
Use a plastic scraper or old credit card to remove the paste, then wipe everything down with a damp cloth. You might need to repeat the process on stubborn spots.
Arm Hammer Pure Baking Soda
Pure baking soda that’s perfect for natural oven cleaning without harsh chemicals
Effort Level and Results
This method requires patience more than elbow grease. The actual hands-on time is maybe 30 minutes, but you need to plan ahead for the overnight wait. It handles light to moderate buildup very well, though you might struggle with seriously burnt-on messes.
The best part is zero fumes and complete safety around kids and pets. You can even clean your oven racks by soaking them in a bathtub with the same baking soda paste.
Method 2: Commercial Oven Cleaners
When you need serious cleaning power, commercial cleaners deliver results that natural methods simply can’t match. These products are formulated specifically for the tough job of cutting through carbonized grease and food residue.
Popular options like Easy-Off or Goo Gone oven cleaners work by using strong alkaline chemicals to break down organic matter quickly. Remove your racks first, then spray the cleaner evenly across all interior surfaces.
Most commercial cleaners need 20-40 minutes to work, not the overnight wait required by baking soda. You’ll see the cleaner changing color as it dissolves the grime. Some products even foam up to help lift debris away from surfaces.
After the recommended time, wipe everything down with a damp cloth. The mess should come off with minimal scrubbing. For really stubborn spots, you might need a gentle abrasive sponge, but avoid steel wool which can damage oven surfaces.
Easy Off Professional Oven Cleaner
Heavy-duty formula that tackles the toughest baked-on messes with minimal scrubbing required
Power vs. Safety Considerations
Commercial cleaners win hands down for cleaning power. They’ll handle burnt-on cheese, caramelized sugars, and grease that has been building up for months. The time investment is also much lower than natural methods.
However, the fumes can be intense. Even “fume-free” versions still have a chemical smell. You absolutely need good ventilation, and I recommend wearing gloves. Keep pets and children away during the cleaning process.
The chemicals can also be harsh on your skin and lungs, so follow the label directions exactly. Never mix commercial oven cleaners with other products, as this can create dangerous chemical reactions.
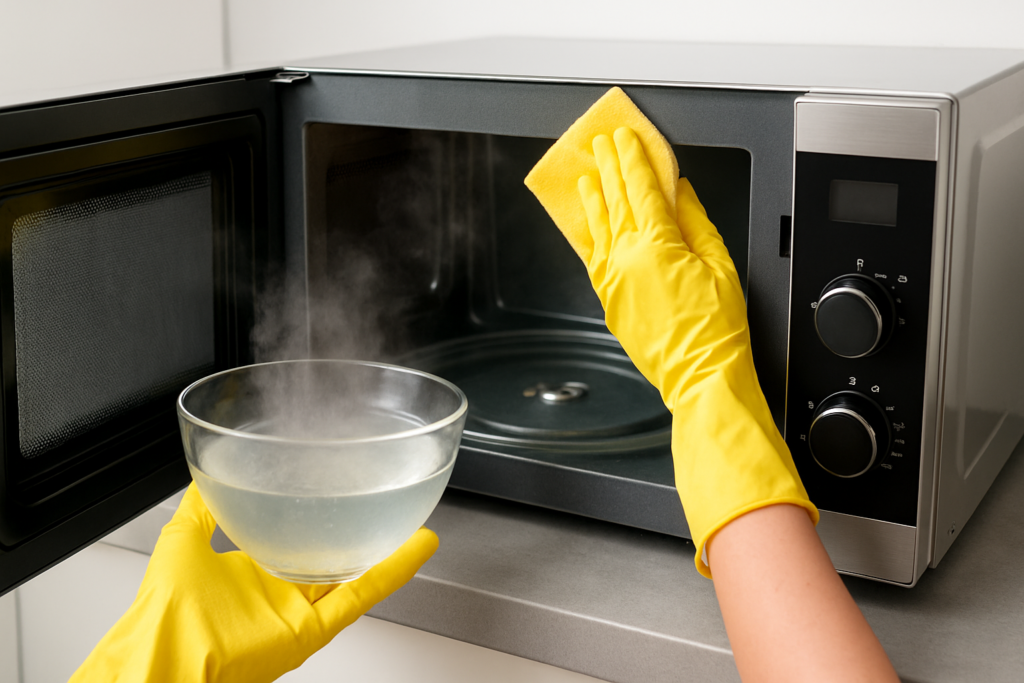
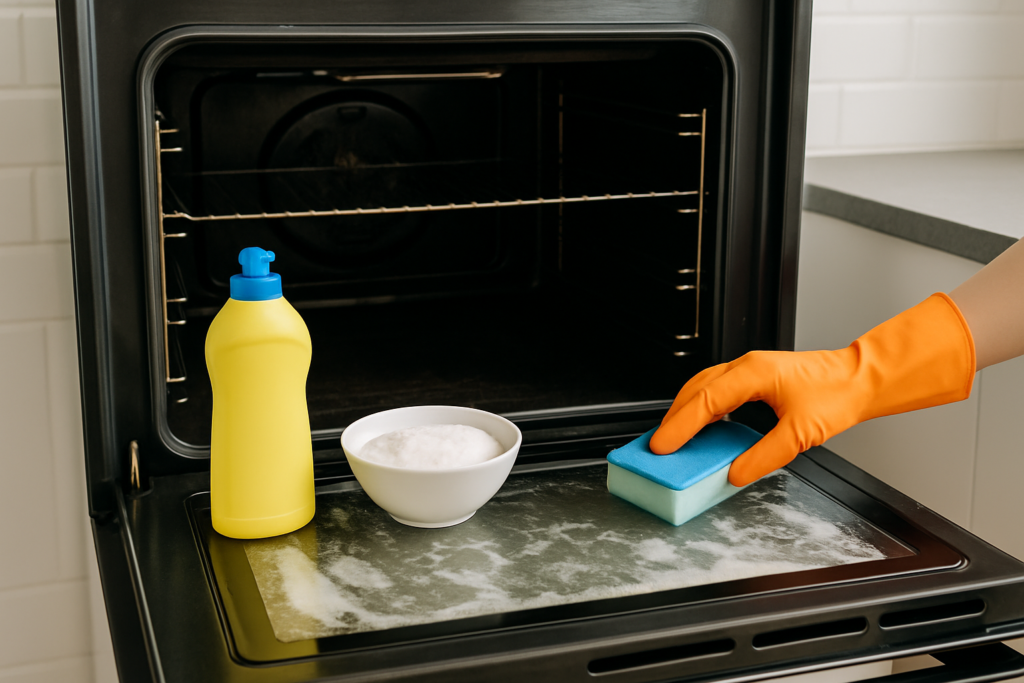
Method 3: Steam Cleaning Method
This middle-ground approach uses heat and moisture to soften grime, making it easier to wipe away without harsh chemicals or overnight waiting periods.
Preheat your oven to 200°F, then turn it off. Place a large oven-safe bowl filled with water on the bottom rack. Add a few tablespoons of white vinegar or lemon juice to the water for extra cleaning power.
Close the oven door and let the steam work for 30-45 minutes. The heat creates steam that penetrates and softens dried-on food and grease. You’ll actually see condensation forming on the oven walls.
After the steaming period, carefully remove the bowl (it’ll be hot) and start wiping down the interior surfaces. The loosened grime should come off much easier than it would on a cold, dry oven.
For stubborn spots, make a paste with baking soda and a small amount of the warm water from your steam bowl. The combination of heat, moisture, and mild abrasive action handles most cleaning challenges.
Best of Both Worlds
Steam cleaning offers a nice compromise between natural methods and chemical cleaners. It’s faster than the baking soda approach but safer than commercial products. The warm, moist environment makes scrubbing much easier without requiring harsh chemicals.
This method works particularly well for regular maintenance cleaning. If you steam clean your oven monthly, you’ll prevent the heavy buildup that requires more aggressive methods.
Comparing the Three Methods
After testing all three approaches extensively, here’s my honest assessment of when to use each method.
For light, regular cleaning, the steam method wins. It’s quick, safe, and effective for monthly maintenance. You get good results without chemicals or long wait times.
When you’re dealing with moderate buildup and have time to plan ahead, baking soda paste is your best bet. It’s completely natural, costs almost nothing, and handles most cleaning jobs well. The overnight wait is the only real downside.
For seriously neglected ovens with heavy, burnt-on messes, commercial cleaners are the only realistic option. They’ll cut through buildup that would take multiple rounds of natural methods to handle.
I personally rotate between methods based on the situation. Monthly steam cleanings prevent heavy buildup, with baking soda deep cleans every few months. I save commercial cleaners for those times when I’ve let things go too long or when dealing with particularly stubborn spills.
Tips for All Methods
Regardless of which cleaning method you choose, a few universal tips will improve your results and make the job easier.
Always remove racks and clean them separately. Soaking them in your bathtub with hot water and dish soap works well for all methods. For really dirty racks, add some baking soda to the soak.
Protect your heating elements by avoiding direct contact with any cleaning products. If you accidentally get cleaner on them, wipe it off immediately with a damp cloth.
Don’t forget the oven door glass. A razor blade can carefully remove stubborn spots without scratching, but keep the blade flat against the surface. Glass scrapers designed for cleaning work better than regular razor blades.
After any deep cleaning, run your oven empty at 200°F for 15-20 minutes to burn off any cleaning residue. This prevents chemical tastes from affecting your next meal.
Frequently Asked Questions
How often should I deep clean my oven without using the self-clean feature?
Plan on deep cleaning every 3-6 months depending on how frequently you use your oven. Heavy bakers might need monthly attention, while occasional users can stretch it longer. Don’t wait until you can see thick buildup, as prevention is always easier than heavy-duty cleaning.
Can I use these methods on the oven door glass?
Yes, all three methods work on oven door glass. The baking soda paste is particularly effective for glass cleaning. Avoid abrasive scrubbers that might scratch, and consider using a glass scraper for stubborn burnt-on spots that won’t wipe away.
Is it safe to mix baking soda with commercial oven cleaners for extra power?
Never mix cleaning products together. This can create dangerous chemical reactions and potentially toxic fumes. Stick to one method at a time. If one approach isn’t working well enough, try a different method entirely rather than combining products.
This article contains affiliate links. We may earn a small commission at no extra cost to you.