As an Amazon Associate I earn from qualifying purchases. This article contains affiliate links.
Window tracks collect dust, grit, and small debris in places a broad cloth can’t reach. The cleanest way to tackle them is to remove loose material first, then use controlled moisture and gentle tools on the remaining dirt.
This routine covers accessible interior track and sill areas without taking the window apart. Check the manufacturer’s instructions for your exact window before starting, especially when the finish, drainage system, or opening mechanism is unfamiliar.
Check the window and prepare the area
Choose a dry day when you can work comfortably from inside. Keep children and pets away from an open window and use any opening controls according to their instructions. Don’t lean outside or stand on furniture to reach an exterior track.
Look for damaged seals, peeling finishes, loose hardware, cracked glass, or water damage. Stop and arrange appropriate help for those problems. Cleaning should not involve forcing a stuck sash or removing safety components.
Protect the sill and floor below with a suitable towel. Keep electrical equipment and cords away from any water you use. An ordinary vacuum should only meet dry material.
Gather a small, gentle tool kit
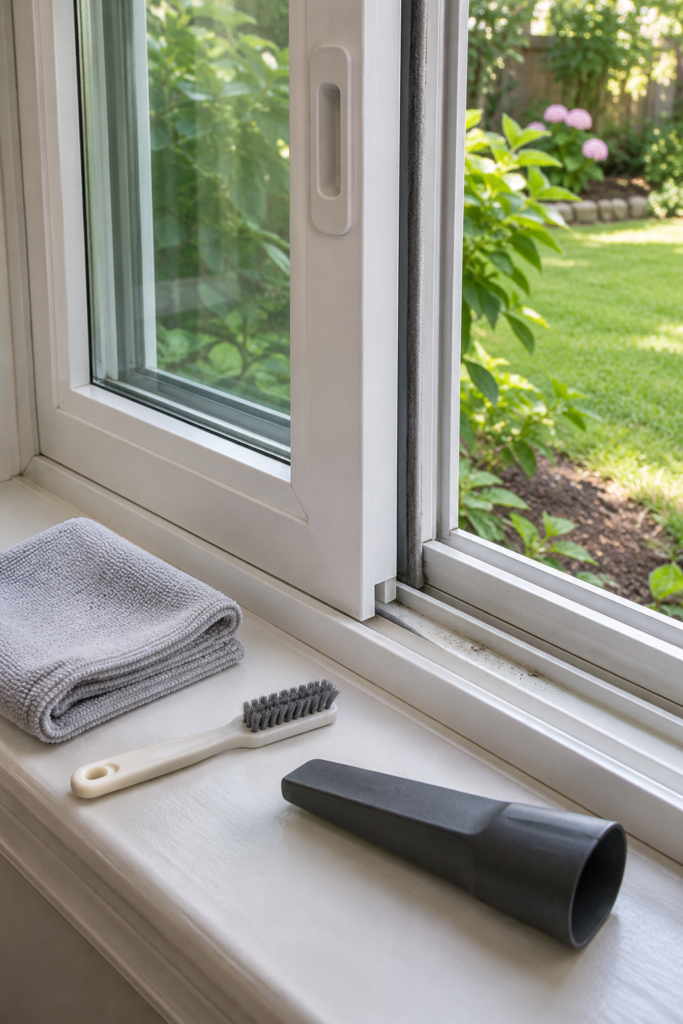
- A vacuum with a suitable soft brush or crevice attachment for dry debris.
- A soft narrow brush with rounded, non-scratching edges.
- Clean cloths reserved for this task.
- A small amount of manufacturer-approved cleaning solution.
- A separate clean cloth for any required rinse and another for drying.
Check the material before selecting a cleaner. Wood, vinyl, aluminum, painted surfaces, and specialized coatings can have different restrictions. Don’t assume a homemade acid-based cleaner is suitable for the frame simply because it works on another surface.
Soft narrow cleaning brushes
Choose soft bristles and rounded edges suitable for your window finish. Avoid metal scrapers and rigid points that can damage seals or coatings. Opens Amazon search results.
Label your task cloths so they don’t return to kitchen use by mistake. Our color-coded cleaning cloth system explains a practical way to keep clean and used supplies separate.
Step one: remove dry debris
Open the window only as the manufacturer permits and keep it stable. Use a suitable vacuum attachment to collect loose dust and grit from accessible areas. Work along the visible channel without catching seals, brushes, or loose trim.
A soft brush can loosen material in corners so the vacuum can pick it up. Brush toward an accessible area rather than pushing grit deeper into the mechanism. Keep the nozzle from scraping the finish.
Compatible vacuum crevice attachment
Check the connection size and your vacuum instructions. Use an ordinary dry vacuum only for dry debris, never for wet tracks or liquid. Opens Amazon search results.
Remove the vacuum before adding moisture. Don’t vacuum liquid with a machine designed for dry use. For choosing and using attachments elsewhere, see our vacuum attachment guide.
Step two: wipe with controlled moisture
Apply an approved cleaner to the cloth as directed rather than flooding the track. Wipe a small accessible section, using a soft brush only where it’s permitted and needed. Keep moisture away from components the manufacturer says must remain dry.
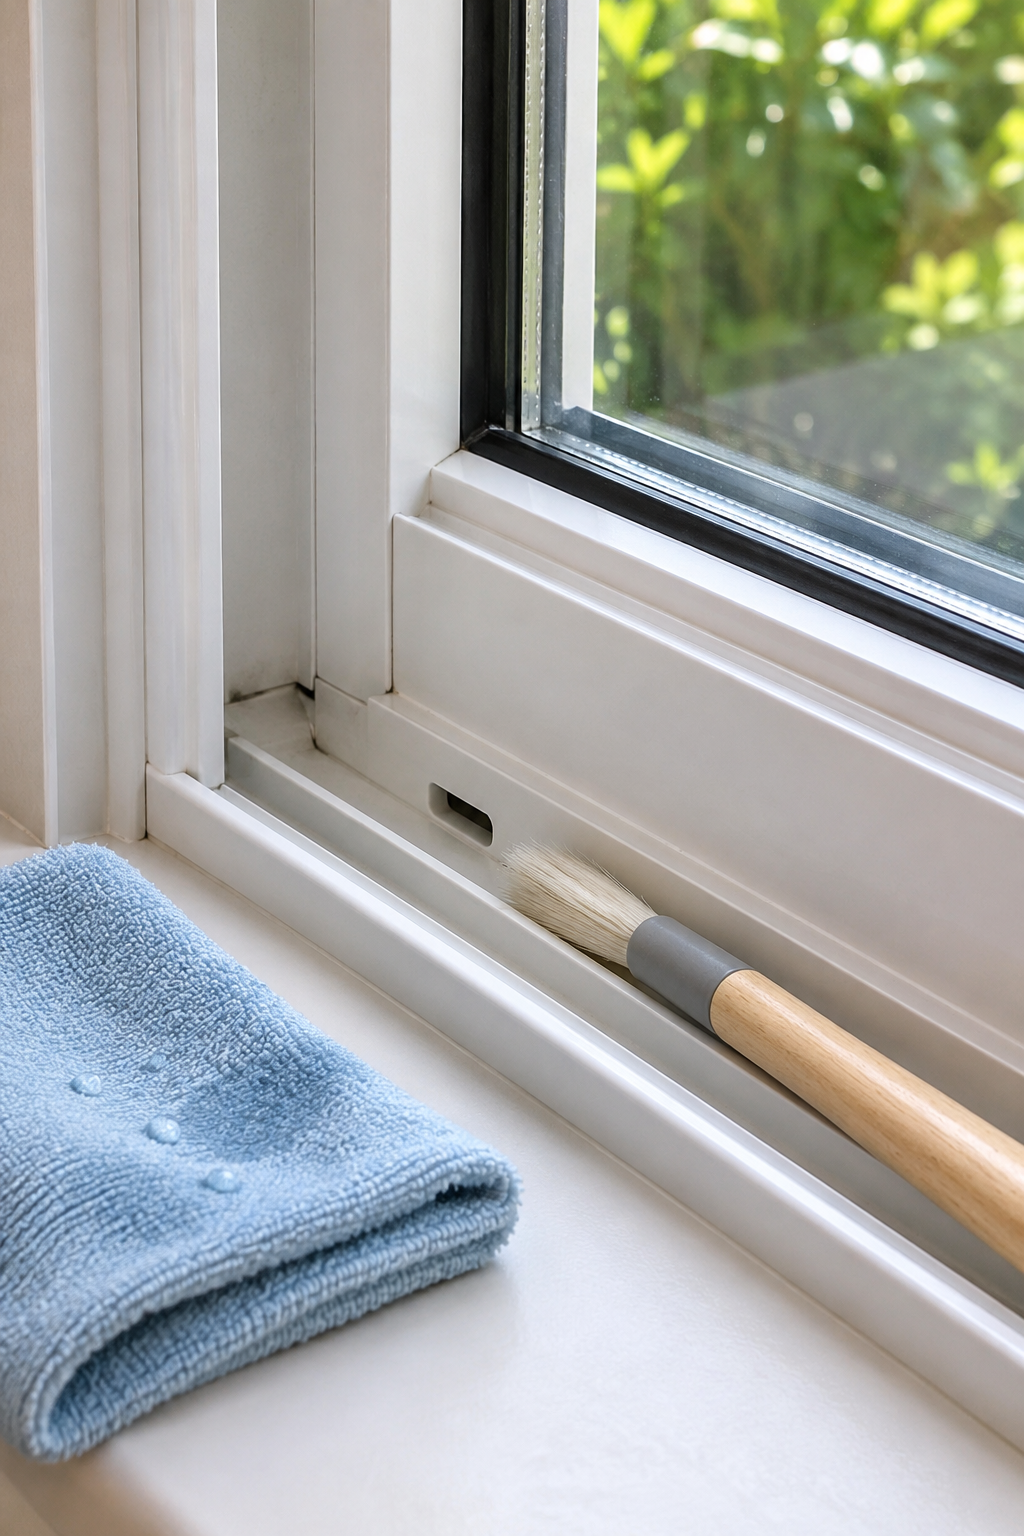
For relevant vinyl products, Pella’s Custom Window Systems care guidance describes removing loose debris before washing with mild dish soap and water, rinsing, and drying. Follow your own window maker’s instructions when they differ.
Use fresh sections of cloth as they become dirty. Don’t scrub repeatedly with trapped grit. Avoid metal picks, abrasive pads, blades, and improvised powered tools that can scratch surfaces or damage seals.
Step three: keep drainage openings clear
Some windows have drainage or weep openings designed to channel water outside. They are part of the window’s water-management system. Don’t fill them with caulk, pack them with cleaning paste, or cover them with a liner.
The Pella owner’s manual describes checking relevant weep openings and clearing visible obstruction with a small soft brush. The location and maintenance method depend on the window, so consult the correct manual rather than probing an opening blindly.
Remove only debris you can access safely using the approved method. Don’t push wire, screws, or stiff tools into hidden channels. Persistent pooling or leakage needs investigation rather than repeated flooding to see whether it drains.
Step four: rinse as directed and dry
Where the instructions require rinsing, use a clean appropriately damp cloth or the specified method to remove cleaner residue. Dry accessible surfaces with a clean cloth and let remaining permitted moisture evaporate before closing the window.
Check operation gently after cleaning. The sash should move as intended without being forced. Don’t add oil, silicone, or another lubricant unless the maker specifies the right product and location.
Once the track is dealt with, you can clean the glass separately using our window-cleaning guide. Keeping those tasks separate prevents dirty track residue from being spread across freshly cleaned glass.
Use a maintenance check that fits your home
Inspect tracks when doing seasonal window cleaning and after conditions that bring in noticeable dust or debris. A window beside a garden or frequently opened road-facing room may need more attention than one that stays closed.
Use the condition of the track and the manufacturer’s maintenance schedule to guide cleaning. A light dry cleanup is easier than waiting until packed grit affects movement. Keep the tool kit small enough to retrieve without turning the job into a cupboard search.
Common questions
Should you pour vinegar and baking soda into the track?
Check the approved cleaning method for your window instead. Flooding a narrow channel or adding paste can move residue into places you can’t clean and may be unsuitable for the materials.
Can you use a steam cleaner?
Only when the window manufacturer specifically permits it for that material and component. Heat and moisture aren’t appropriate for every seal, finish, or assembly. A gentle approved method is the better starting point.
Article images are AI-generated illustrations.