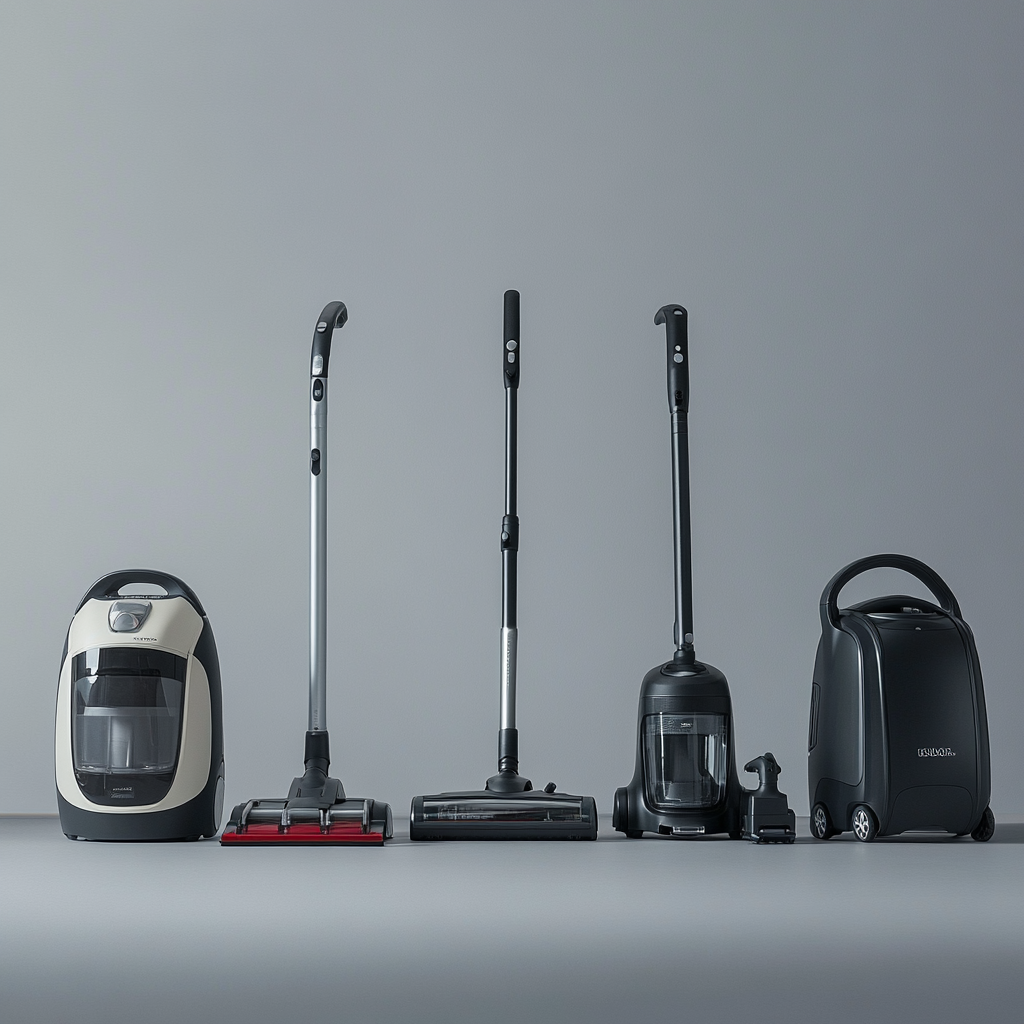
Your vacuum is one of the hardest-working appliances in your home, but most people treat it like it runs on magic. You pull it out, use it until it stops working well, then grudgingly shop for a replacement. What if I told you that with just 15 minutes of maintenance every month, your vacuum could easily last over a decade?
Regular vacuum maintenance isn’t rocket science, but it makes the difference between a machine that dies after three years and one that’s still going strong at year 12. Let’s walk through the essential maintenance tasks that will keep your vacuum running like new.
Filter Cleaning and Replacement
Your vacuum’s filters are its lungs, and dirty filters kill suction faster than anything else. Most modern vacuums have at least two filters: a pre-motor filter that catches larger debris and a HEPA filter that traps fine particles.
Check your pre-motor filter monthly. You can usually rinse washable filters under cold water, but make sure they’re completely dry before putting them back in. This takes 24 hours minimum. Foam and felt filters typically need replacing every 6-12 months depending on use.
HEPA filters last longer but still need attention. Washable HEPA filters should be rinsed every 3-6 months, while disposable ones need replacement annually. Don’t try to wash a disposable HEPA filter as this destroys its effectiveness.
Vacuum HEPA Filters
Keep spare filters on hand so you’re never stuck with a clogged one
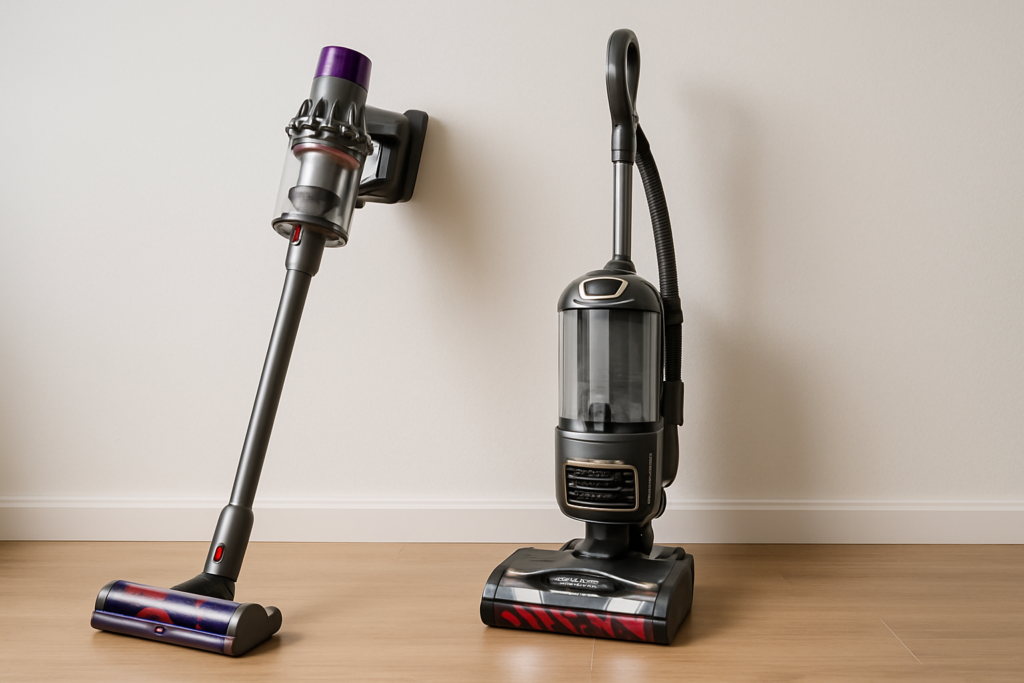
Belt Inspection and Replacement
Vacuum belts stretch, crack, and break over time. A worn belt reduces brush roll speed, which means less effective carpet cleaning. You’ll notice the difference in pickup performance long before the belt actually snaps.
Check your belt every few months by flipping your vacuum over and looking at the brush roll area. A good belt should have tension and show no cracks or fraying. Stretched belts look loose and may slip off the motor shaft.
Replace belts annually as preventive maintenance, even if they look okay. Belts are cheap insurance for your vacuum’s performance. Different vacuum models use specific belt types, so check your manual or look up your model number when ordering replacements.
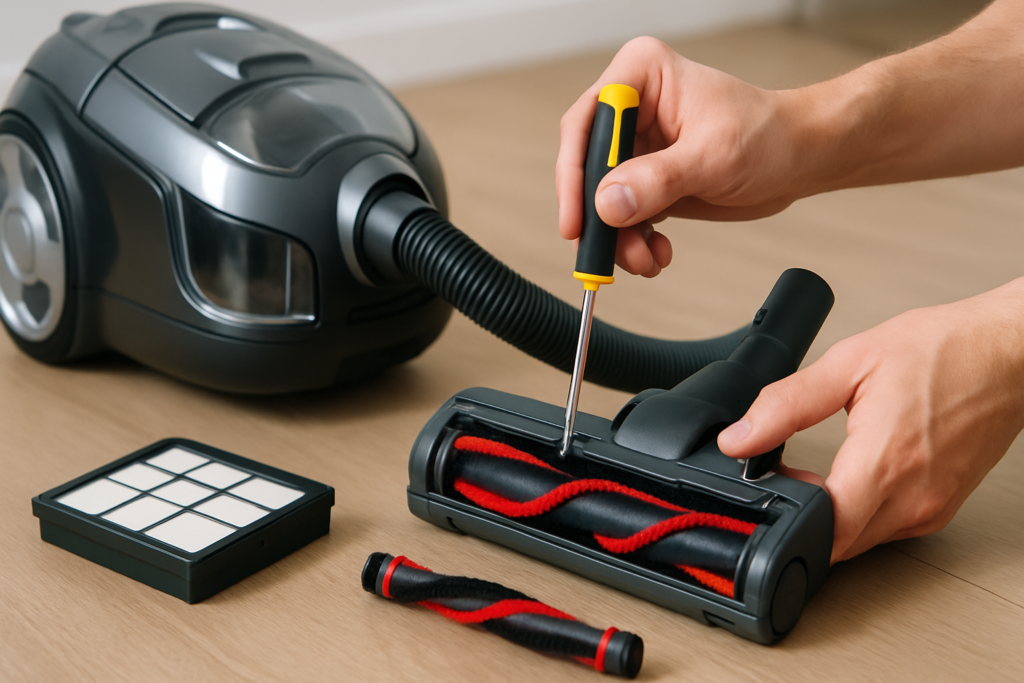
Brush Roll Maintenance
The brush roll takes a beating from hair, string, and debris that wraps around it. This buildup reduces effectiveness and can eventually damage the motor or belt.
Remove hair and threads weekly if you have pets or long-haired family members. Use scissors to cut wrapped material, but be careful not to damage the bristles. Some brush rolls lift out easily, while others require removing end caps or clips.
Deep clean the brush roll monthly by removing it completely and washing it in warm water. Check the bristles while you’re at it. Worn bristles that are significantly shorter than when new indicate it’s time for a replacement brush roll.
Vacuum Brush Roll
Having a spare brush roll means you can keep vacuuming while one is drying
Look for bent or damaged bristles too. These can scratch hardwood floors and reduce carpet cleaning effectiveness. Most brush rolls last 2-3 years with proper maintenance.
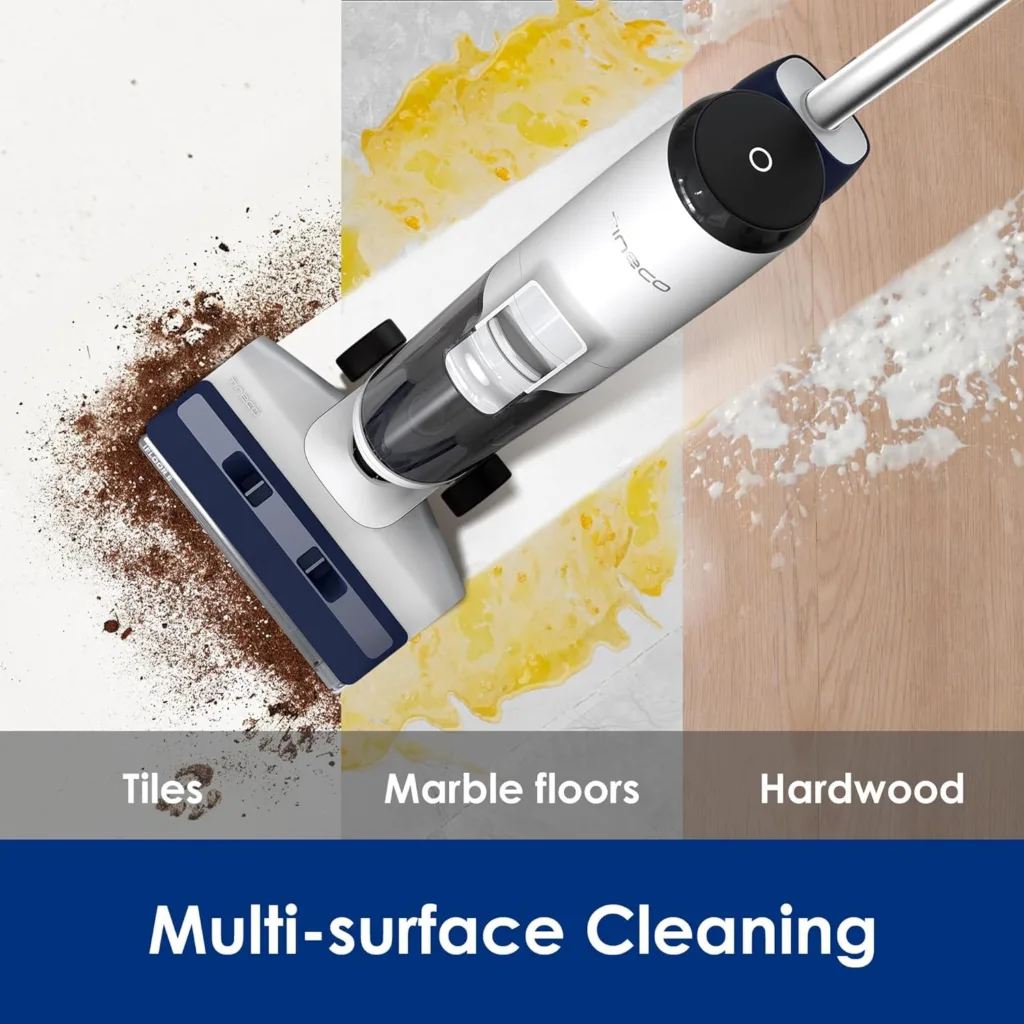
Hose and Attachment Care
Clogs happen, usually in the hose or where attachments connect. Monthly hose checks prevent minor blockages from becoming major problems.
Run a broomstick through the hose to check for obstructions. You can also drop a coin through one end and listen for it to exit the other side. Any resistance means there’s a clog that needs clearing.
Clean attachments with warm soapy water and let them dry completely. Pay special attention to crevice tools and upholstery brushes, which tend to accumulate dust and debris. Store attachments properly so they don’t get lost or damaged.
Proper Storage and General Care
Where and how you store your vacuum affects its longevity. Avoid extreme temperatures and humidity, which can damage seals and electronic components.
Empty bagless canisters after each use, or when bags are 2/3 full. Overfull containers reduce suction and put unnecessary strain on the motor. Wipe down the exterior regularly and keep air vents clear of dust buildup.
Store the vacuum with the cord wrapped loosely. Tight winding damages the cord internally, leading to electrical problems. Keep it in a clean, dry area where it won’t get knocked around.
Troubleshooting Common Issues
Loss of suction is the most common vacuum complaint. Start with the obvious: empty the container or change the bag, clean the filters, and check for clogs. These steps solve 80% of suction problems.
Strange noises usually indicate something’s stuck in the brush roll or a clog somewhere in the system. Turn off and unplug the vacuum immediately if you hear grinding, squealing, or rattling sounds.
Belt problems show up as reduced brush action or a burning smell. A snapped belt is obvious, but a stretched belt may just slip under load. Replace the belt if your vacuum isn’t picking up as well as it used to.
Vacuum Replacement Parts Kit
Maintenance kits often cost less than buying parts individually
When to Call for Repairs
Some issues require professional attention or signal that it’s time for a new vacuum. Motor problems, electrical issues, and major component failures often cost more to fix than the vacuum is worth.
Consistent overheating despite clean filters and clear airways suggests motor wear. Intermittent power or cord issues can be safety hazards. Cracked housings or broken wheels might seem minor but can indicate the vacuum has reached the end of its useful life.
Replacement parts that cost more than 50% of a new vacuum’s price usually aren’t worth it. But simple maintenance items like replacement belts, filters, and bags are always worth the investment.
Frequently Asked Questions
How often should I replace vacuum bags?
Change bags when they’re about 2/3 full, not completely packed. Overfull bags reduce suction and strain the motor. For average households, this means changing bags every 4-6 weeks, but high-traffic homes or those with pets may need more frequent changes.
Can I wash all vacuum filters?
Not all filters are washable. Check your manual or look for washing symbols on the filter itself. Washable filters are usually made of foam or have a plastic frame, while disposable filters are typically pleated paper or fabric. Never wash a disposable filter as this ruins its filtration ability.
Why does my vacuum smell bad when I use it?
Bad odors usually come from dirty filters, full bags, or debris stuck in the system. Pet hair and organic matter can create musty smells if left in the vacuum too long. Deep clean all washable components, replace filters and bags, and check for clogs. Persistent odors may indicate mold growth, which requires thorough disinfection of all washable parts.
This article contains affiliate links. We may earn a small commission at no extra cost to you.