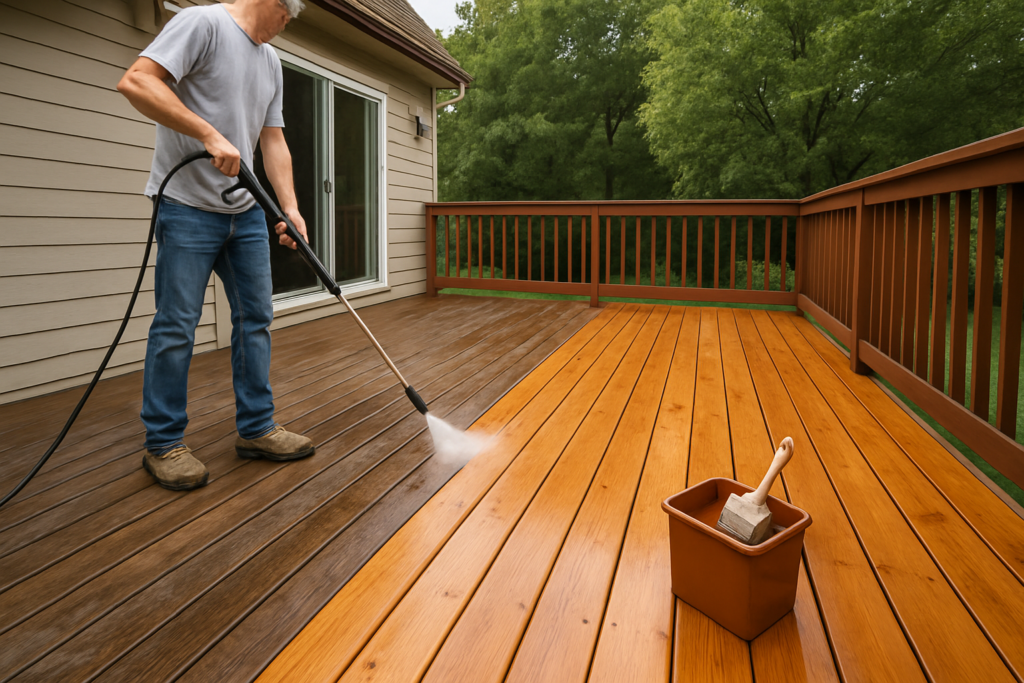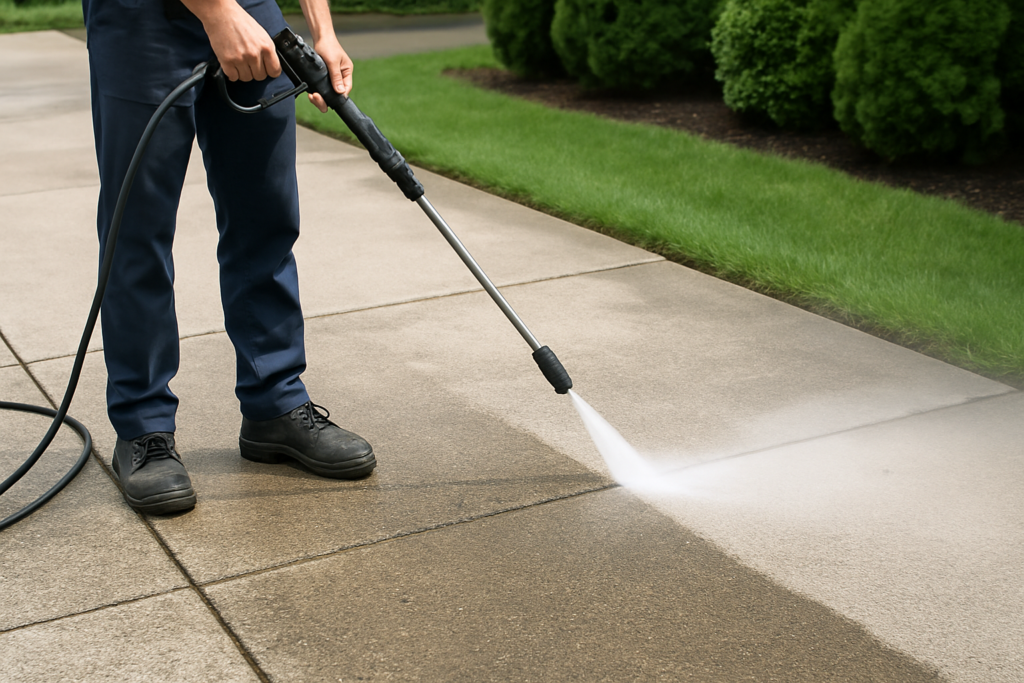
A dirty, stained driveway can seriously hurt your home’s curb appeal. Pressure washing is one of the fastest ways to transform that grimy concrete back to its original clean appearance. The process might seem intimidating if you’ve never done it before, but with the right approach and equipment, you can achieve professional-looking results in just a few hours.
This guide walks you through every step of pressure washing your driveway, from initial preparation to post-cleaning sealing. We’ll cover the essential equipment, proper techniques, and common mistakes to avoid so you can tackle this project with confidence.
Essential Equipment and Preparation
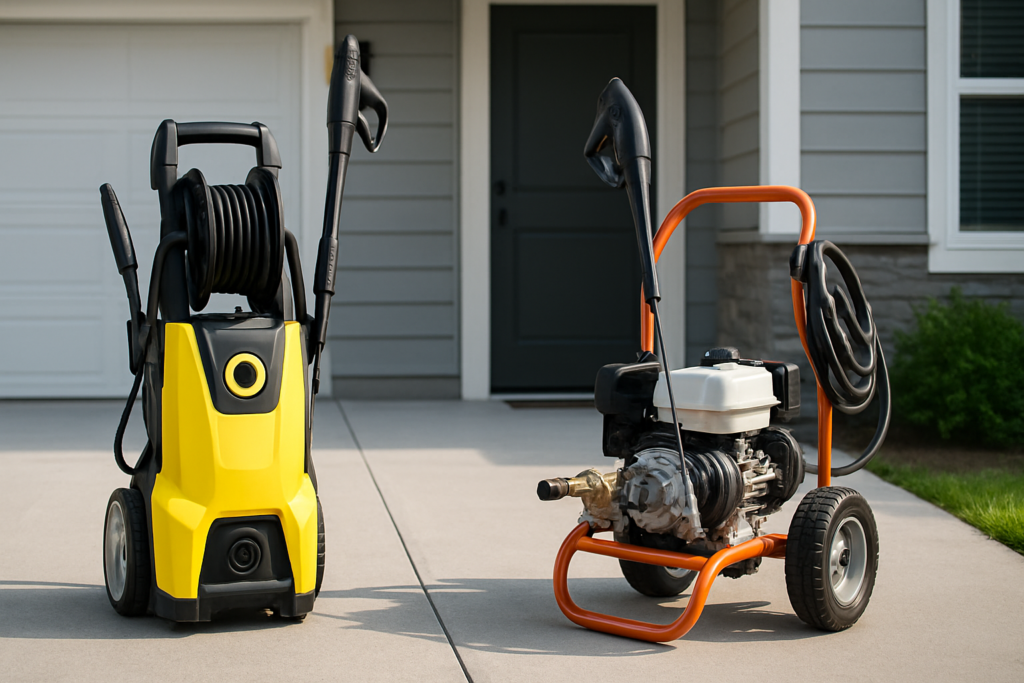
Before you start spraying, you need the right tools for the job. A gas-powered pressure washer with at least 3000 PSI works best for concrete driveways, though electric models with 2000-2500 PSI can handle lighter cleaning tasks. Gas units provide more power and don’t limit your range with extension cords.
You’ll also need a few key accessories. A surface cleaner attachment makes the job much faster and prevents streaking. These round attachments have rotating spray arms underneath that create an even cleaning pattern.
Simpson Cleaning 15 Inch Surface Cleaner
This attachment cuts cleaning time in half and prevents the striping that can occur with a standard wand.
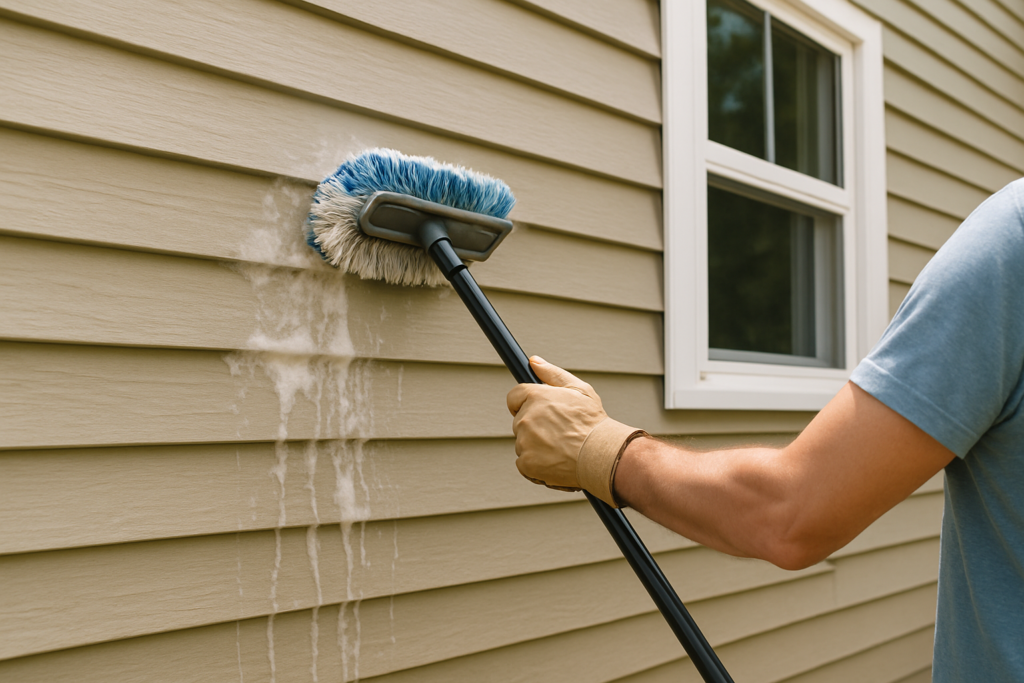
Safety gear is non-negotiable. Wear safety glasses, closed-toe shoes with good grip, and long pants. The high-pressure spray can cause serious injuries if it hits exposed skin. Keep pets and children away from the work area.
Start your prep work by removing all vehicles, bicycles, and other items from the driveway. Sweep away loose debris, leaves, and dirt. Pre-treat any oil stains with a concrete degreaser and let it sit for 15-20 minutes. Cover nearby plants with plastic sheeting since the cleaning solution can damage vegetation.
Choosing the Right PSI and Nozzle Settings
Concrete driveways can handle high pressure, but starting too aggressive can cause damage. Begin with a 25-degree nozzle (green) at about 2500-3000 PSI. This provides strong cleaning power while reducing the risk of etching the concrete surface.
Test your pressure settings in an inconspicuous corner first. If the 25-degree nozzle isn’t removing stubborn stains, you can switch to a 15-degree (yellow) nozzle for more concentrated power. Avoid the red 0-degree nozzle on concrete as it can create permanent gouges.
For older or softer concrete, reduce the pressure to 2000-2500 PSI. Newer concrete that’s been properly cured can typically handle the full 3000+ PSI without issues. Watch for any signs of surface damage as you work and adjust accordingly.
Water temperature also matters. Hot water cuts through grease and grime much more effectively than cold water. Many gas pressure washers can heat water to 180-200°F, which makes a significant difference on heavily soiled driveways.
Proper Pressure Washing Technique
Start from the highest point of your driveway and work downward, allowing dirty water to flow away from clean areas. Keep the spray wand or surface cleaner moving continuously. Stopping in one spot can create permanent marks in the concrete.
Maintain a consistent distance of 12-18 inches from the surface when using a standard wand. Getting too close increases the risk of damage, while staying too far reduces cleaning effectiveness. With a surface cleaner attachment, let the weight of the unit determine the contact pressure.
Work in overlapping passes to ensure even cleaning. Move the surface cleaner at a steady walking pace, roughly 3-4 feet per minute. Going too fast won’t give the spray time to lift embedded dirt, while moving too slowly wastes water and can cause streaking.
Pay special attention to expansion joints and cracks where dirt tends to accumulate. Use a standard spray wand with a 25-degree nozzle to clean these areas thoroughly. You might need multiple passes on heavily stained sections.
Sun Joe SPX3000 Electric Pressure Washer
A reliable electric option for homeowners who need solid cleaning power without the maintenance of gas engines.
Using Surface Cleaner Attachments Effectively
Surface cleaner attachments are the secret to professional results. These tools use rotating spray bars to create an even cleaning pattern that eliminates the zebra striping common with standard wands. They also contain the spray, reducing overspray and protecting nearby surfaces.
Choose a surface cleaner that matches your pressure washer’s flow rate. Most residential units work well with 15-inch cleaners, while commercial-grade washers can handle larger 20-24 inch models. The cleaning width directly affects how quickly you can complete the job.
Keep the surface cleaner flat against the concrete and maintain steady forward movement. Don’t try to push down on the unit as this can create uneven pressure and poor cleaning results. Let the rotating spray bars do the work.
For best results, make two passes over heavily soiled areas. The first pass removes surface dirt and loose grime, while the second pass tackles embedded stains. Change direction between passes (north-south, then east-west) to ensure thorough coverage.
Post-Cleaning: Sealing Your Driveway
After pressure washing, your concrete is clean but also more porous and vulnerable to future staining. Applying a quality concrete sealer protects your investment and makes future cleaning much easier.
Wait at least 24-48 hours after washing before applying any sealer. The concrete needs to be completely dry, both on the surface and internally. Applying sealer to damp concrete can cause adhesion problems and a cloudy appearance.
Choose between penetrating sealers that soak into the concrete or topical sealers that form a protective film on the surface. Penetrating sealers provide longer-lasting protection and won’t peel or flake, while topical sealers offer more immediate stain resistance and can enhance the concrete’s appearance.
Apply sealer with a low-pressure sprayer or paint roller, working in manageable sections. Follow the manufacturer’s coverage recommendations carefully. Over-application can create an uneven, glossy appearance that looks artificial.
Concrete Sealer for Driveways
A quality penetrating sealer that protects without changing the natural look of your concrete.
Frequently Asked Questions
How often should I pressure wash my driveway?
Most driveways benefit from pressure washing once or twice per year, depending on weather conditions and usage. Driveways in areas with heavy tree coverage or frequent rain may need more frequent cleaning, while those in dry climates can often go longer between washings.
Can pressure washing damage my concrete driveway?
When done correctly with appropriate pressure settings and techniques, pressure washing won’t damage properly cured concrete. However, using excessive pressure, holding the nozzle too close, or using a narrow spray pattern can cause surface etching. Always test in an inconspicuous area first.
What’s the best time of year to pressure wash and seal a driveway?
Spring and fall offer ideal conditions for driveway cleaning and sealing. Avoid extreme temperatures, direct sunlight, and rainy periods. The concrete temperature should be between 50-80°F for best sealer adhesion, and you need at least 24 hours of dry weather after sealing.
Pressure washing your driveway transforms your home’s curb appeal while protecting your concrete investment. With proper preparation, equipment, and technique, you can achieve professional results that last for months. Take your time, prioritize safety, and don’t skip the sealing step for long-term protection.
This article contains affiliate links. We may earn a small commission at no extra cost to you.