There’s nothing quite as annoying as opening your freezer to discover a pool of water around your ice maker. You bought this appliance to make life easier, not to create mini flood zones in your kitchen. When your ice maker refuses to drain properly, it’s not just inconvenient. It can damage your freezer, ruin your food, and leave you dealing with persistent ice buildup that makes the whole unit work harder than it should.
The good news is that most ice maker drainage problems aren’t catastrophic. They’re usually caused by clogs, faulty pumps, or installation issues that you can fix yourself with a little patience and the right guidance. Let’s walk through exactly why your ice maker isn’t draining and what you can do about it.
Understanding How Ice Maker Drainage Works
Before you can fix the problem, you need to understand what’s supposed to happen. Your ice maker doesn’t just freeze water and call it a day. It goes through a complete cycle that includes melting excess ice from the mold, and that water needs somewhere to go.
Most built-in ice makers drain through a tube that connects to your refrigerator’s main drain line. This line typically runs along the back of your freezer and eventually leads to a drain pan at the bottom of your fridge. Portable ice makers work differently. They usually have a drain plug at the bottom that you need to manually empty, or they recirculate the water back into the reservoir.
When this system breaks down, water backs up. It can freeze in the wrong places, overflow onto your freezer floor, or create ice dams that block the entire mechanism. Understanding which type of ice maker you have is the first step to diagnosing the problem correctly.
The Most Common Culprit: Clogged Drain Lines
Nine times out of ten, your drainage problem comes down to a clog. Ice makers produce small amounts of mineral deposits and debris over time, and these can build up in your drain tube. Even a partial blockage can slow drainage enough to cause problems.
To check for clogs, you’ll need to locate your drain line. For built-in freezer ice makers, this is usually a small tube at the back of the ice maker assembly. Disconnect your ice maker from power first. Then, remove the ice bin and look for a drain opening. You might need to remove a panel or two to get clear access.
Once you’ve found the drain, try flushing it with warm water using a turkey baster or small funnel. If water backs up immediately, you’ve confirmed a clog. For stubborn blockages, a length of flexible tubing or a small drain snake can help break things loose. Push it gently through the drain line, being careful not to damage the tube itself.
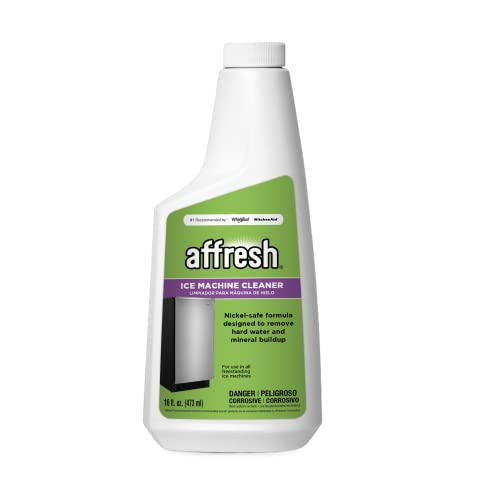
Ice Maker Cleaning Solution
Regular cleaning prevents mineral buildup that causes most drainage clogs
Many clogs form from mineral deposits left by hard water. These crusty white or brown buildups don’t respond well to plain water. You’ll need an acidic cleaner specifically designed for ice makers. These solutions dissolve mineral scale without damaging the plastic components of your ice maker.
Checking the Drain Pump
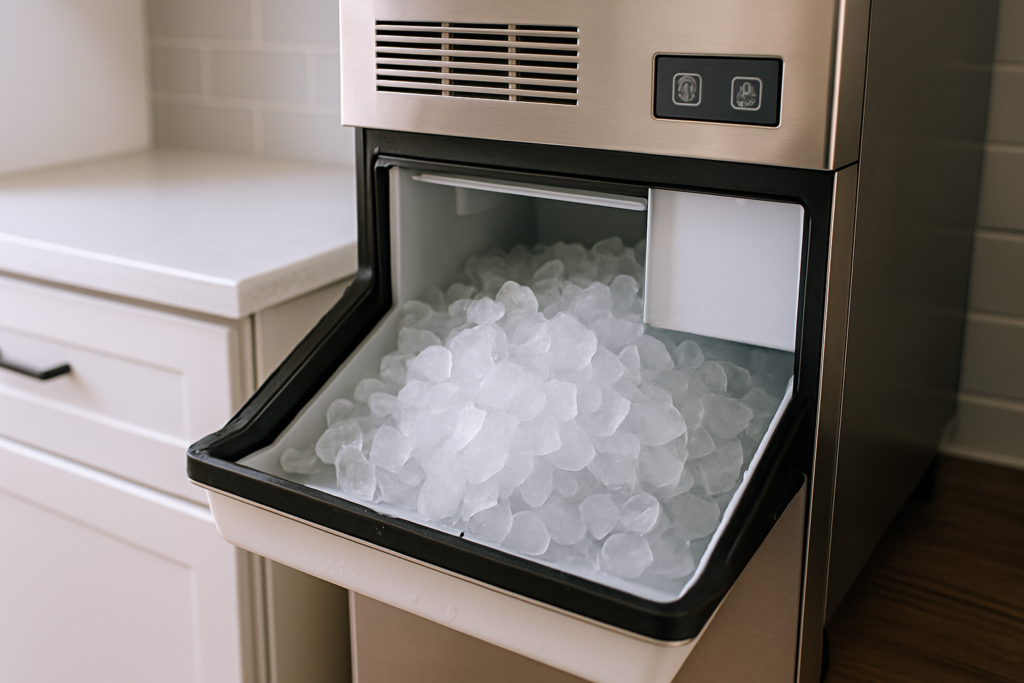
Portable and countertop ice makers often use a small drain pump to move water out of the unit. These pumps are tiny, usually about the size of a golf ball, but they do heavy lifting. When they fail, water has nowhere to go.
You can usually hear a working drain pump. It makes a quiet humming or buzzing sound during the drain cycle. If your ice maker’s cycle seems to pause where it should be draining, but you don’t hear anything, the pump might be dead.
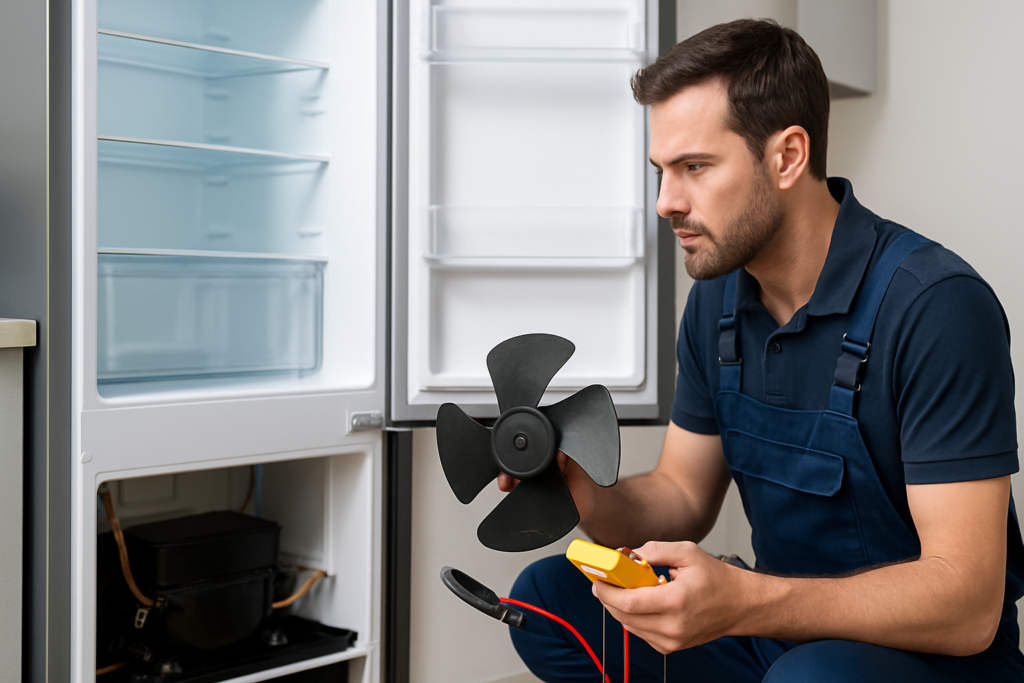
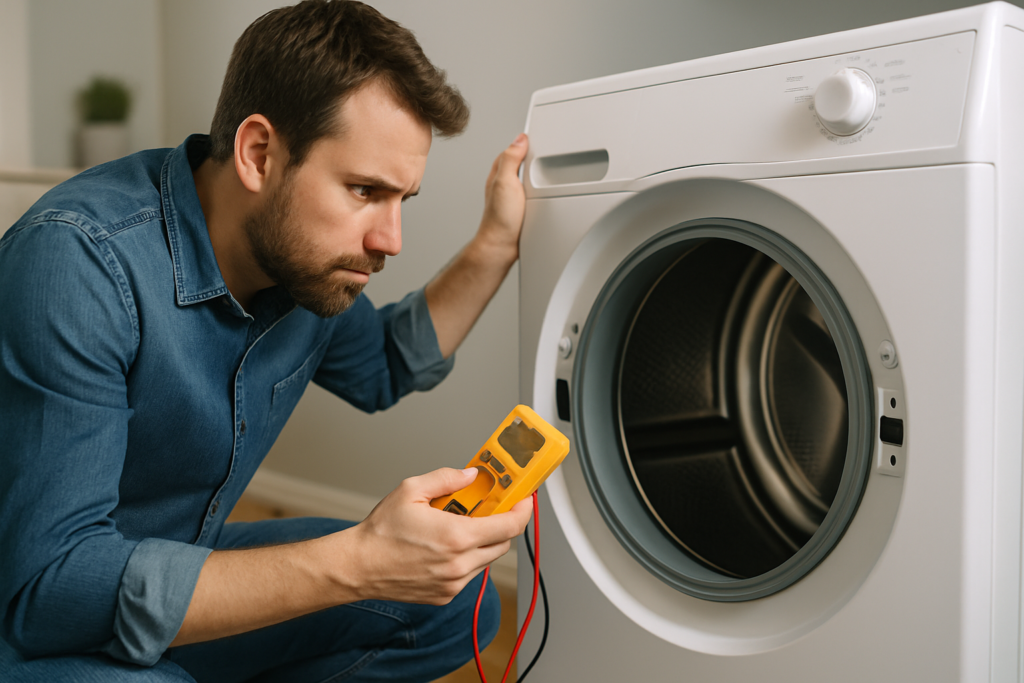
Testing the pump requires a multimeter if you want to be thorough, but sometimes visual inspection tells you everything you need to know. Unplug your unit and locate the drain pump (check your owner’s manual for the exact location). Look for obvious damage, burned areas, or disconnected wires. If the pump housing is cracked or the impeller doesn’t spin freely, you need a replacement.
Replacing a drain pump isn’t particularly difficult, but you need the right part. Most manufacturers sell OEM replacements, or you can find universal ice maker drain pumps that work with multiple brands. Make sure you match the voltage and flow rate to your original pump.
Filter and Screen Blockages
Some ice makers include a small filter or screen near the drain outlet. This catches debris before it can clog the main drain line. It’s a smart design feature, but these filters can become the problem if you never clean them.
Pull out your ice bin and look carefully around the drain area. You might see a small mesh screen or perforated cover. On some models, this screws out easily. On others, you might need to pop off a plastic cover with a flathead screwdriver.
Rinse the filter under warm water, scrubbing gently with an old toothbrush to remove stuck-on debris. If the filter is damaged or extremely clogged, replace it. These parts are usually inexpensive and can prevent much bigger problems down the line.
Installation and Leveling Issues
Sometimes the problem isn’t a broken part at all. It’s how your ice maker is positioned. Drainage relies partly on gravity, and if your unit isn’t level, water can pool instead of flowing where it should.
Grab a bubble level and check both front-to-back and side-to-side. Your freezer should be very slightly tilted backward (about a quarter inch over the depth of the unit). This helps water flow toward the drain at the back. If your unit tilts forward, water collects at the front and may not drain completely.
Adjust the leveling legs at the bottom of your refrigerator to correct any tilt. Most models have adjustable feet that you turn clockwise to raise and counterclockwise to lower. Check your work with the level again after adjusting.
For portable ice makers, make sure the drain plug is actually lower than the water level inside. Some people place these units on uneven counters or try to drain them into a container that’s too high. The water won’t flow uphill, no matter how much you want it to.
Frozen Drain Line Problems
Here’s an ironic problem: your ice maker’s drain line can freeze solid, blocking drainage completely. This happens most often when your freezer runs too cold or when there’s poor air circulation around the drain tube.
If you suspect a frozen drain line, you’ll need to thaw it out. Unplug your freezer (yes, really) and let it sit with the door open for several hours. You can speed this up by carefully directing warm air from a hair dryer at the drain area, but keep it at least six inches away and never let it get hot enough to melt plastic components.

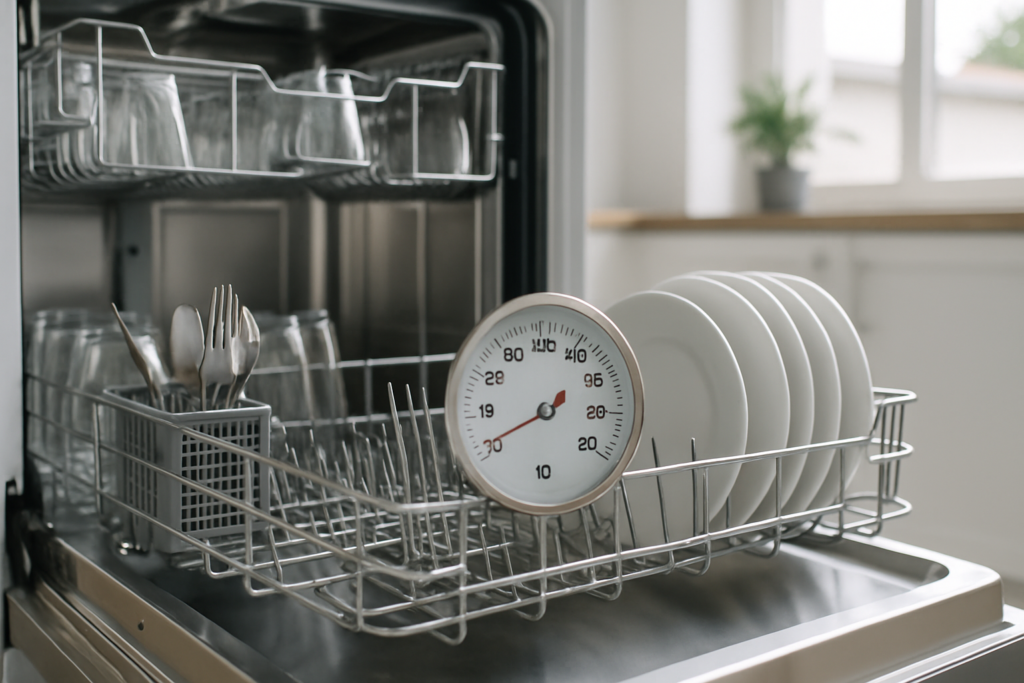
Refrigerator Thermometer
Monitoring your actual freezer temperature helps prevent freeze-ups and ensures optimal ice maker performance
Once you’ve thawed the line, check your freezer’s temperature setting. Your freezer should run at 0°F for optimal performance. Colder than that increases your risk of drain line freeze-ups. Warmer, and you’ll have food safety issues. A simple stick-on thermometer lets you verify your freezer is running at the right temperature.
You should also check the drain line insulation. Some models include foam insulation around the drain tube to prevent freezing. If this insulation is missing or damaged, consider wrapping the tube with foam pipe insulation designed for refrigeration use.
When to Call a Professional
Most ice maker drainage problems fall within DIY territory, but some situations call for professional help. If you’ve checked everything on this list and water still won’t drain, you might have a more serious issue.
Damaged internal components like cracked drain pans or broken water lines inside your freezer wall require professional repair. These aren’t parts you can easily access, and attempting repairs yourself could void your warranty or cause water damage.
Similarly, if your refrigerator’s main drain line is clogged deep within the system, a technician with proper tools can clear it without disassembling half your kitchen. They have specialized equipment like pressurized flush systems and long flexible augers designed specifically for refrigerator drain lines.
Electrical problems with built-in ice makers also warrant professional attention. If your drain pump should be running but isn’t, and you’ve verified it’s receiving power, the control board might be faulty. Diagnosing and replacing control boards requires technical knowledge and special tools.

Ice Maker Installation Kit
If you’re replacing your ice maker, a complete installation kit ensures you have all the right fittings and lines for proper drainage
Preventing Future Drainage Problems
Once you’ve fixed your drainage issue, you’ll want to keep it from happening again. Regular maintenance makes a huge difference. Clean your ice maker every three to six months using a proper ice maker cleaning solution. This prevents mineral buildup before it becomes a clog.
Replace your refrigerator’s water filter on schedule. A clogged water filter can cause pressure issues that affect drainage. Most manufacturers recommend changing filters every six months, but check your specific model’s requirements.
Pay attention to your water quality. If you have hard water (water with high mineral content), you’ll need to clean more frequently. You might also consider installing a water softener or additional inline filter before your ice maker to reduce mineral deposits.
Check the drain area periodically, even when things are working fine. A quick visual inspection every few months can catch small problems before they become big ones. Look for ice buildup, water stains, or anything that seems out of place.
Frequently Asked Questions
Why does my ice maker drain slowly but not completely clog?
Partial clogs are actually more common than complete blockages. You’re probably dealing with a buildup of mineral scale or debris that narrows the drain line without closing it off entirely. This allows some water through, but not enough to keep up with your ice maker’s production. Flush the drain line with warm water and cleaning solution, then consider installing an inline filter to prevent future buildup.
Can I use vinegar to clean my ice maker drain line?
White vinegar works for light cleaning and mineral deposit removal. Mix equal parts white vinegar and warm water, then flush it through your drain line. Let it sit for 15-20 minutes before rinsing thoroughly with plain water. For heavy buildup, dedicated ice maker cleaning solutions work faster and more effectively. Never use bleach or harsh chemicals that could damage plastic components or contaminate your ice.
How often should I clean my ice maker’s drain?
Clean your ice maker drain every three to six months under normal conditions. If you have hard water, clean it every two to three months. You’ll know you need to clean more often if you notice ice buildup around the drain area, slower ice production, or water pooling in your ice bin between cleaning sessions. Set a recurring reminder on your phone so you don’t forget.
Will a clogged drain damage my ice maker permanently?
A clogged drain won’t usually cause permanent damage if you catch it quickly. However, persistent drainage problems can lead to ice buildup that damages the ice maker mechanism, or water overflow that damages electronic components. Standing water can also promote mold growth. Fix drainage issues as soon as you notice them to avoid these secondary problems. Most ice makers recover completely once proper drainage is restored.
This article contains affiliate links. We may earn a small commission at no extra cost to you.