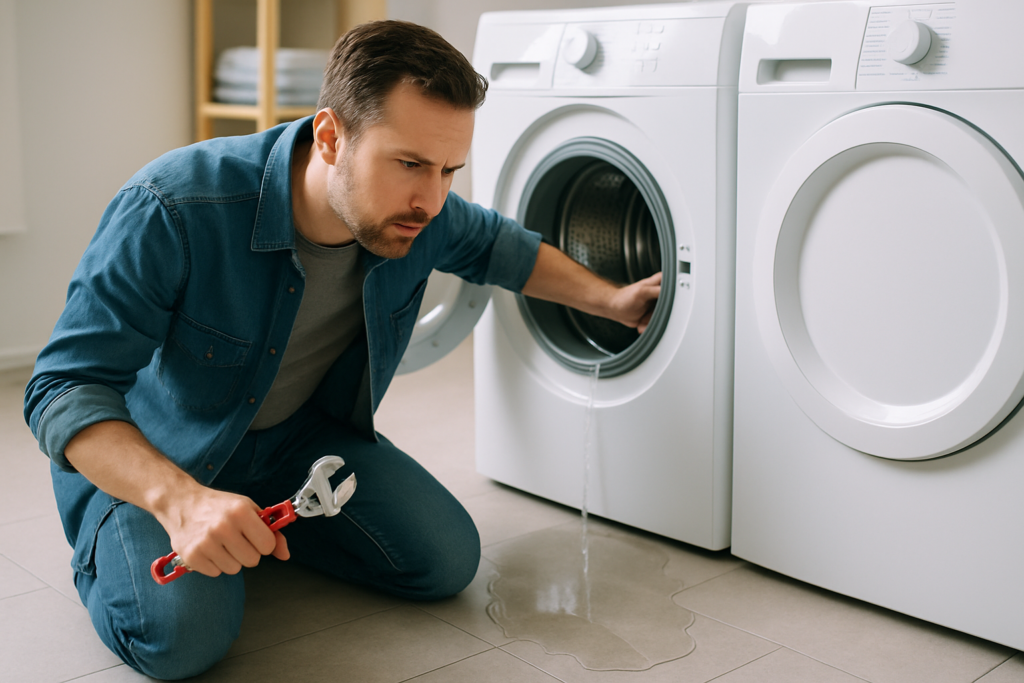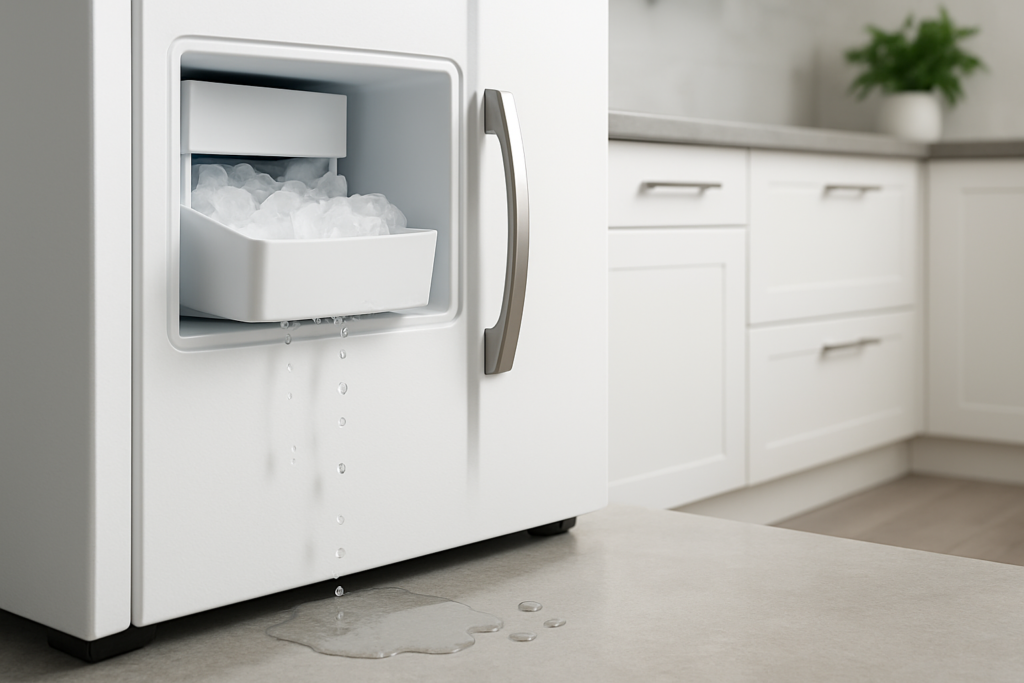
There’s nothing quite like opening your freezer to find a puddle of water spreading across your kitchen floor. A leaking ice maker can turn from a minor annoyance into a major problem fast, especially if water seeps under your flooring or damages nearby cabinets. The good news is that most ice maker leaks have simple causes, and you can fix many of them yourself without calling in a repair technician.
Let’s walk through the most common reasons your ice maker is leaking and exactly how to fix each one.
Check the Water Supply Line Connection
The water supply line is the number one culprit behind ice maker leaks. This thin copper or plastic tube carries water from your home’s plumbing to the ice maker, and it’s prone to issues at both connection points.
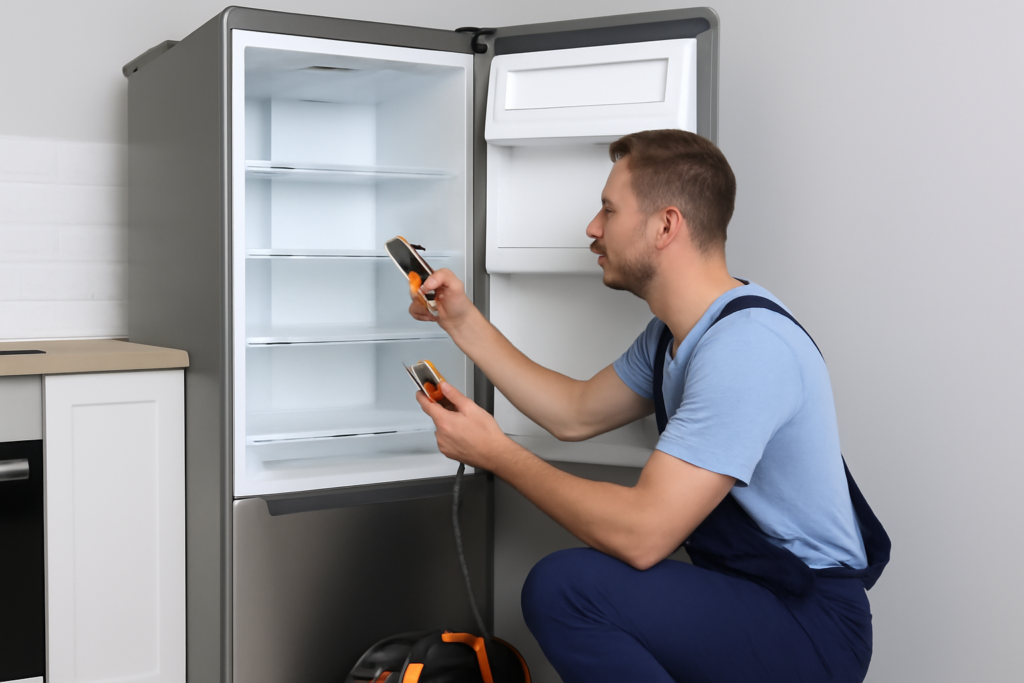
Start by pulling your refrigerator away from the wall and inspecting where the supply line connects to both the wall valve and the back of your fridge. Look for any visible moisture, corrosion, or loose fittings. Sometimes the connection just needs tightening with an adjustable wrench, but be careful not to overtighten and crack the fitting.
If the line itself is damaged or cracked, you’ll need to replace it entirely. Plastic supply lines are particularly vulnerable to cracking over time, especially if they’ve been kinked or bent too sharply. Consider upgrading to a braided stainless steel supply line for better durability.

Ice Maker Water Line Kit
A complete installation kit makes replacing your supply line much easier with all the fittings you need.
Inspect the Fill Valve and Water Inlet
Inside your freezer, the fill valve controls how much water enters the ice maker tray. When this valve malfunctions or the seal around it deteriorates, water can leak into your freezer instead of staying in the mold.
Look for ice buildup around the fill valve area at the back of your freezer. Excessive frost or ice in this spot usually means water is leaking during the fill cycle. The fill valve might be stuck open, allowing water to continuously trickle in, or the water pressure might be too high.
Your home’s water pressure should be between 40 and 120 PSI for proper ice maker function. Anything above that range can cause the fill valve to leak. You can check your water pressure with a simple gauge that attaches to an outdoor spigot. If pressure is too high, you may need a pressure regulator installed on your main water line.
Examine the Drain System
Many people don’t realize their refrigerator has a drain system, but it’s critical for preventing leaks. During the defrost cycle, ice melts off the evaporator coils and drains down a tube into a pan underneath your fridge. When this drain gets clogged with food particles or ice, water backs up and leaks out the front.
The drain hole is typically located at the back of your freezer compartment, often hidden behind a panel. Remove any visible ice or debris blocking the opening. You can flush the drain with warm water mixed with a bit of baking soda to clear blockages and eliminate odors.
Check the drain pan under your refrigerator too. It might be cracked, misaligned, or overflowing. This pan should evaporate water naturally, but if your kitchen is particularly humid or the pan is damaged, you’ll see water pooling on your floor.

Refrigerator Drain Cleaning Tool
This flexible cleaning tool reaches deep into drain tubes to clear stubborn clogs without damaging the line.
Test the Ice Maker Assembly
Sometimes the ice maker unit itself is the problem. The seals and gaskets inside can wear out, causing water to drip during the harvest cycle when ice cubes release from the mold.
Run a test cycle and watch carefully for leaks. Most ice makers have a test button you can press to manually trigger a cycle. Watch where the water goes when it fills and when the arm rotates to dump ice. Any water dripping outside the mold indicates failed seals.
If the entire ice maker assembly is old or damaged, replacement is often more cost-effective than trying to repair individual components. You can find replacement ice maker assemblies specific to your refrigerator model. Installation typically requires just a few screws and reconnecting the water line.
Frequently Asked Questions
How do I know if my ice maker leak is serious?
Any leak that produces more than a few drops of water daily needs immediate attention. Small drips can indicate early wear that will worsen over time. Large puddles or continuous flowing water suggests a major failure like a cracked line or stuck valve that could cause significant water damage. Turn off the water supply to your ice maker immediately if you see substantial leaking.
Can I use my ice maker while investigating a leak?
You should turn off your ice maker at the first sign of leaking. Most models have an on/off switch or a wire arm you can lift to stop ice production. You can still use your refrigerator and freezer normally, but continuing to make ice while there’s a leak will waste water and potentially cause more damage. Once you identify and fix the source, run a few test cycles before leaving it unattended.
This article contains affiliate links. We may earn a small commission at no extra cost to you.