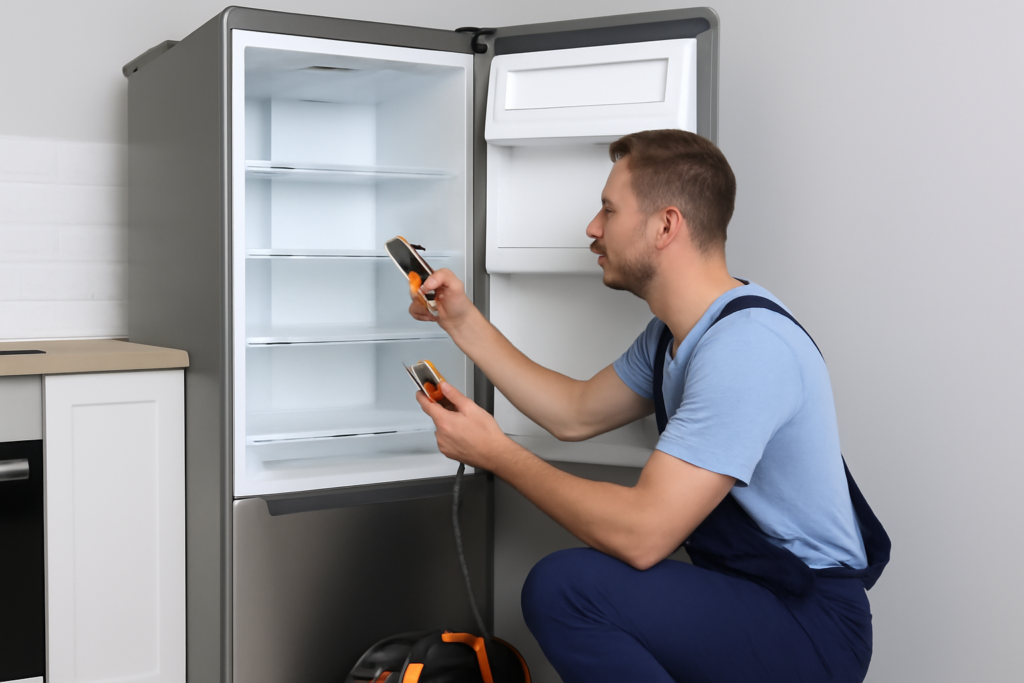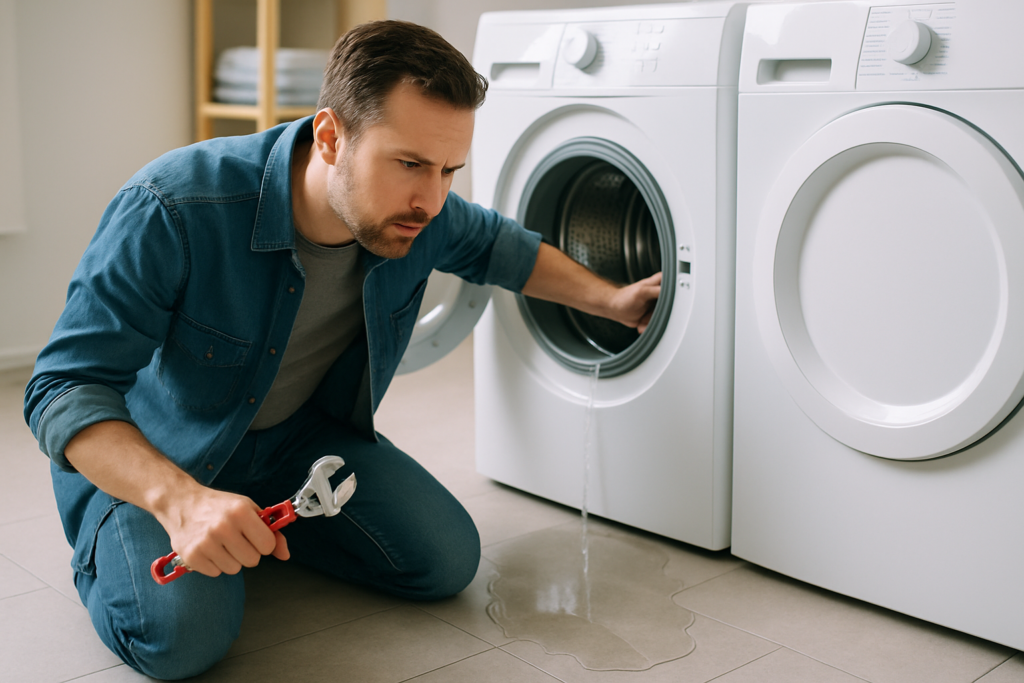
There’s nothing quite as frustrating as reaching for ice on a hot day only to find your ice maker completely unresponsive. No hum, no click, no ice. When your ice maker refuses to turn on, you’re stuck either buying bags of ice or going without, neither of which is ideal when you’ve got a perfectly good appliance sitting in your freezer.
The good news is that most ice maker failures fall into a few common categories, and many of them are surprisingly easy to fix yourself. Before you call a repair technician or start shopping for a replacement, let’s walk through the most likely culprits and how to get your ice production back on track.
Check Your Power Supply First
This might sound obvious, but power issues are the most common reason ice makers stop working. Your ice maker needs electricity to function, and there are several points where that power can get interrupted.
Start by checking if your ice maker’s power switch is actually in the “on” position. Most ice makers have either a physical toggle switch or a metal arm that you lift to turn the unit off. The arm should be in the down position for the ice maker to operate. Sometimes these get bumped when you’re loading or unloading items from the freezer.
Next, verify that your entire refrigerator is getting power. Check if the interior light comes on when you open the door and confirm that your freezer is maintaining the correct temperature. If the whole unit is warm, you’ve got a bigger problem than just the ice maker.
Look for any visible damage to the power cord or connection points. If you have a modular ice maker, there should be a wiring harness connecting it to the refrigerator’s main power supply. Make sure this connection is secure and hasn’t come loose.
Try a Reset Before Anything Else
Modern ice makers have electronic control boards that can sometimes glitch or freeze up, just like a computer. A simple reset can often bring them back to life without any parts or tools required.
The reset process varies by manufacturer, but most ice makers have a test button or reset switch. On Whirlpool and KitchenAid models, you’ll typically find a small test button on the ice maker module itself. Press and hold this button for about 10 seconds until you hear a chime or see the ice maker cycle.
For Samsung refrigerators, look for a small hole labeled “test” on the ice maker. You’ll need to press a thin object like a paperclip into this hole and hold it for a few seconds. LG models usually have a test button on the side of the ice maker unit.
If you can’t find a reset button, you can perform a hard reset by unplugging the entire refrigerator for about 5 minutes, then plugging it back in. This clears the memory of the control board and can resolve software-related issues.
Inspect for Blown Fuses and Tripped Breakers
Your ice maker may have its own dedicated fuse on the refrigerator’s control board, separate from the main power supply. This fuse protects the ice maker circuitry from electrical surges and can blow without affecting the rest of your refrigerator.
To check this, you’ll need to access the main control board, which is usually located behind the refrigerator or inside a panel at the top of the fresh food compartment. Consult your owner’s manual for the exact location. Once you’ve found the board, look for a small cylindrical fuse labeled for the ice maker circuit.
You can test the fuse with a multimeter set to continuity mode. If the fuse is blown, you’ll need to replace it with an exact match. Don’t skip this step and assume the fuse is fine just because it looks okay visually.

Ice Maker Replacement Kit
Universal kits work with most major brands and include all necessary mounting hardware.
Also check your home’s circuit breaker panel. While rare, a tripped breaker could cut power to the outlet your refrigerator uses. Reset any tripped breakers and see if that resolves the issue.
Common Part Failures That Stop Ice Production
If power isn’t the issue, you’re likely dealing with a failed component. Ice makers have several parts that wear out over time, and identifying which one has failed will determine your repair approach.
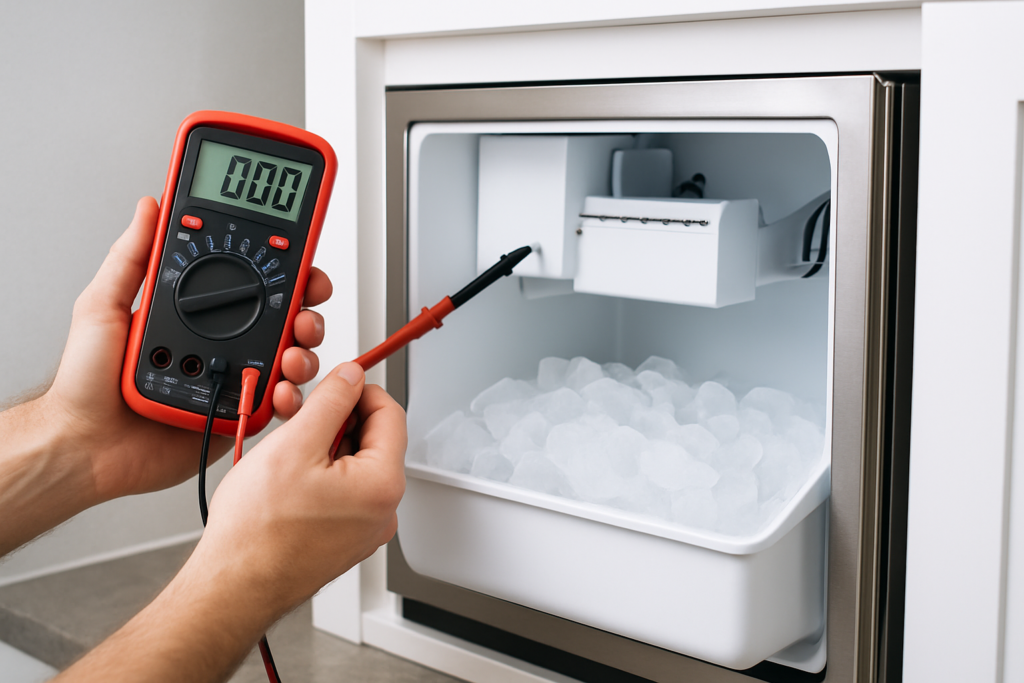
Water Inlet Valve
The water inlet valve controls the flow of water into your ice maker. When it fails, the ice maker won’t receive water even if everything else is functioning properly. You can test this valve with a multimeter by checking for continuity across the solenoid coils. A functioning valve should read between 200 and 500 ohms.
The inlet valve is usually located at the back of the refrigerator where the water line connects. Before replacing it, make sure water pressure to the refrigerator is adequate. Ice makers need at least 20 psi to operate correctly, and low water pressure can make a good valve appear to be faulty.
Ice Maker Module
The ice maker module is the main control unit that operates the entire ice-making cycle. It contains the motor, ejector arms, and control circuitry. When this module fails, the ice maker simply won’t turn on or cycle, even if it’s receiving power.
Testing the module requires a multimeter and some technical knowledge, but replacement is relatively simple. Most modules mount with just a few screws and a quick-connect wiring harness. When shopping for a replacement, you’ll need your refrigerator’s exact model number to ensure compatibility.

Ice Maker Module Assembly
Get the exact module for your make and model rather than generic parts for best results.
Door Switch
Your refrigerator has a door switch that tells the ice maker when the freezer door is open. This prevents the ice maker from cycling while the door is ajar. If this switch fails in the “open” position, your ice maker will think the door is always open and refuse to operate.
You can test the door switch by pressing it manually while the freezer door is open. You should hear a click and see the freezer light turn off. If the switch doesn’t click or the light stays on, the switch needs replacement.
Thermostat
The ice maker thermostat monitors the temperature inside the ice mold. Once the water freezes to the correct temperature (usually around 15°F), it signals the module to harvest the ice. A failed thermostat can prevent the entire ice-making cycle from starting.
This component is located inside the ice maker assembly itself and requires partial disassembly to test or replace. Testing requires a multimeter and checking for continuity at freezing temperatures.
When to Replace vs. Repair
Sometimes you need to make the call between repairing your existing ice maker and replacing it entirely. If your ice maker is more than 5 years old and requires multiple part replacements, you’re often better off installing a new unit.
Complete ice maker assemblies are available for most major refrigerator brands and can be installed in about 30 minutes with basic tools. You’ll need a screwdriver, adjustable wrench, and possibly a 1/4-inch nut driver depending on your model.
Installation involves shutting off the water supply, disconnecting the old unit, and mounting the new one in the same location. Make sure to get an ice maker specifically designed for your refrigerator brand and model, as mounting brackets and electrical connections vary significantly between manufacturers.
Generic “universal” ice makers exist, but they often require modifications to fit properly and may not work as reliably as OEM parts. Stick with manufacturer-specific replacements when possible.
Frequently Asked Questions
How long should I wait after resetting my ice maker before expecting ice?
After a successful reset, your ice maker should complete its first cycle within 45 minutes to 2 hours. However, you won’t have a full bin of ice for 24 hours. The ice maker needs time to freeze each batch, harvest it, and repeat the cycle multiple times. If you don’t see any activity within 3 hours of resetting, you likely have a hardware problem rather than a software glitch.
Can I test if my ice maker motor is working?
Yes, you can manually initiate a harvest cycle on most ice makers using the test button. When you press it, you should hear the motor engage and see the ejector arms rotate to push ice out of the mold. If pressing the test button produces no sound or movement, the motor or control module has failed. Some ice makers will also cycle through a test pattern that includes filling the mold with water, which helps you diagnose whether the water supply is functioning.
Why did my ice maker stop working suddenly when it was fine yesterday?
Sudden failures are usually caused by electrical issues rather than gradual wear. Check for a tripped GFCI outlet, a blown fuse on the control board, or a loose wire connection. Power surges from lightning or utility work can also damage the ice maker’s electronic components. If you recently had a power outage, try unplugging the refrigerator for 5 minutes to reset the control systems before investigating further.
This article contains affiliate links. We may earn a small commission at no extra cost to you.