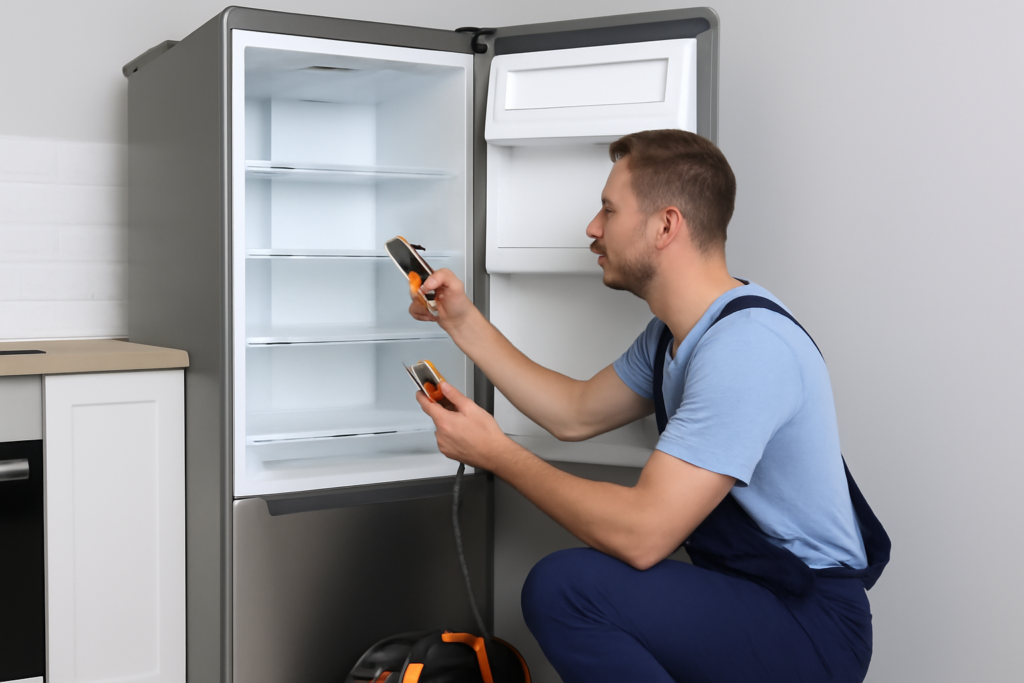
There’s nothing more frustrating than reaching for ice on a hot day only to find your ice maker has turned into a lukewarm disappointment. You might notice the ice cubes are partially melted, oddly soft, or your machine is running constantly without producing proper frozen ice. Before you start shopping for a replacement, understanding what’s causing the cooling problem can save you hundreds of dollars.
Most ice maker cooling issues stem from three main culprits: restricted airflow, dirty or damaged coils, and compressor problems. The good news is that many of these problems are fixable with basic tools and a little patience. Let’s walk through each issue so you can get your ice maker back to producing those perfectly frozen cubes.
Airflow Restrictions: The Silent Ice Maker Killer
Your ice maker needs proper ventilation just like any other refrigeration appliance. When airflow gets blocked, the compressor works overtime but can’t cool efficiently. This is one of the most common issues, and it’s often the easiest to fix.
Check the vents on your ice maker first. Built-in models typically have vents on the front grille, while portable units have them on the sides or back. Dust, pet hair, and kitchen grease build up over time and create an insulating barrier that traps heat inside the unit.
Grab a vacuum with a brush attachment and clean all visible vents thoroughly. For stubborn grime, use a soft brush dipped in warm soapy water. You’d be surprised how much debris accumulates in these areas, especially if your ice maker sits near a cooking area.
Location matters too. If your ice maker is crammed into a tight cabinet space or pushed flush against a wall, it can’t breathe properly. Most manufacturers recommend at least 3 inches of clearance on all ventilated sides. Check your owner’s manual for specific spacing requirements for your model.
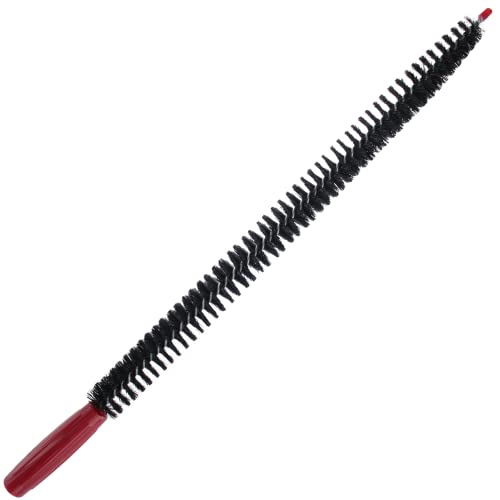
Refrigeration Coil Cleaning Brush
Essential tool for reaching those hard-to-access coil fins without damaging them
Condenser Coil Problems: Where Heat Goes to Die
The condenser coils are responsible for releasing heat from inside your ice maker to the outside air. When these coils get dirty or damaged, your machine can’t shed heat effectively, and cooling performance drops dramatically.
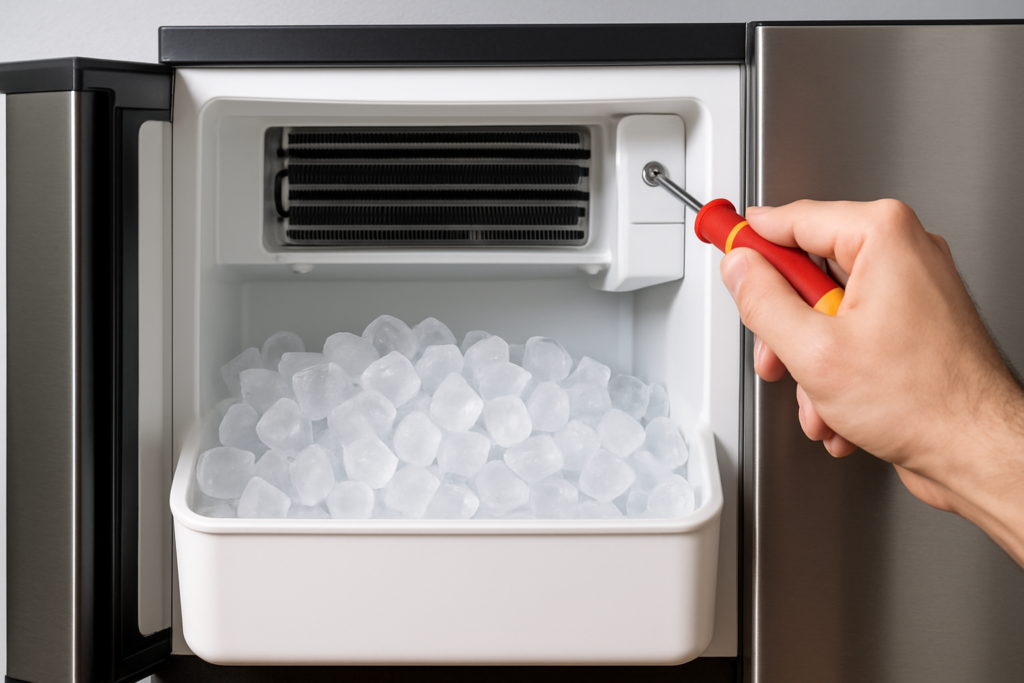
On most ice makers, you’ll find the condenser coils on the back or bottom of the unit. Some models hide them behind a panel that requires a screwdriver to access. Once you’ve located them, inspect for two main issues: dirt buildup and physical damage to the fins.
Dirty coils look fuzzy or matted with dust and debris. Use a coil cleaning brush specifically designed for refrigeration equipment to gently clean between the fins. Work in the direction of the fins, not across them, to avoid bending the delicate aluminum. A coil cleaning solution can help dissolve stubborn grease and grime that water alone won’t remove.
Bent or crushed fins restrict airflow just as badly as dirt. You can carefully straighten minor damage with a fin comb, which has teeth sized to match different fin spacing. Common spacings include 8, 10, 12, and 14 fins per inch, so measure yours before buying a comb.
After cleaning, let the coils dry completely before powering the unit back on. Many technicians recommend cleaning condenser coils every three to six months, depending on your environment. Homes with pets or high dust levels need more frequent maintenance.
Compressor Issues: When Things Get Serious
The compressor is the heart of your ice maker’s cooling system. When it fails or struggles, you’ll notice the unit running constantly, making unusual noises, or not cooling at all despite clean coils and good airflow.
Start by listening to your compressor. A healthy compressor runs with a steady hum. Clicking sounds that repeat every few minutes suggest the compressor is trying to start but can’t. Loud rattling or grinding noises indicate internal damage. Any of these symptoms usually mean compressor trouble.
Check if the compressor is hot to the touch. While compressors do generate heat during normal operation, excessive heat that you can’t hold your hand on for more than a second suggests overheating. This often happens when the compressor is working too hard due to low refrigerant, dirty coils, or internal wear.
Refrigerant leaks are another common compressor-related issue. Look for oily residue around coil connections, frost buildup in unusual places, or a hissing sound when the unit runs. Unfortunately, refrigerant problems require a certified technician since handling refrigerants requires special licensing and equipment.

Digital Multimeter
Invaluable for testing compressor relays and start capacitors before calling a technician
You can test the compressor relay and start capacitor yourself with a multimeter if you’re comfortable working with electrical components. These parts fail frequently and are relatively inexpensive to replace. Look for continuity in the relay and proper capacitance readings in the capacitor, checking against your model’s specifications.
However, if the compressor itself has failed internally, replacement often costs as much as a new ice maker. This is when you need to make an economic decision based on your unit’s age and condition.
Other Cooling Issues Worth Checking
Sometimes the problem isn’t mechanical at all. Ambient temperature plays a huge role in ice maker performance. Most units are rated to operate in environments between 50°F and 90°F. Operating outside this range, like in an uninsulated garage during summer, causes cooling problems.
Water temperature affects cooling efficiency too. Very warm incoming water takes longer to freeze and makes the compressor work harder. Consider using cooler water or installing an inline water filter that also provides some cooling effect.
Check the door seal if you have a built-in model. A worn or damaged gasket lets cold air escape and warm air enter. Test the seal by closing the door on a dollar bill. If you can pull it out easily, the seal needs replacement. New door seals are model-specific, so have your exact make and model number ready when ordering.
When to Call a Professional
DIY repairs make sense for airflow issues, dirty coils, and simple electrical component replacements. But certain problems require professional help. Refrigerant handling, compressor replacement, and sealed system repairs need specialized tools and certification.
Get quotes from multiple appliance repair services and compare them to the cost of a new unit. For ice makers older than seven years, replacement often makes more financial sense than expensive repairs. Modern units are also more energy-efficient, which saves money over time.
Before paying for a service call, check if your ice maker is still under warranty. Many manufacturers cover parts and labor for at least one year, with extended coverage on sealed system components like the compressor.
Ice Maker Cleaning Kit
Preventive maintenance with proper cleaning solutions can prevent many cooling issues before they start
Frequently Asked Questions
How long should an ice maker take to start producing cold ice?
After fixing a cooling issue or first startup, most ice makers need 24 hours to reach optimal temperature and begin producing properly frozen ice. The first few batches might be softer than normal. Run three cycles and discard that ice to ensure your machine is operating at full capacity.
Can low voltage cause my ice maker to not cool properly?
Absolutely. Ice makers need consistent voltage to run efficiently. Low voltage causes the compressor to struggle, leading to poor cooling performance and potential damage. Use a multimeter to verify you’re getting proper voltage at the outlet (typically 115-120V in North America). Voltage drops often happen when ice makers share circuits with high-draw appliances.
Why does my ice maker cool fine sometimes but not others?
Intermittent cooling usually points to a failing start relay, capacitor, or overheating compressor. The compressor might work when it’s cool but fail to start when hot. Temperature-sensitive electrical components also cause this symptom. This type of problem typically gets worse over time until the unit stops cooling completely.
This article contains affiliate links. We may earn a small commission at no extra cost to you.