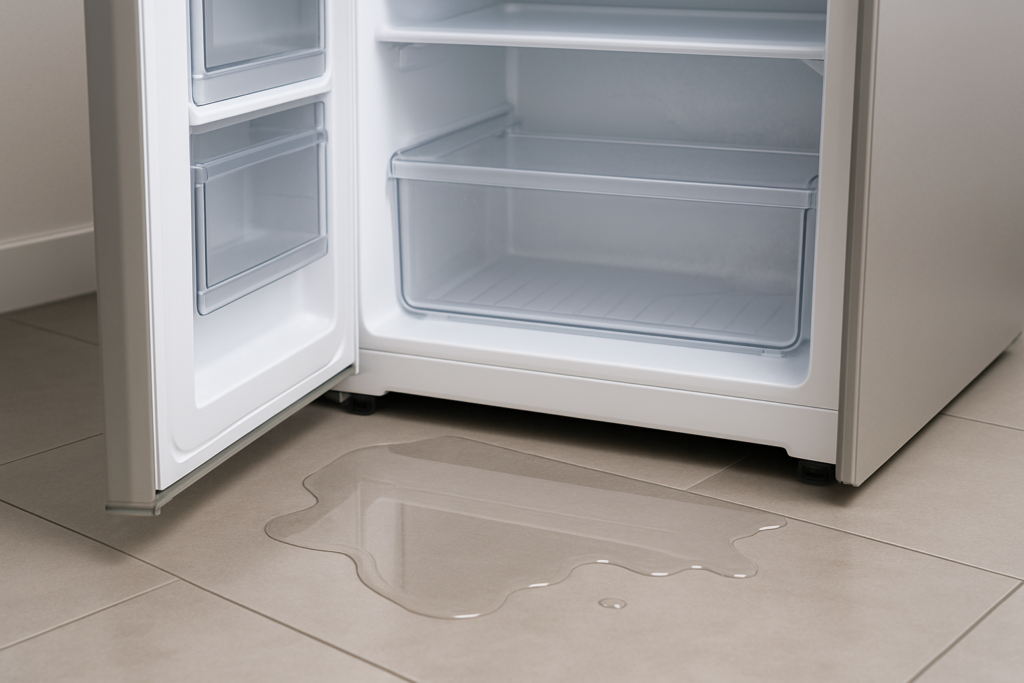
You open your freezer to grab some ice cream and notice a puddle of water pooling underneath. Or maybe you’ve spotted frost buildup where there shouldn’t be any, followed by mysterious drips. A leaking freezer isn’t just annoying. It can damage your floors, waste energy, and signal that your food isn’t being stored at the right temperature.
The good news is that most freezer leaks have simple causes and can be fixed without calling in a pro. Let’s walk through the most common culprits and how to tackle each one.
The Defrost Drain Is Clogged
This is the number one reason freezers leak water. Most modern freezers go through automatic defrost cycles where they briefly warm up to melt any frost buildup. That melted water needs somewhere to go, and it travels through a small drain hole to a pan underneath your appliance.
When food particles, ice, or debris block this drain, water backs up and eventually leaks out onto your floor. You’ll usually find the drain hole at the back of the freezer interior, often hidden behind a panel.
To fix it, unplug your freezer first. Locate the drain hole and use a turkey baster filled with hot water to flush it out. You can also try a pipe cleaner or a piece of flexible wire to gently clear any blockage. Keep flushing until water flows freely through the drain.

Drain Cleaning Brush Set
These flexible brushes are perfect for clearing freezer drain tubes without damaging them
The Door Seal Is Worn or Damaged
Your freezer door gasket creates an airtight seal that keeps cold air in and warm, humid air out. When this seal fails, warm air sneaks in and condenses on the cold surfaces inside your freezer. Eventually, this condensation drips down and leaks out.
Inspect your door gasket carefully. Look for cracks, tears, or areas where the seal doesn’t make full contact with the door frame. You can test the seal by closing the door on a dollar bill. If you can pull the bill out easily, the seal isn’t tight enough.
Sometimes you just need to clean the gasket. Wipe it down with warm soapy water and make sure no debris is preventing a good seal. But if the gasket is cracked or torn, you’ll need to replace it. Most manufacturers sell replacement gaskets specific to your freezer model.
Replacing a door seal is easier than you might think. Most gaskets simply pull off and the new one pushes into the groove. Check your owner’s manual for model-specific instructions.
The Drain Pan Is Cracked or Overflowing
Remember that defrost water we talked about? It drains into a shallow pan at the bottom of your freezer. Under normal conditions, the heat from the compressor evaporates this water before the pan fills up. But sometimes things go wrong.
Pull out the drain pan (usually accessible from the front or back of the unit) and inspect it for cracks. Even a small crack can let water leak onto your floor. You’ll also want to check if the pan is level. If your freezer isn’t sitting evenly, the pan might overflow on one side.
A cracked drain pan needs replacement. Contact your freezer manufacturer or search for your model number and “drain pan” online. Make sure your freezer is level by adjusting the feet at the base. Most models have adjustable legs or leveling screws.
The Defrost System Isn’t Working Properly
When your automatic defrost system malfunctions, ice builds up excessively and then melts all at once when conditions change. This overwhelms the drain system and causes leaks.
Three main components can fail in the defrost system. The defrost timer controls when defrost cycles happen. The defrost heater melts the ice. And the defrost thermostat monitors temperature to prevent overheating.
You can test the defrost timer by manually advancing it with a screwdriver. Listen for a click and watch to see if the compressor shuts off and the defrost heater turns on. Testing the other components requires a multimeter to check for continuity.

Digital Multimeter
Essential for diagnosing electrical issues in appliances and worth having in your toolbox
Replacing defrost system components involves working with electrical connections. If you’re not comfortable with this, call an appliance repair technician.
Water Supply Line Issues (For Ice Makers)
If your freezer has an ice maker, there’s a water line running to it. These lines can develop leaks at connection points or crack from freezing temperatures. Even a pinhole leak can create a surprising amount of water over time.
Check all visible sections of the water line for moisture, corrosion, or obvious damage. Pay special attention to where the line connects to the back of the freezer and where it enters the ice maker assembly. Tighten any loose connections with an adjustable wrench, but don’t overtighten as this can crack plastic fittings.
If the line itself is damaged, you’ll need to replace it. Turn off the water supply first (usually a valve behind or under the freezer). You can find refrigerator water line kits that include everything you need for installation.
Quick Prevention Tips
Once you’ve fixed your leak, a few simple habits will help prevent future problems. Keep your freezer at the recommended temperature of 0°F. Warmer settings cause more frost buildup and strain the defrost system.
Clean the drain hole every six months as part of routine maintenance. Pour a tablespoon of baking soda mixed with hot water down the drain to keep it clear and odor-free.
Don’t overload your freezer. Overpacking blocks air circulation and can prevent the door from sealing properly. Keep items at least an inch away from vents and the back wall.
Finally, inspect the door gasket monthly. Wipe it clean and check that it’s sealing properly all the way around.
Frequently Asked Questions
How do I know if my freezer is leaking from inside or outside?
Check the location of the water. If it’s pooling directly under the freezer, it’s likely from the drain pan or a clogged defrost drain. If water appears inside the freezer or around the door, you’re dealing with a door seal issue or excessive condensation. Water near the back of the unit often indicates a problem with the water supply line for the ice maker.
Can I use my freezer while trying to fix a leak?
You can continue using your freezer for most repairs, but unplug it whenever you’re working on electrical components or need access to internal parts. For drain cleaning, you might need to empty the freezer and let it thaw slightly to reach the drain hole. Place towels around the base to catch any water during repairs.
When should I just replace my freezer instead of fixing it?
If your freezer is over 15 years old and having multiple issues, replacement might make more sense than expensive repairs. Compare the repair cost to the price of a new energy-efficient model. If repairs exceed 50% of replacement cost, or if the compressor has failed, it’s usually better to invest in a new unit. Modern freezers use significantly less electricity, which saves money over time.
This article contains affiliate links. We may earn a small commission at no extra cost to you.