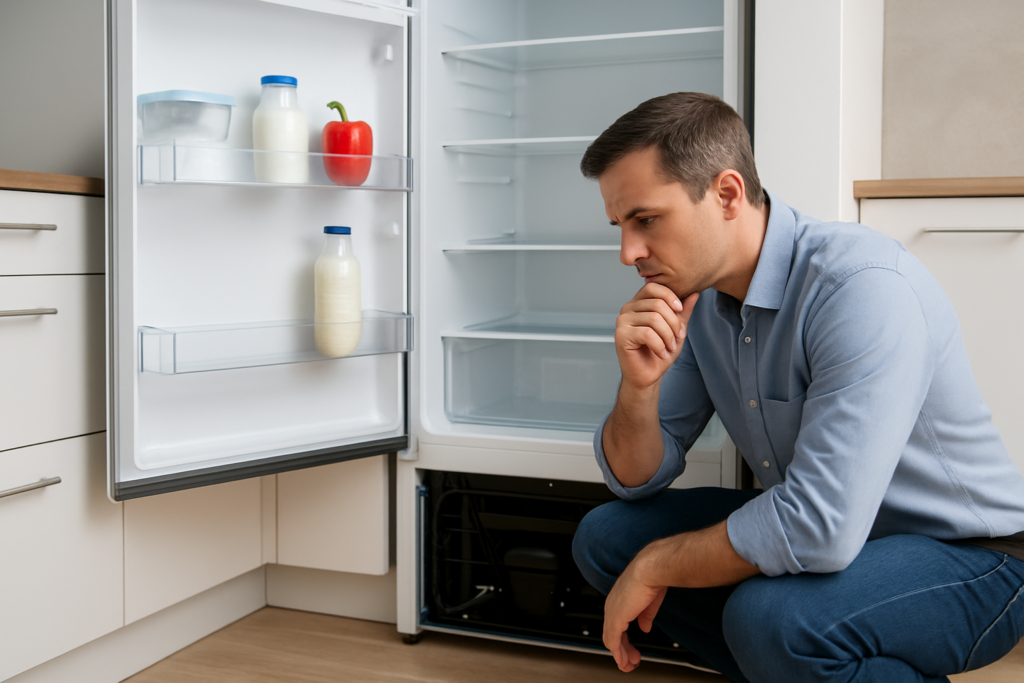
You open your freezer and notice a puddle of water at the bottom. Maybe it’s pooling under the crisper drawers, or worse, leaking onto your kitchen floor. A freezer that won’t drain properly is more than just annoying. It can damage your food, create ice buildup, and eventually lead to costly repairs if you ignore it.
Most drainage problems stem from just a few common culprits, and the good news is that you can fix many of them yourself without calling a repair technician. Let’s walk through why your freezer isn’t draining and what you can do about it right now.
Understanding How Freezer Drainage Works
Before you start troubleshooting, it helps to know how your freezer actually gets rid of water. During the defrost cycle, frost and ice melt off the evaporator coils. This water needs somewhere to go, so it flows down through a drain hole, travels through a drain tube, and eventually ends up in a drain pan beneath your freezer where it evaporates.
When any part of this system gets blocked or breaks down, water backs up and pools inside your freezer. The drain hole is typically located at the back of the freezer compartment, often hidden behind a panel or under the bottom drawer.
Frost-free freezers run through this cycle automatically, which is why drainage issues show up more often in these models. Manual defrost freezers don’t have this system, so if you own one of those, you’re dealing with a different problem entirely.
The Most Common Culprit: A Clogged Drain Hole
Nine times out of ten, your drainage problem comes down to a blocked drain hole. Food particles, ice crystals, and general debris accumulate over time and create a plug. This is especially common if you’ve noticed frost buildup getting worse before the drainage issue started.
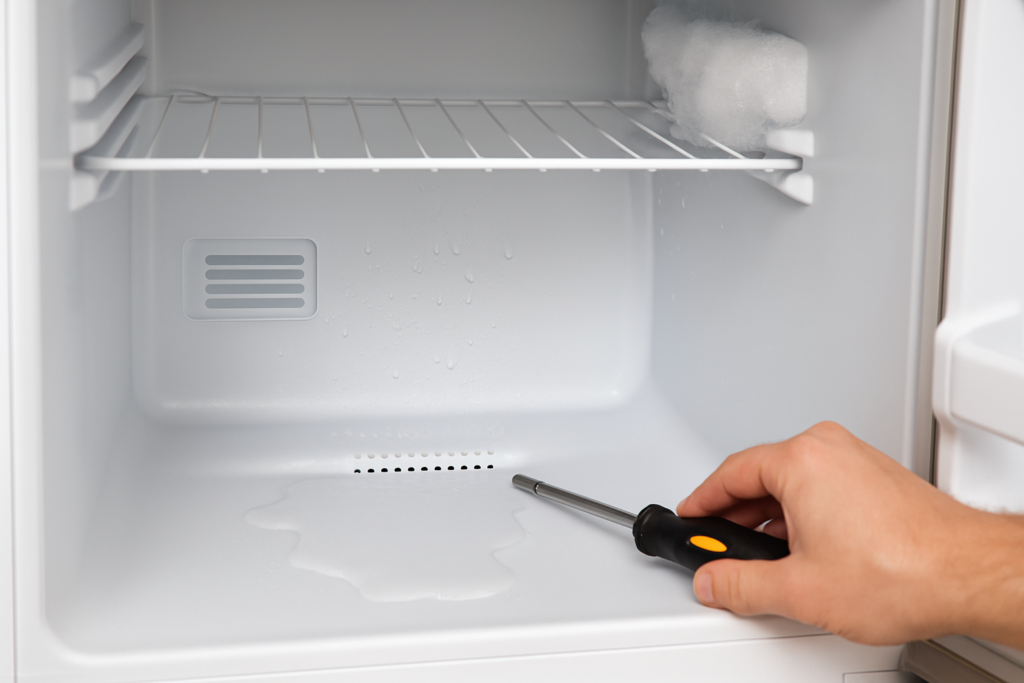
To check this, you’ll need to locate your drain hole first. Remove any shelves or drawers blocking your access to the back wall of the freezer. Look for a small opening, usually about the size of a pencil eraser, near the bottom center or back corner.
Once you’ve found it, try flushing it with warm water using a turkey baster or small funnel. You can also use a pipe cleaner or a piece of flexible wire to gently work through any blockage. Don’t use anything sharp or rigid that could puncture the drain tube.
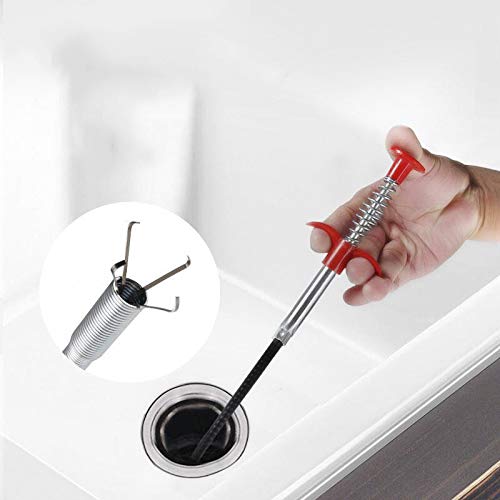
Flexible Drain Snake
A thin, flexible snake helps clear stubborn clogs without damaging the drain tube
Be patient with this process. Sometimes the blockage is ice, and you might need to let it thaw naturally or pour warm (not boiling) water repeatedly until it breaks through. Keep a towel handy because water will start flowing once you clear the clog.
Checking the Drain Tube for Problems
After the drain hole, water flows through a drain tube that runs down to the drain pan. This tube can develop problems too. It might be kinked, frozen solid, or disconnected entirely.
You’ll need to pull your freezer away from the wall to inspect this tube. Look at the back panel and trace the tube from where it exits the freezer compartment down to the drain pan underneath. Check for any obvious kinks or bends that could restrict water flow.
A frozen drain tube is trickier. This happens when the defrost heater isn’t working properly, allowing ice to form inside the tube itself. You can thaw it temporarily with a hair dryer on low heat, but if it keeps refreezing, you’ve got a bigger issue with your defrost system.
Sometimes the tube simply comes loose from its connections. Push it back into place firmly at both ends. You might want to secure it with a zip tie or small clamp to prevent it from happening again.
Inspecting the Drain Pan
The drain pan sits underneath your freezer and catches all the water that drains out. In normal operation, this water should evaporate thanks to warm air from the compressor. But if the pan is cracked, misaligned, or overflowing, you’ll see water on your floor.
Pull the pan out (you’ll usually find it behind a front grille panel at the bottom of your freezer) and inspect it for cracks or damage. Even a small crack can leak enough water to create a mess.
Clean the pan thoroughly while you have it out. A dirty or clogged pan won’t allow water to evaporate efficiently, which can cause overflow problems. Wash it with warm soapy water and make sure it’s completely dry before sliding it back into place.
Make sure the pan is sitting level and properly positioned. If it’s tilted or pushed too far back, water might miss it entirely or spill over the edges.
When the Defrost System Fails
Sometimes your drainage problem isn’t actually about drainage at all. A malfunctioning defrost system creates excessive ice buildup, which produces more water than your drain can handle during defrost cycles.
Your freezer has three main defrost components: the defrost timer, the defrost heater, and the defrost thermostat. When any of these fails, ice accumulates faster than it melts, eventually blocking airflow and overwhelming the drainage system.
The defrost timer controls when your freezer switches from cooling mode to defrost mode. You can manually advance it by turning the dial with a screwdriver. Listen for a click, then wait to see if the defrost heater activates within 30 minutes.

Defrost Timer
Replacing a faulty defrost timer can restore proper defrost cycles and prevent ice buildup
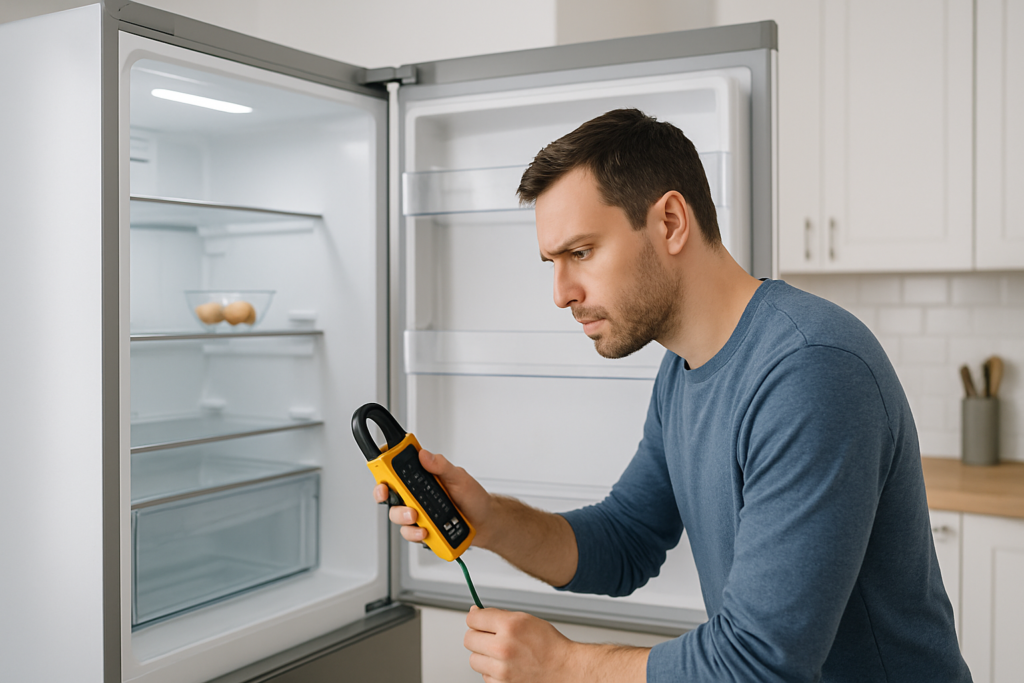
The defrost heater is a heating element that melts frost off the evaporator coils. You can test it with a multimeter for continuity. A reading of 15 to 30 ohms means it’s working. No continuity means you need a replacement.
The defrost thermostat monitors coil temperature and tells the heater when to turn on. Testing requires a multimeter as well. With the thermostat at freezing temperature, it should show continuity. At room temperature, it should show no continuity.
A freezer thermostat replacement is one of the more technical repairs, but it’s still manageable for someone comfortable with basic appliance work.
Preventive Maintenance Tips
Once you’ve fixed your drainage issue, you’ll want to keep it from coming back. Regular maintenance takes just a few minutes every few months and can save you from future headaches.
Flush your drain hole quarterly with warm water. Don’t wait until you see a problem. This simple habit prevents most clogs before they start. Some people mark it on their calendar as a seasonal task.
Check the door seals regularly. A worn or damaged door seal lets warm, humid air into your freezer, which creates more frost and ice. This extra moisture puts additional strain on your drainage system. Run your hand along the seal to feel for air leaks, or close the door on a dollar bill and try to pull it out. It should have some resistance.
Keep your freezer at the right temperature. The ideal range is 0°F to -10°F. Temperatures above this range cause more frequent defrost cycles and more water production. Get a freezer thermometer to monitor it accurately.
Don’t overload your freezer. Proper air circulation is critical for the defrost system to work correctly. Leave some space between items and don’t block the vents at the back of the freezer compartment.

Turkey Baster Set
Perfect for flushing drain holes with warm water during routine maintenance
Clean up spills immediately. Liquids that freeze in your freezer can eventually make their way into the drain hole, contributing to clogs. Wipe up any spills before they freeze solid.
When to Call a Professional
Some drainage problems need professional help. If you’ve cleared the drain hole, checked the tube, inspected the pan, and you’re still dealing with water pooling, the issue might be deeper in the system.
A refrigerant leak can cause improper cooling cycles, leading to excessive frost and drainage problems. You’ll notice temperature fluctuations and possibly hear the compressor running constantly. Refrigerant work requires EPA certification and specialized equipment.
Compressor problems also show up as drainage issues because the compressor provides heat that helps evaporate water from the drain pan. A failing compressor won’t generate enough heat for proper evaporation.
If multiple defrost components have failed, it might be more cost-effective to replace the entire freezer, especially if it’s more than 10 years old. A technician can help you weigh repair costs against replacement.
Before calling for service, write down your freezer’s model number, the symptoms you’re experiencing, and what troubleshooting steps you’ve already taken. This information helps the technician diagnose the problem faster and might save you a service call if they can walk you through a fix over the phone.
Frequently Asked Questions
Why is there ice buildup around my freezer drain hole?
Ice around the drain hole usually means the drain is partially clogged or your defrost heater isn’t working properly. Water starts to drain but then refreezes before it can flow all the way through. Clear the drain hole with warm water and a flexible tool. If ice keeps forming, test your defrost heater and thermostat.
How often should I clean my freezer drain?
Flush your freezer drain with warm water every three to six months. This prevents food particles and ice crystals from building up into a clog. If you notice frost accumulating faster than usual, clean it more frequently. Think of it like changing the oil in your car, regular maintenance prevents bigger problems.
Can I use chemicals to clear a clogged freezer drain?
Avoid harsh chemicals in your freezer drain. They can damage plastic components and contaminate your food storage area. Stick with warm water, a turkey baster, and a flexible drain snake or pipe cleaner. For stubborn clogs, a mixture of warm water and a small amount of dish soap works safely.
My drain pan is full but not overflowing. Is this normal?
A drain pan with some water in it is perfectly normal. The water should evaporate within a day or two thanks to heat from the compressor. If the pan stays full or takes longer to empty, check that your compressor is running properly and that the pan isn’t sitting in a cold spot where evaporation is slow. Also make sure the pan itself is clean, as residue can slow evaporation.
This article contains affiliate links. We may earn a small commission at no extra cost to you.