Your water heater quietly works around the clock, delivering hot showers, clean dishes, and warm laundry water. But this hardworking appliance won’t last forever without proper care. Most homeowners ignore their water heater until it fails, leaving them with cold water and a hefty replacement bill that could have been avoided.
Regular maintenance can extend your water heater’s life from the typical 8-12 years to 15 years or more. Even better, simple preventive tasks catch small problems before they become expensive disasters. A burst tank or major component failure can cost thousands in repairs and water damage, while basic maintenance runs just a fraction of that cost.
These seven essential maintenance tasks will keep your water heater running efficiently and help you spot trouble early. Some you can handle yourself with basic tools, while others require professional expertise. Let’s explore what needs attention and when to call in the experts.
1. Flush Your Tank to Remove Sediment Buildup
Sediment accumulation is your water heater’s biggest enemy. Minerals from hard water settle at the bottom of your tank over time, creating a thick layer that reduces efficiency and can cause premature failure. This buildup forces your system to work harder, increasing energy bills and shortening its lifespan.
Plan to flush your tank at least once per year, or twice yearly if you have particularly hard water. The process takes about an hour and requires turning off power or gas, connecting a garden hose to the drain valve, and completely emptying the tank.
Start by turning off the power supply. For electric units, flip the circuit breaker. For gas units, turn the thermostat to pilot mode. Turn off the cold water supply valve at the top of the tank, then connect your garden hose to the drain valve at the bottom.
Open a hot water faucet somewhere in your house to prevent vacuum formation, then open the drain valve. The water will initially run dirty with visible sediment. Keep draining until the water runs clear, which may take 10-20 minutes depending on buildup levels.
Water Heater Maintenance Kit
Complete kit with everything needed for annual tank flushing and basic maintenance tasks
Close the drain valve, remove the hose, and turn the cold water supply back on. Wait for the tank to refill completely before restoring power or relighting the pilot. You’ll hear the tank filling and see steady water flow from your open faucet when it’s full.
2. Replace the Anode Rod Every 3-5 Years
The anode rod is your water heater’s unsung hero. This sacrificial metal rod attracts corrosive elements that would otherwise attack your tank walls. Made from magnesium, aluminum, or zinc, the rod slowly dissolves to protect your investment.
Most homeowners don’t even know this component exists, yet it’s critical for preventing tank corrosion. When the anode rod completely deteriorates, rust begins attacking the tank itself. Once that process starts, tank replacement becomes inevitable.
Checking your anode rod requires removing it from the top of the tank using a socket wrench or impact driver. The rod threads into a hex head that may be built into the hot water outlet or accessible through a separate port. You’ll need significant leverage since these connections often require 50+ foot-pounds of torque to loosen.
Replace the rod when more than 6 inches of core wire is visible or when the rod diameter has reduced by 75% or more. A healthy anode rod should have plenty of metal remaining around the core wire.
Different water conditions call for different anode rod materials. Magnesium works best for most situations, while aluminum rods suit areas with hard water. Zinc rods help reduce sulfur smells in well water systems.
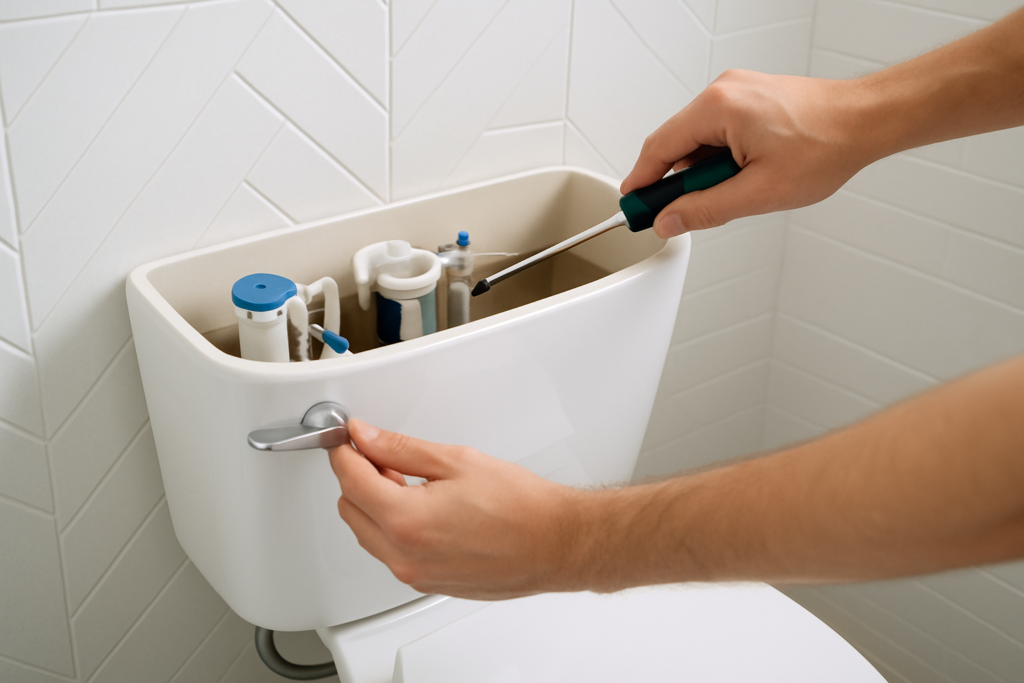
3. Adjust Temperature Settings for Efficiency and Safety
Your water heater’s temperature setting affects both energy costs and safety risks. Factory settings typically run around 140°F, but most households function perfectly at 120°F. This 20-degree reduction can cut water heating costs by 6-10% while reducing scalding risks.
Locate the temperature dial on your unit. Gas water heaters usually have an external dial near the bottom, while electric units may require removing access panels to reach the thermostats. Electric units typically have two thermostats that should be set to identical temperatures.
Make adjustments gradually and test results after 24 hours. Water temperature at your faucets should reach 120°F for optimal comfort and safety. Use a cooking thermometer to verify actual output temperature rather than trusting the dial settings.
Avoid setting temperatures below 120°F, as this can encourage bacterial growth including Legionella. Conversely, temperatures above 130°F increase scalding risks, especially for children and elderly family members.
4. Inspect for Leaks and Corrosion
Regular visual inspections catch problems before they cause serious damage. Walk around your water heater monthly, looking for signs of moisture, rust, or mineral deposits that indicate leaks or corrosion.
Check all pipe connections at the top of the unit, including hot and cold water lines, gas connections, and pressure relief valve discharge pipes. Small drips often indicate loose fittings that can be tightened, while larger leaks may require professional repair.
Examine the tank base carefully. Water pooling around the bottom could indicate tank corrosion or a failed drain valve. Don’t ignore small amounts of moisture, as they often precede major leaks.
Look for rust-colored water stains on the tank exterior or surrounding floor. These stains indicate previous leaks that may recur. White mineral deposits around fittings suggest slow seepage that’s been evaporating.
Digital Water Leak Detector
Battery-powered detector that alerts you to water heater leaks before they cause major damage
Pay attention to unusual sounds during operation. Rumbling, popping, or crackling noises often indicate sediment buildup or failing heating elements. These sounds typically worsen over time if left unaddressed.
5. Test the Temperature and Pressure Relief Valve
The temperature and pressure relief valve serves as your water heater’s primary safety device. This valve automatically releases water if internal pressure or temperature exceeds safe limits, preventing potentially dangerous tank explosions.
Test this valve every six months by lifting the lever briefly. You should hear a rush of air followed by water flowing into the discharge pipe. The valve should close completely when you release the lever, stopping all water flow.
If no water flows when testing, the valve may be stuck closed due to mineral buildup. This creates a serious safety hazard since the valve can’t perform its protective function. Similarly, a valve that continues leaking after testing may need replacement.
The discharge pipe should run from the valve to within 6 inches of the floor, with no upward bends that could trap water. This pipe must remain unobstructed and should never be plugged or capped.
Replace relief valves that fail testing immediately. This isn’t a repair you should postpone, as a malfunctioning safety valve puts your entire home at risk.
6. Clean Exhaust Vents and Air Intake Areas
Gas water heaters require proper ventilation for safe operation. Blocked vents can cause carbon monoxide buildup, backdrafting, or incomplete combustion that damages the unit and threatens your family’s safety.
Examine the exhaust flue pipe that runs from your water heater to the outside vent. Look for rust, holes, or disconnected joints that could allow combustion gases to escape into your home. The pipe should slope upward with no dips that could trap condensation.
Check the area around your water heater for adequate air circulation. Combustion requires significant airflow, so don’t store items directly against the unit or block air intake areas. Most installations need at least 6 inches of clearance on all sides.
Remove dust, lint, and debris from the burner area at the bottom of gas units. This area should be kept clean and clear of any flammable materials. A small brush or vacuum attachment works well for gentle cleaning.
Electric water heaters need less ventilation but still require adequate air circulation for optimal operation. Keep the area around electric units clean and unobstructed.
7. Insulate Hot Water Pipes and Tank
Adding insulation reduces heat loss and improves your water heater’s efficiency. Insulating hot water pipes prevents heat loss as water travels from the tank to your faucets, while tank insulation reduces standby energy losses.
Pipe insulation comes in foam sleeves that slip over exposed hot water lines. Focus on the first 6 feet of piping leaving your water heater, plus any pipes running through unheated spaces like basements or crawlspaces.
Tank insulation blankets wrap around older water heaters to reduce heat loss through the tank walls. Modern units often include adequate built-in insulation, but older models benefit significantly from added insulation.
Water Heater Insulation Blanket
Easy-to-install blanket that reduces energy costs by minimizing heat loss from tank walls
When installing tank insulation, avoid covering the thermostat, burner area on gas units, or any safety labels. Leave access panels uncovered for future maintenance. The insulation should fit snugly but not compress excessively.
Safety Warnings: Gas vs. Electric Units
Gas and electric water heaters require different safety precautions during maintenance. Understanding these differences prevents accidents and ensures proper care for your specific unit type.
Gas Water Heater Safety
Gas units present additional hazards including natural gas leaks, carbon monoxide risks, and combustion dangers. Always turn gas supply to pilot position before beginning maintenance, never completely off unless replacing the unit.
If you smell gas during maintenance, stop immediately and leave the area. Contact your gas utility company from outside your home. Don’t use electrical switches, phones, or create sparks near suspected gas leaks.
Relighting pilot lights requires following specific sequences outlined in your owner’s manual. Never attempt to relight a pilot if you smell gas or if the area around the burner seems wet or damaged.
Electric Water Heater Safety
Electric units require turning off power at the circuit breaker before any maintenance involving internal components. These systems operate at 240 volts, which can cause serious injury or death.
Never assume power is off based on switch positions alone. Use a voltage tester to confirm electrical circuits are de-energized before removing access panels or working near heating elements.
Electric water heaters take longer to heat up after maintenance, sometimes requiring 2-3 hours to reach full temperature after being completely drained.
When to Call Professional Help
Some maintenance tasks require professional expertise for safety and warranty reasons. Recognize when to tackle projects yourself versus when to call qualified technicians.
Gas line work, including moving or replacing gas water heaters, typically requires licensed plumbers or gas technicians. Many jurisdictions require permits and inspections for gas appliance work.
Electrical work beyond simple thermostat adjustments should be handled by qualified electricians. This includes replacing heating elements, thermostats, or any wiring modifications.
If you discover significant corrosion, multiple leaks, or strange noises during maintenance, professional diagnosis can determine whether repairs are worthwhile versus replacement.
Annual professional inspections provide peace of mind and often catch problems that homeowners miss. Many HVAC companies offer water heater maintenance plans that include regular service calls.
Frequently Asked Questions
How often should I perform water heater maintenance?
Perform basic visual inspections monthly, test the relief valve every six months, and flush the tank annually. Replace anode rods every 3-5 years or when they show significant deterioration. Professional inspections every 2-3 years help catch problems early.
Can I perform maintenance on a water heater that’s still under warranty?
Most warranties require regular maintenance to remain valid, but manufacturer-performed or authorized service may be required for certain tasks. Check your warranty documentation before performing maintenance, especially on newer units. Some manufacturers void warranties if homeowners perform certain maintenance tasks incorrectly.
What tools do I need for basic water heater maintenance?
Essential tools include a socket wrench set, pipe wrench, garden hose, voltage tester (for electric units), and flashlight. A basic maintenance toolkit covers most routine tasks. More complex repairs may require specialized equipment best left to professionals.
How do I know if my water heater needs replacement versus repair?
Consider replacement if your unit is over 10 years old with multiple problems, shows signs of tank corrosion, or requires frequent repairs. Calculate whether repair costs exceed 50% of replacement cost. Newer, efficient models often justify replacement even when repairs are possible, especially if energy bills are high.
This article contains affiliate links. We may earn a small commission at no extra cost to you.