Your beautiful hardwood floors are an investment that adds value and elegance to your home. But one day you move a chair across the room and hear that dreaded scraping sound, or you notice your pet’s nails have left their mark on the pristine surface. Scratches happen to even the most careful homeowners, and they can make your floors look worn and neglected.
The good news is that most hardwood floor scratches are preventable with the right strategies, and many can be repaired without calling in expensive professionals. From light surface scratches that only affect the finish to deeper gouges that reach the wood itself, there’s usually a solution that can restore your floors to their former glory.
Understanding how to protect your floors from damage and tackle repairs when scratches do occur will help you maintain that showroom appearance for years to come. Let’s explore the most effective prevention methods and repair techniques that actually work.
Understanding Types of Hardwood Floor Scratches
Not all scratches are created equal, and identifying the type you’re dealing with determines your repair approach. Surface scratches only affect the protective finish layer and are the easiest to address. You can usually identify these by running your fingernail across the scratch. If your nail doesn’t catch, it’s likely a surface scratch.
Light scratches go slightly deeper but don’t penetrate through the entire finish layer. These might catch your fingernail slightly but don’t expose the raw wood underneath. Deep scratches or gouges penetrate through the finish and into the wood itself, often appearing darker or showing the natural wood color.
Water damage scratches occur when moisture gets under the finish and causes the wood to swell or contract. These often appear as white or cloudy marks and require different treatment methods than mechanical damage.
Prevention Strategies That Actually Work
Furniture Protection
Your furniture is probably the biggest culprit when it comes to floor scratches. Every time you pull out a dining room chair or slide a coffee table to vacuum underneath, you’re risking damage to your floors.
Felt furniture pads are your first line of defense. These stick-on pads create a soft barrier between furniture legs and your floor. Replace them regularly since they compress over time and collect dirt that can actually cause more scratching.
Furniture Pads X-PROTECTOR Premium THICK 1/4 Furniture Pads
These thick felt pads provide superior protection and last longer than thin alternatives
For furniture that moves frequently, consider furniture sliders instead of or in addition to felt pads. These allow smooth movement without the lifting and potential dropping that causes deep scratches and dents.
Strategic Use of Area Rugs
Area rugs protect your floors in high-traffic zones while adding style to your space. Place them in entryways where dirt and debris first enter your home, under dining tables where chairs slide back and forth, and in hallways that see constant foot traffic.
Choose rugs with non-slip backing or use rug pads to prevent the rugs themselves from sliding and causing scratches. Avoid rubber-backed rugs on hardwood since the rubber can discolor your finish over time.
Pet Nail Maintenance
Your furry friends can be surprisingly destructive to hardwood floors. Long nails clicking across the surface create countless tiny scratches that accumulate over time. Regular nail trimming is essential, but many pets need their nails trimmed every 3-4 weeks to stay floor-friendly.
For dogs that resist nail trimming, daily walks on concrete surfaces help naturally wear down nails. Nail caps are another option for cats that won’t tolerate frequent trimmings. These soft covers slip over the nail and prevent damage while still allowing normal scratching behavior.
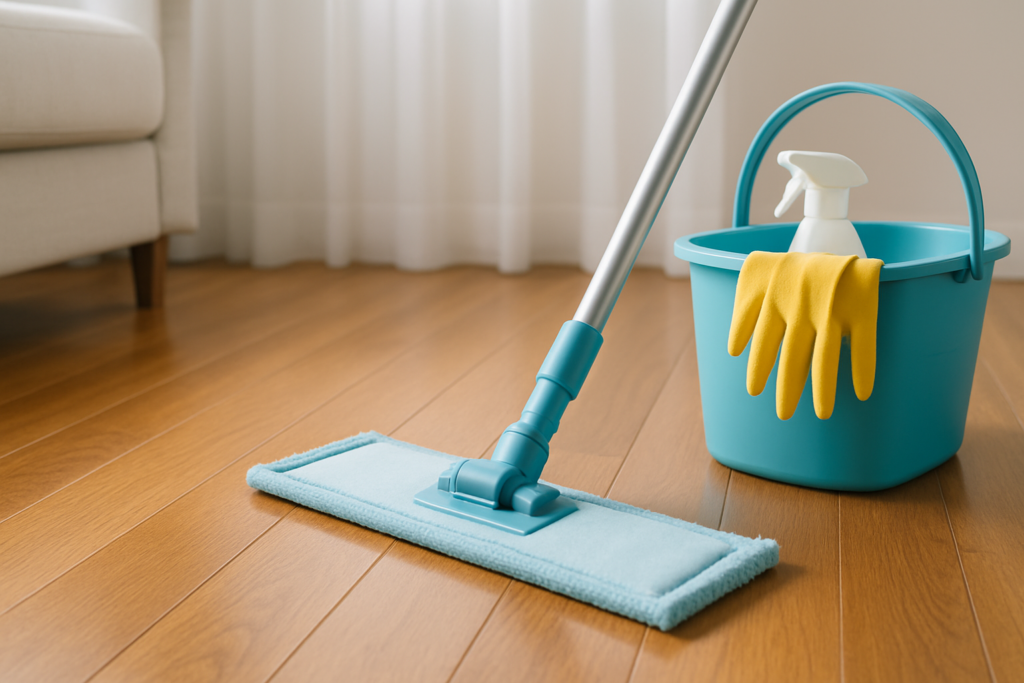
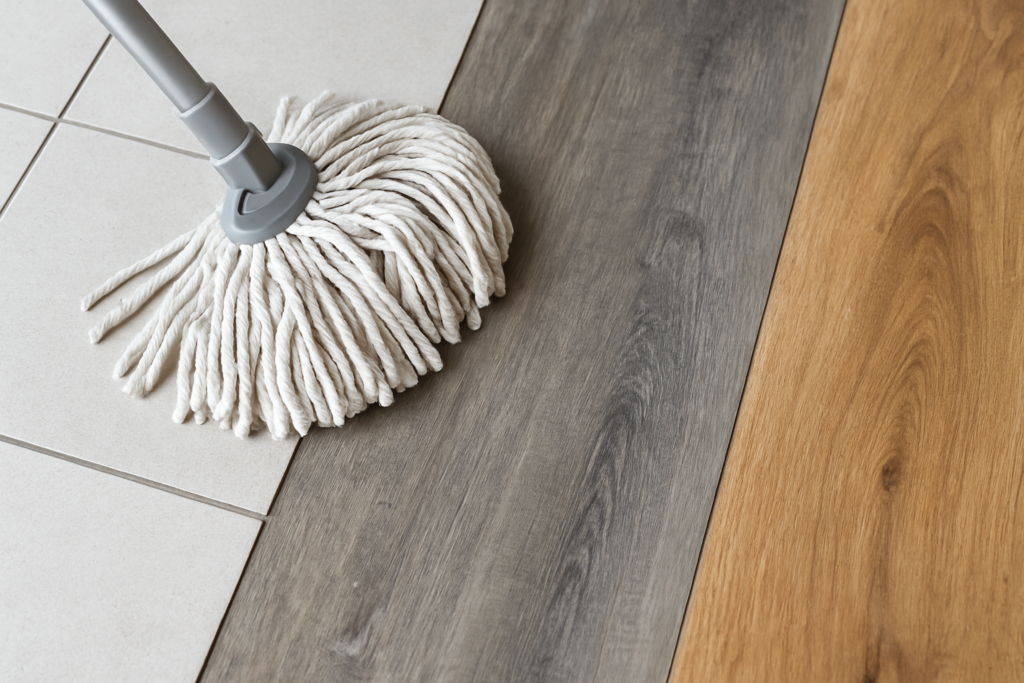
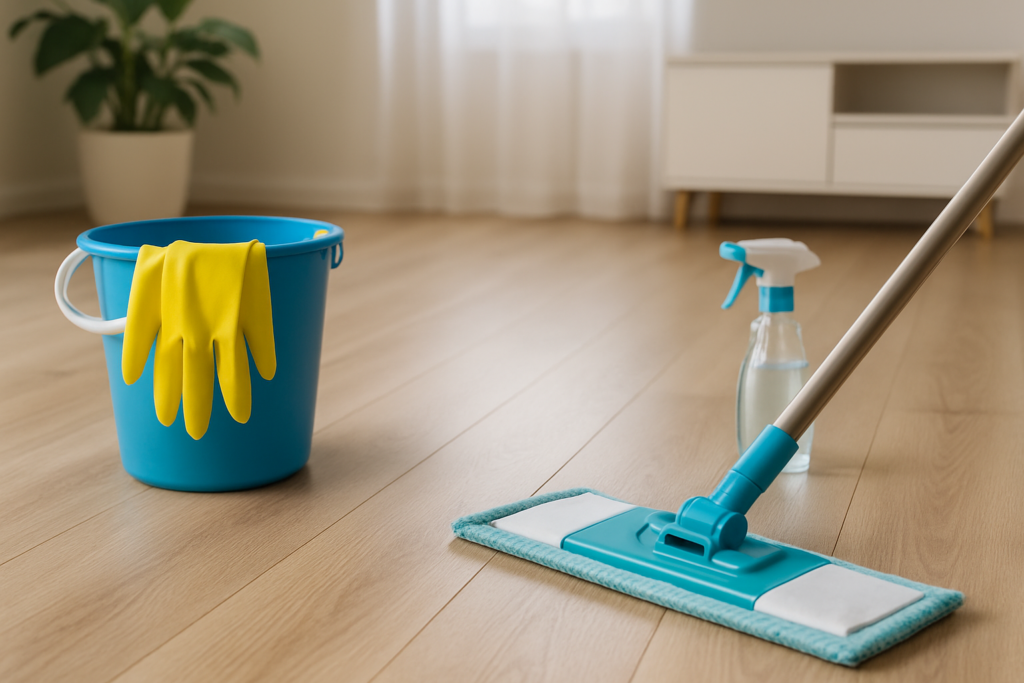
Proper Cleaning Techniques
How you clean your floors affects their scratch resistance. Always sweep or vacuum before mopping to remove gritty particles that act like sandpaper under foot traffic. Use microfiber mops and cleaning cloths that won’t scratch the surface.
Avoid cleaning products that leave residue, as sticky buildup attracts more dirt and debris. Stick to pH-neutral cleaners specifically designed for hardwood floors, and never use vinegar or other acidic solutions that can damage the finish.
DIY Repair Methods for Light Scratches
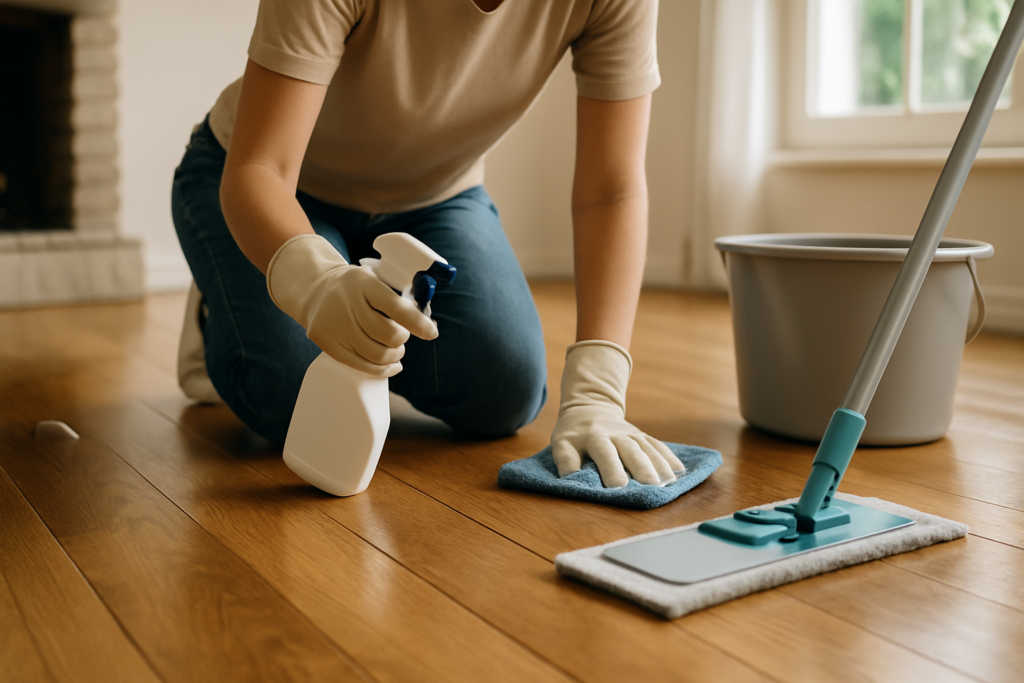
Surface Scratch Solutions
For superficial scratches that don’t penetrate the finish, start with the simplest solutions. Sometimes a thorough cleaning with a quality hardwood floor cleaner is enough to minimize or eliminate very light marks.
Wood polish or rejuvenator can fill in tiny scratches and restore shine to dull areas. Apply according to the manufacturer’s instructions and buff with a clean microfiber cloth. This method works best on floors that haven’t been heavily worn.
For slightly deeper surface scratches, try the walnut trick. Rub a shelled walnut directly over the scratch, following the wood grain. The natural oils can help disguise minor damage on darker wood floors.
Scratch Repair Pens and Markers
Scratch repair pens and markers work well for thin, deeper scratches that catch your fingernail. These products contain stain and sometimes filler that matches your floor color. Test in an inconspicuous area first since color matching can be tricky.
Minwax Wood Finish Stain Marker
Available in multiple wood tones and excellent for touching up small scratches and dings
Apply the marker following the wood grain, allow it to dry, then seal with a small amount of clear polyurethane finish applied with a fine brush. Sand lightly between coats if you’re applying multiple layers.
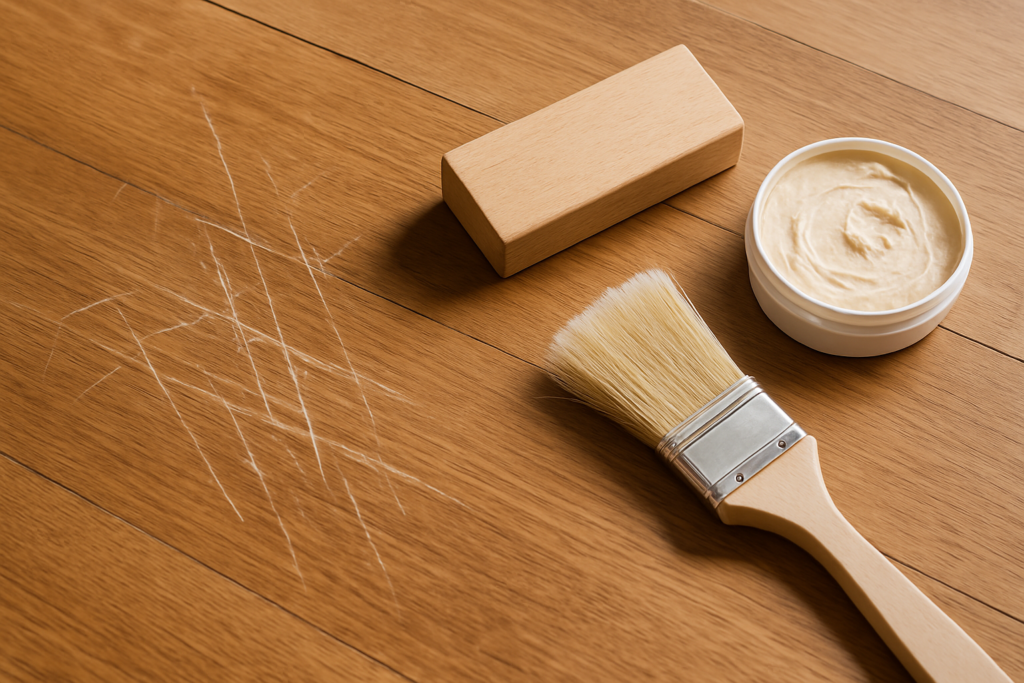
Wood Filler Techniques
Deeper scratches that expose raw wood require wood filler. Choose a filler that matches your floor color, or use a neutral filler that you can stain after application. Clean out any debris from the scratch first.
Apply the filler with a putty knife, slightly overfilling the scratch. Allow it to dry completely, then sand flush with fine-grit sandpaper. Stain if necessary to match the surrounding wood, then apply matching polyurethane finish.
Bona Wood Floor Filler
Specifically formulated for hardwood floors and bonds well with floor finishes
Advanced Repair Techniques
Screen and Recoat Process
When you have multiple scratches across a room, individual repairs become impractical. The screen and recoat process involves lightly sanding the entire floor surface with a buffer and screen, then applying a fresh coat of polyurethane finish.
This method removes surface scratches and light wear while adding a new protective layer. You can rent the screening equipment from most home improvement stores, but this job requires careful preparation and ventilation.
Spot Sanding and Refinishing
For isolated areas with deep scratches, you might need to sand and refinish just that section. This works best when you can blend the repair area with natural breaks in the room layout, like doorways or where rugs typically sit.
Start with coarse sandpaper to remove the damaged finish and smooth out scratches, then work through progressively finer grits. Apply stain if needed to match the existing floor, followed by multiple coats of polyurethane finish.
When to Call Professional Help
Some scratch damage exceeds DIY capabilities. If scratches cover more than 30% of your floor area, professional refinishing is usually more cost-effective than attempting repairs yourself.
Deep gouges that go through multiple wood layers may require board replacement rather than simple refinishing. Professionals have the tools and experience to remove and replace individual boards while maintaining a seamless appearance.
Water damage that has caused cupping, warping, or blackening requires professional assessment. These issues often involve subfloor damage that needs addressing before any surface repairs can be effective.
Consider professional help when dealing with exotic wood species or unusual floor finishes. These materials often require specialized knowledge and products that aren’t readily available to consumers.
Maintaining Your Repairs
After completing any scratch repair, protect your work with proper maintenance. Allow all finishes to cure completely before placing furniture back on the floor. Most polyurethane finishes need 24-48 hours to dry and up to 30 days to fully cure.
Monitor repaired areas for color matching over time. Natural wood continues to age and change color, so repairs that initially blend perfectly may become more noticeable as months pass.
Apply floor polish or rejuvenator every 3-6 months to maintain the protective finish and keep your repairs looking fresh. Regular maintenance prevents new scratches from forming and extends the life of your repair work.
Frequently Asked Questions
Can I prevent all scratches on hardwood floors?
While you can’t prevent every scratch, proper protection and maintenance can eliminate 90% of common floor damage. Furniture pads, area rugs, pet nail care, and regular cleaning are your best defenses. Accept that some minor wear is normal for a lived-in home.
How do I know if a scratch is too deep to repair myself?
Run your fingernail across the scratch. If it catches significantly and you can see raw wood, it’s likely too deep for simple repair methods. Scratches wider than a credit card or longer than 6 inches usually require professional attention for best results.
Will DIY scratch repairs be noticeable?
Light surface scratches often disappear completely with proper treatment. Deeper repairs may be slightly visible up close but should blend well from normal viewing distances. Color matching is the biggest challenge, so always test products in inconspicuous areas first.
How long do scratch repairs typically last?
Surface repairs can last for years with proper care, while deeper repairs depend on traffic levels and maintenance. Most DIY repairs hold up well in low to moderate traffic areas but may need touch-ups in high-traffic zones after 2-3 years.
This article contains affiliate links. We may earn a small commission at no extra cost to you.