Nothing kills your kitchen mojo faster than a sink full of water that won’t drain. You flip the garbage disposal switch and hear that dreaded hum instead of the usual grinding sound. Before you panic and call a plumber, take a deep breath. Most disposal clogs are ridiculously easy to fix yourself, and I’m going to walk you through the exact methods that work every single time.
I’ve unclogged dozens of garbage disposals over the years, both in my own home and for friends and family. The truth is, you probably already have everything you need sitting in your kitchen or garage right now. Let’s get that disposal running again.
Safety First: Never Stick Your Hand Down There
Before we do anything else, we need to talk about the number one rule of garbage disposal repair. Never, and I mean never, stick your hand into a garbage disposal. Not even when it’s turned off.
I know it’s tempting to reach in and grab whatever’s jamming the blades. Don’t do it. Even with the power off, those blades are sharp enough to cause serious cuts. Plus, there’s always the risk someone flips the switch while your hand is inside.
Always disconnect the power first. Find your disposal’s circuit breaker and flip it off, or unplug the unit under the sink if it has a standard plug. This single step has saved countless trips to the emergency room.
The Hex Key Reset Method: Your First Line of Defense
About 80% of the time, your disposal isn’t actually clogged. It’s just jammed. There’s a difference. A jam means something is stuck in the flywheel, preventing the blades from spinning. This is the easiest problem to fix.
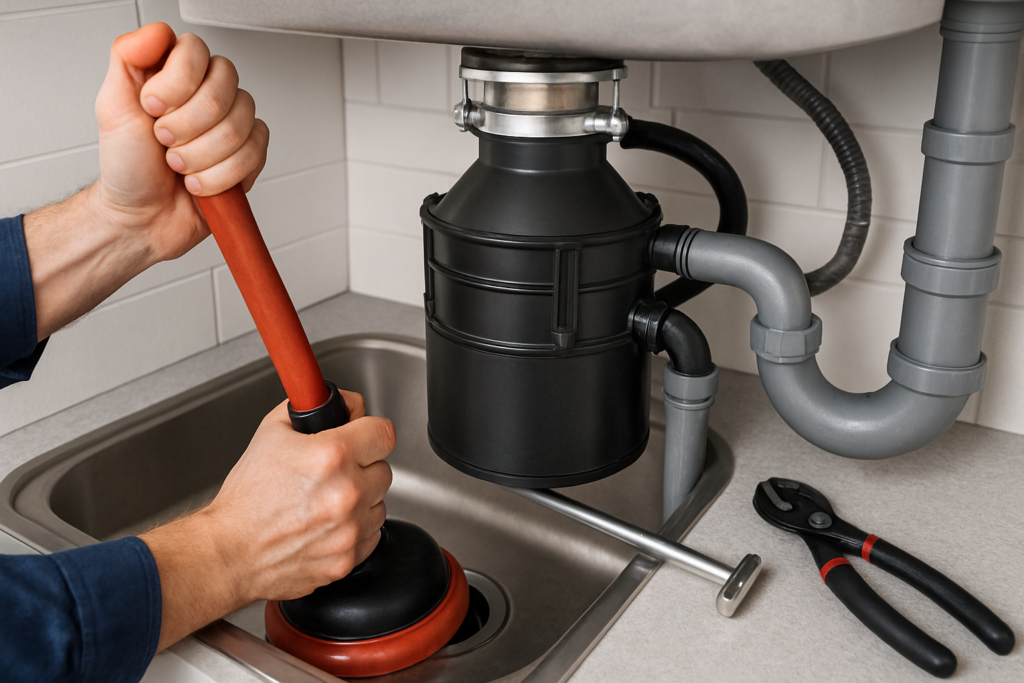
Look under your sink at the bottom center of the disposal unit. You’ll see a small hexagonal hole. Most garbage disposals come with a hex key (also called an Allen wrench) specifically for this purpose. It’s usually 1/4 inch, and if you’ve lost the original, any hardware store sells them.

Hex Key Allen Wrench Set
A complete set ensures you have the right size for your disposal model.
Insert the hex key into that bottom hole and turn it back and forth. You’re manually rotating the flywheel to dislodge whatever’s causing the jam. Work it clockwise and counterclockwise several times until it moves freely in both directions.
Once you feel smooth rotation, remove the hex key and press the red reset button on the side or bottom of the disposal. Turn the power back on and run cold water while you flip the switch. Most jams clear with this simple process.
The Ice and Salt Trick for Stubborn Clogs
When the hex key method doesn’t solve the problem, you’re dealing with a buildup issue rather than a simple jam. Grease, food particles, and gunk accumulate on the disposal’s grinding components over time, reducing their effectiveness.
Fill your sink with about two inches of cold water. Add two cups of ice cubes and a cup of rock salt or coarse kosher salt. Turn on the disposal and let it run while the ice and salt work their magic. The ice hardens any grease stuck to the blades while the salt provides abrasive scrubbing action.
This method sounds too simple to work, but it’s incredibly effective. The combination scours the grinding chamber and sharpens the blades at the same time. You’ll hear the ice crunching and grinding, which is exactly what you want.
Run cold water for another 30 seconds after the ice finishes grinding. The cold water helps flush away the loosened debris and keeps any remaining grease solid so it can be properly ground up and washed away.
The Baking Soda and Vinegar Flush
After using the ice method, a baking soda and vinegar flush helps eliminate odors and breaks down any remaining organic matter. This isn’t just about unclogging. It’s about preventing future problems.
Pour half a cup of baking soda directly into the disposal. Follow it with a cup of white vinegar. You’ll see and hear fizzing, which is the chemical reaction breaking down gunk in the disposal and drain pipe. Let this mixture sit for 10 minutes.
After the waiting period, run hot water for one minute while the disposal is running. The hot water is fine at this stage because you’ve already dealt with any grease using the ice method. The heat helps flush the loosened debris through the pipes.
I do this baking soda and vinegar treatment once a month as preventive maintenance. It keeps my disposal smelling fresh and running smoothly. Think of it like changing your car’s oil. Regular maintenance prevents bigger problems down the road.
When You Need to Remove the P-Trap
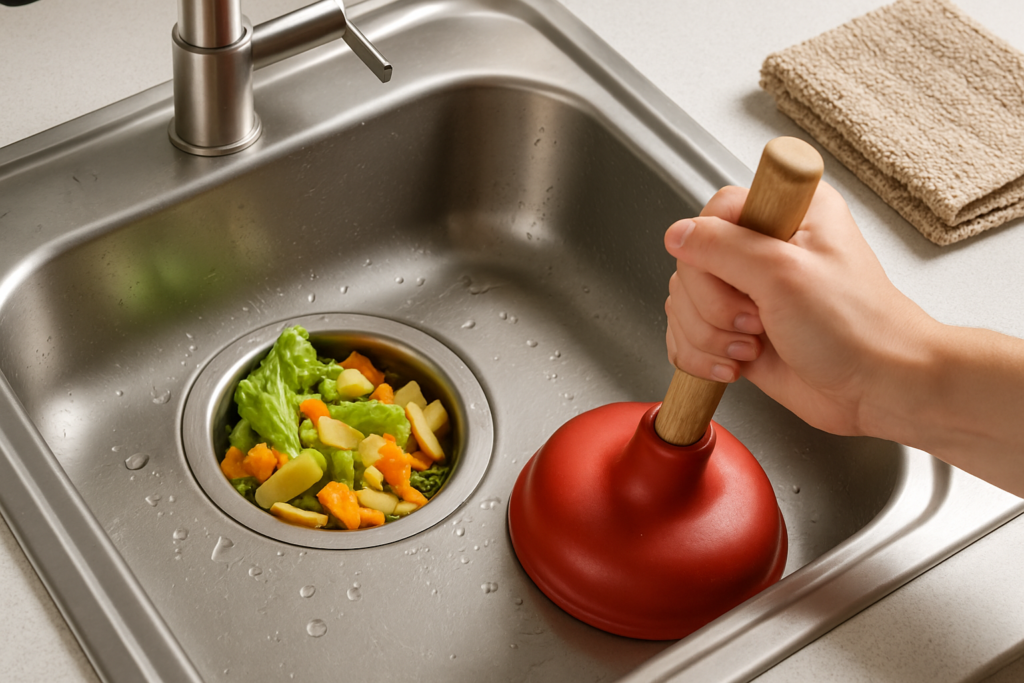
Sometimes the clog isn’t in the disposal at all. It’s in the P-trap, that curved pipe section directly under your sink. You’ll know this is the issue if water drains slowly even after you’ve tried the previous methods.
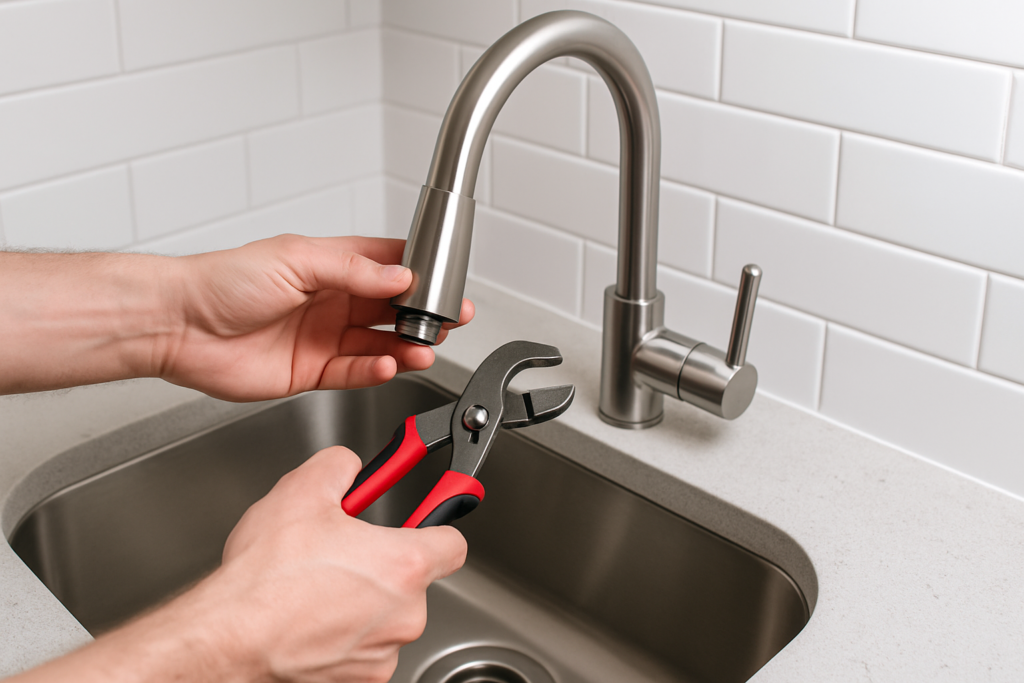
Place a bucket under the P-trap to catch water. Most P-traps have slip nuts you can loosen by hand or with slip-joint pliers. Turn the nuts counterclockwise to remove the trap.
Once you remove the P-trap, you’ll usually find a disgusting collection of food debris, grease, and sometimes objects that shouldn’t have gone down the drain in the first place. I’ve pulled out twist ties, small utensils, and even a child’s toy ring.
Clean out the trap thoroughly with a brush and hot soapy water. Check both ends where it connects to make sure nothing is blocking those connection points. Reinstall the trap, making sure the slip nuts are tight but not overtightened.
What Never Goes Down Your Disposal
Prevention beats repair every time. Most disposal clogs happen because people treat these units like magic food destroyers. They’re not. Garbage disposals handle soft food scraps, but plenty of common foods will jam or clog them.
Fibrous vegetables are public enemy number one. Celery, asparagus, corn husks, and artichokes have tough fibers that wrap around the disposal blades like string. They don’t grind up properly and create clogs over time.
Potato peels seem harmless, but they turn into a starchy paste that coats your pipes. Same goes for pasta and rice, which continue absorbing water and expanding even after cooking. Coffee grounds are another sneaky culprit. They seem fine going down, but they accumulate in pipes and create cement-like clogs.
Grease and oil should never go down any drain, disposal or not. They solidify in your pipes and cause major backups. Let grease cool in a container and throw it in the trash instead.

Grease Disposal Container
Makes proper grease disposal easier and keeps your drains clear.
Eggshells are controversial. Some people swear they sharpen disposal blades, but the membrane inside can wrap around the grinding mechanism. Bones, seafood shells, and fruit pits are too hard and will damage your disposal. When in doubt, throw it out in the trash instead.
Advanced Tools for Serious Clogs
Occasionally you’ll encounter a clog that resists all the basic methods. Before calling a plumber, consider investing in a disposal-safe drain auger. These specialized tools let you break up clogs deeper in the drainpipe without damaging the disposal components.
A Disposal Gator or similar drain cleaning tool features flexible fingers that grab debris without harming the disposal. You insert it through the drain opening, twist to catch the clog material, and pull it out. These tools work particularly well for clogs caused by fibrous materials.

Drain Snake Auger
Essential for clogs beyond the P-trap that standard methods can’t reach.
For clogs farther down the line, a 25-foot drain snake gives you the reach to clear blockages in the main drainpipe. Feed it slowly into the drain, rotating as you go. When you hit resistance, work the snake back and forth to break up the clog.
Maintenance Tips to Prevent Future Clogs
Keeping your disposal running smoothly takes minimal effort. Run cold water before, during, and for 15 seconds after using the disposal. The water helps flush food particles completely through the pipes.
Cold water is better than hot because it keeps grease solid. Hot water liquefies grease, which then coats your pipes and solidifies farther down, creating clogs in places that are harder to reach.
Run your disposal regularly, even when you don’t have food to grind. Disposals that sit unused for long periods can develop rust and corrosion. Running it with just water keeps the moving parts lubricated and prevents buildup.
Drop citrus peels into the disposal occasionally for natural deodorizing. Lemon, orange, or grapefruit peels smell great and contain oils that help clean the grinding chamber. Just remember to cut them into small pieces first.
Frequently Asked Questions
Why does my garbage disposal hum but not spin?
A humming sound without spinning means the motor is receiving power but the flywheel is jammed. This is usually caused by a foreign object like a utensil, bone, or hard food item stuck in the grinding chamber. Use the hex key method to manually rotate the flywheel and dislodge the obstruction. Always make sure the power is off before attempting any repairs.
Can I use chemical drain cleaners in my garbage disposal?
Avoid chemical drain cleaners in garbage disposals. These harsh chemicals can damage the plastic and rubber components inside your disposal, shortening its lifespan. They’re also not effective for disposal clogs since most problems stem from jams or solid obstructions rather than the type of buildup these chemicals target. Stick with the ice and salt method or baking soda and vinegar for safe, effective cleaning.
How long should a garbage disposal last?
A quality garbage disposal typically lasts 10 to 15 years with proper maintenance. Budget models might only last 5 to 8 years, while premium units with stainless steel components can exceed 15 years. Regular cleaning, avoiding forbidden foods, and running cold water during use all extend your disposal’s lifespan. If your unit is more than 12 years old and having frequent problems, replacement might be more economical than repeated repairs.
Is it normal for my garbage disposal to smell bad?
Some odor is normal, but persistent bad smells indicate food buildup in areas your disposal isn’t effectively cleaning. The ice and salt treatment followed by a baking soda and vinegar flush usually eliminates odors. Regular cleaning with citrus peels also helps. If smells persist after thorough cleaning, you might have a clog in the P-trap or drainpipe that’s harboring bacteria and rotting food particles. Remove and clean the P-trap to solve this issue.
When to Call a Professional
Most disposal issues are DIY fixes, but some situations require professional help. If you’ve tried all these methods and your disposal still won’t work, the motor might be burned out. A constantly tripping reset button also indicates motor failure.
Leaks around the disposal housing or connecting pipes need professional attention if tightening the connections doesn’t solve the problem. Water damage from disposal leaks gets expensive fast, so don’t delay calling a plumber when you spot persistent leaking.
Strange metal-on-metal grinding sounds or excessive vibration can mean damaged internal components. Continuing to run a disposal with broken parts can cause more extensive damage. Get it checked before a minor problem becomes a major replacement.
Most clogs clear in under five minutes using these methods. You’ll save money, learn a valuable skill, and feel pretty accomplished when you solve the problem yourself. Just remember to respect that disposal, keep the forbidden foods out, and maintain it regularly. Your future self will thank you.
This article contains affiliate links. We may earn a small commission at no extra cost to you.