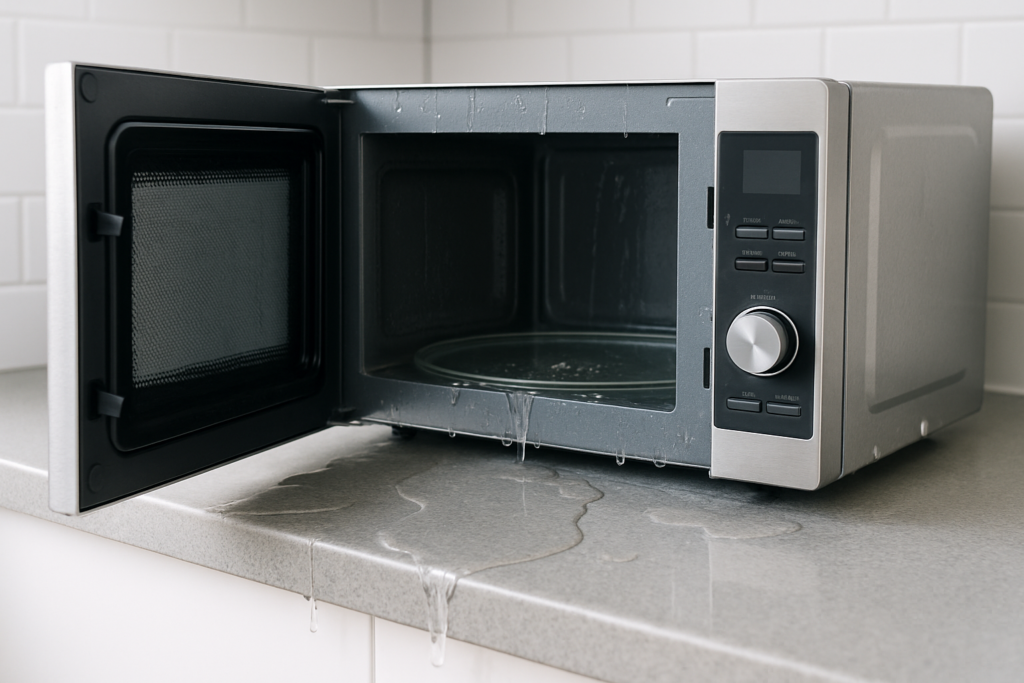
Walking into your kitchen to find a puddle of water under your microwave is never a fun discovery. Most people assume microwaves just heat food and stay dry, but condensation and water leakage are more common than you’d think. The good news is that a leaking microwave doesn’t always mean you need to replace it.
Water leakage typically comes from condensation buildup, blocked drainage systems, or worn seals. Understanding where the water is coming from will help you fix the problem quickly and get back to reheating your leftovers without worry.
Understanding Why Microwaves Produce Water
Before you panic about your leaking microwave, it helps to understand that microwaves naturally create moisture during the heating process. When you heat food, especially anything with high water content like soup or vegetables, steam is released. This steam condenses on the cooler interior surfaces of the microwave and needs somewhere to go.
Most microwaves have a drainage system designed to handle this condensation. Over-the-range models typically include vents and drainage pathways that channel moisture away from the cooking cavity. Built-in and countertop models rely on different systems, but they all need to manage condensation effectively.
When these systems get clogged, damaged, or overwhelmed, water starts pooling in places it shouldn’t. You might notice water dripping from the bottom, collecting on your countertop, or even leaking down your cabinets.
Common Causes of Microwave Water Leakage
Blocked Drainage Holes
Most microwaves have small drainage holes at the bottom of the cooking cavity. These holes allow condensation to drain away properly. Food particles, grease buildup, and debris can block these holes over time, causing water to back up and leak out.
Check the bottom interior of your microwave for small holes, usually located near the corners or center. You might need a flashlight to spot them. Use a toothpick or thin wire to carefully clear any blockages. A microwave cleaning kit with small brushes can make this job easier.
Damaged Door Seals and Gaskets
The rubber seal around your microwave door keeps heat and moisture inside during cooking. When this seal gets cracked, torn, or warped, steam can escape and condense on the outside of the unit, creating water pooling underneath or around the microwave.
Inspect the door seal carefully. Run your finger along the entire perimeter looking for any gaps, cracks, or areas where the seal has pulled away from the door. Many microwave manufacturers sell replacement seals specific to their models.

Microwave Door Seal Replacement
Essential for fixing steam leaks and improving heating efficiency
Clogged Ventilation Systems in Over-the-Range Models
Over-the-range microwaves have more complex ventilation systems than countertop models. These units often include grease filters and ventilation pathways that can become clogged with cooking residue. When the ventilation system can’t properly expel moisture, condensation builds up inside and eventually leaks out.
Remove and clean your grease filters regularly. Most are dishwasher-safe, but check your manual first. While the filters are out, wipe down the ventilation pathways you can reach with a damp cloth.
Faulty Steam Sensor or Humidity Sensor
Many modern microwaves include sensors that detect moisture levels to automatically adjust cooking times. When these sensors malfunction, they can misread humidity levels and fail to properly manage the ventilation system. This can lead to excessive condensation buildup.
This type of problem usually requires professional diagnosis and repair, but it’s worth mentioning to a technician if you’ve already checked the more common causes.
Step-by-Step Fixes You Can Do Yourself
Clean the Drainage System
Start by unplugging your microwave for safety. Remove the turntable and roller guide. Look for drainage holes in the bottom of the cavity and clear them with a toothpick or thin wire. Mix warm water with a small amount of dish soap and use a sponge to clean the entire interior, paying special attention to the bottom where drainage occurs.
For stubborn buildup, you can steam-clean your microwave by heating a bowl of water with lemon slices for 3-4 minutes. The steam will loosen debris, making it easier to wipe away.
Replace Worn Seals
Replacing a door seal is surprisingly simple on most models. Order the correct replacement seal for your specific microwave model (check the model number on the sticker inside the door or on the back panel). Remove the old seal by gently pulling it away from the groove where it sits. Clean the groove thoroughly, then press the new seal into place, starting at one corner and working your way around.

Silicone Grease for Gasket Installation
Makes seal installation easier and helps create a better moisture barrier
Clear Ventilation Pathways
For over-the-range models, remove the grease filters and soak them in hot, soapy water for 15-20 minutes. Use a soft brush to remove any stubborn grease buildup. Check the charcoal filter if your microwave uses recirculating ventilation (most do). These filters should be replaced every 6-12 months depending on usage.
While the filters are out, use a vacuum with a crevice attachment to remove dust and debris from the ventilation openings. Wipe accessible areas with a cloth dampened with all-purpose cleaner.
When to Call a Professional
Some microwave leakage problems require professional repair or indicate it’s time for a replacement. If you’ve cleaned all drainage holes, replaced seals, and cleared ventilation systems but water still leaks, you might have a cracked cooking cavity or damaged internal components.
Microwaves with visible cracks in the interior coating are safety hazards and should be replaced immediately. The interior coating protects you from microwave radiation, and damaged coating can’t do its job properly.
If your microwave is more than 7-10 years old and requires significant repairs, replacement is usually more cost-effective than fixing it. Modern microwaves are more energy-efficient and have better moisture management systems than older models.
Preventing Future Water Leakage
Regular maintenance goes a long way toward preventing water leakage. Wipe down the interior of your microwave weekly, paying attention to the bottom where condensation collects. Clean grease filters monthly if you use your over-the-range microwave frequently.
Use microwave covers when heating foods that produce lots of steam. This reduces the amount of moisture that condenses on interior surfaces and needs to be drained away. You can find affordable microwave splatter covers that also make cleanup easier.
Check door seals every few months for signs of wear. Catching deterioration early means you can replace seals before they cause leakage problems. Keep the microwave door slightly ajar for a few minutes after heavy use to allow moisture to escape naturally.
Frequently Asked Questions
Is it normal for microwaves to have some condensation?
Yes, condensation during cooking is completely normal. Microwaves heat water molecules in food, which creates steam. Some moisture buildup on the interior walls is expected. However, water pooling on your countertop or dripping from the unit indicates a drainage or seal problem that needs attention.
Can I still use my microwave if it’s leaking water?
You can continue using a microwave with minor leakage while you troubleshoot and fix the problem, but place towels underneath to protect your countertops or cabinets. Stop using the microwave immediately if you notice any electrical issues, sparking, or if the leak is accompanied by unusual smells or sounds.
How much does it cost to fix a leaking microwave?
DIY fixes like cleaning drainage holes or replacing door seals are inexpensive. Replacement seals and cleaning supplies typically run less than what you’d spend on a single repair visit. Professional repairs vary widely depending on the problem, but if a technician needs to replace internal components or the magnetron, you’re often better off buying a new microwave.
This article contains affiliate links. We may earn a small commission at no extra cost to you.