There’s nothing quite as annoying as hearing your ice maker run continuously through the night, or worse, finding a mountain of ice that’s frozen together in your freezer bin. You expect your ice maker to cycle on, produce ice, and then shut off until the next batch is needed. When it keeps running without stopping, something’s clearly wrong.
The good news is that most causes of a constantly running ice maker are fixable without calling in a professional. We’re talking about thermostat issues, faulty sensors, and airflow problems that prevent your ice maker from recognizing when it’s done its job. Let’s break down what’s happening and how you can get your ice maker back to normal.
Understanding How Your Ice Maker Should Work
Before we tackle what’s wrong, you need to understand the normal cycle. Your ice maker fills with water, freezes it, and then uses a thermostat or sensor to detect when the ice is fully frozen. Once frozen, the ejector arm pushes the ice out into the bin, and another sensor (the shut-off arm or optical sensor) checks if the bin is full.
When everything works correctly, the ice maker stops producing once the bin is full and only restarts when you’ve used enough ice to trigger the cycle again. A constantly running ice maker means one of these detection systems has failed.
Thermostat Failures: The Most Common Culprit
The thermostat in your ice maker monitors the temperature of the ice mold. When the water reaches the proper freezing temperature (typically around 15°F), it signals the harvest cycle to begin. A faulty thermostat can’t accurately read the temperature, so your ice maker either never realizes the ice is frozen or thinks it needs to keep making more.
You’ll notice this problem if your ice maker keeps running but produces misshapen ice, ice that’s partially frozen, or cycles way too frequently. The thermostat is usually a small component attached directly to the ice mold, and it can fail due to mineral buildup, electrical issues, or simple wear over time.
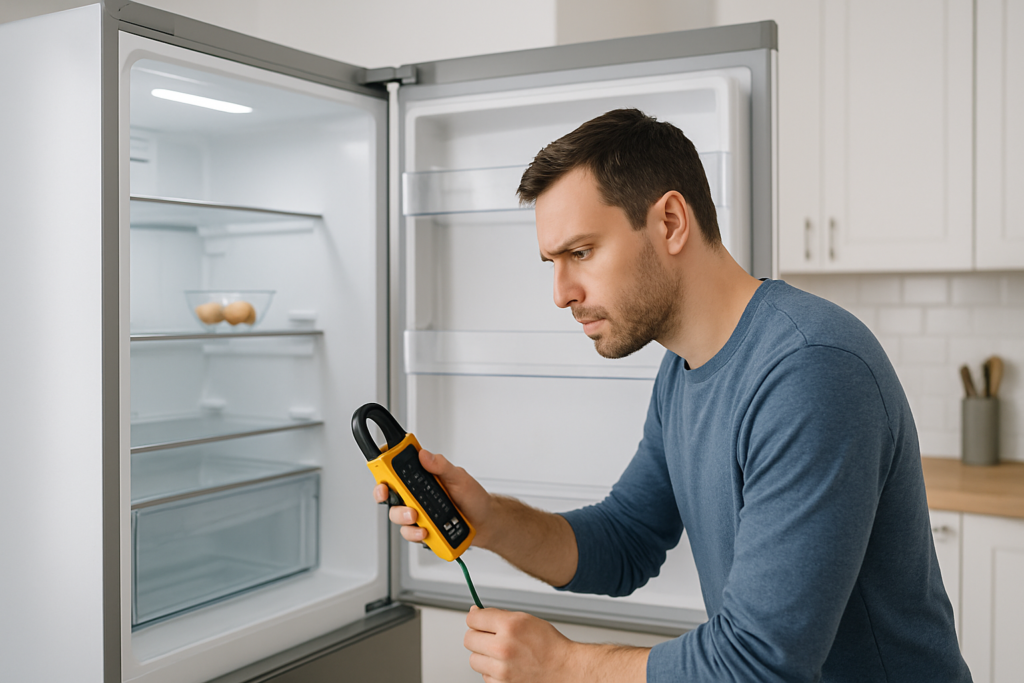
Testing the thermostat requires a multimeter to check for continuity at the proper temperature. For most homeowners, replacing the entire ice maker unit is more practical than trying to replace just the thermostat. Modern refrigerator ice maker replacement units are designed as complete assemblies for exactly this reason.

Ice Maker Replacement Assembly
Complete replacement units solve multiple problems at once and are easier to install than individual components.
Sensor and Shut-Off Arm Problems
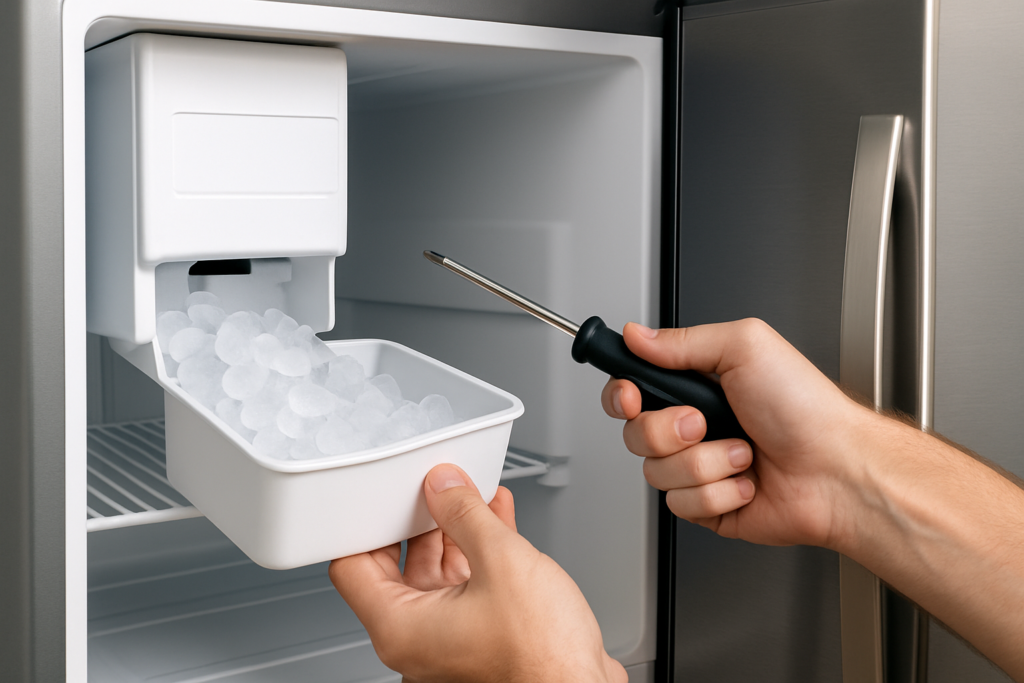
Your ice maker has a separate mechanism to detect when the bin is full. Older models use a mechanical shut-off arm (sometimes called a feeler arm or bail wire) that rises with the ice level. When it reaches a certain height, it triggers a switch that stops ice production.
These arms can get stuck in the down position, making your ice maker think the bin is always empty. Check if the arm moves freely and isn’t obstructed by ice clumps or frozen buildup. Sometimes ice cubes freeze together and jam the arm down, creating a continuous production cycle.
Newer refrigerators use optical sensors instead of mechanical arms. These sensors shine an infrared beam across the bin, and when ice blocks the beam, production stops. Frost, ice buildup, or dirty sensor lenses can prevent proper detection. Clean the sensor lens with a soft cloth and make sure nothing is blocking the sensor’s line of sight.
Airflow and Temperature Issues
Your ice maker relies on consistent airflow and proper freezer temperature to function correctly. If your freezer is running too warm (above 10°F), the ice maker will struggle to freeze ice properly and may run continuously trying to complete a cycle.
Check your freezer temperature with an appliance thermometer. Your freezer should maintain 0°F for optimal ice production. Anything warmer indicates a cooling problem with your refrigerator itself, not just the ice maker.

Refrigerator Thermometer
An accurate thermometer helps you diagnose temperature problems before they damage your appliance.
Blocked air vents inside your freezer can create warm spots that affect ice production. Make sure you’re not overpacking your freezer or blocking the vents with food items. Air needs to circulate freely around the ice maker for it to work properly.
A dirty condenser coil can also cause temperature regulation problems. These coils are usually located at the back or bottom of your refrigerator. When they’re covered in dust and pet hair, your refrigerator works harder and may not maintain proper temperatures. Vacuum them every six months using a coil cleaning brush.
Water Pressure and Fill Issues
Sometimes a constantly running ice maker is actually trying to fill with water but can’t get enough. Low water pressure (below 20 psi) means the ice maker takes much longer to fill, and it may not shut off the fill valve properly.
Check the water line for kinks, clogs, or a partially closed shut-off valve. The filter might also be clogged if you haven’t changed it recently. Most manufacturers recommend replacing your water filter every six months.
The fill valve itself can fail and allow water to continuously trickle into the ice maker. You’ll notice this as constant freezing sounds or an overflow of ice that never seems to stop. A faulty fill valve needs replacement.

Water Inlet Valve
Replacing a worn inlet valve stops leaks and restores proper water flow to your ice maker.
Quick Fixes to Try First
Before you start replacing parts, try these simple solutions:
- Turn off the ice maker for 24 hours, then restart it. Sometimes a simple reset clears temporary glitches.
- Empty the ice bin completely and check for clumped ice that might be interfering with sensors.
- Clean the ice maker unit with warm water to remove mineral deposits and frost buildup.
- Verify the shut-off arm or sensor is clean and moves freely.
- Check that your freezer temperature is at 0°F or below.
Many ice maker problems resolve with basic maintenance. Regular cleaning prevents mineral buildup that interferes with sensors and thermostats.
When to Replace vs. Repair
Individual component replacement sounds economical, but ice maker assemblies are designed as complete units for a reason. Labor costs for diagnosing and replacing small components often exceed the cost of a full replacement unit.
Complete ice maker assemblies include the thermostat, motor, mold, and ejector mechanism. Installation typically takes 30 minutes and requires only basic tools. You’ll find model-specific replacements by searching for your refrigerator’s model number plus “ice maker replacement.”
Consider replacement if your ice maker is more than five years old or if you’ve already repaired it once. Multiple failures indicate the unit has reached the end of its service life.
Frequently Asked Questions
How long should an ice maker run between cycles?
A typical ice maker cycle takes 90 to 120 minutes from start to finish. This includes the fill time, freezing time, and harvest cycle. Running constantly or cycling every 15-20 minutes indicates a problem with temperature sensing or the shut-off mechanism.
Can a constantly running ice maker damage my refrigerator?
Yes, continuous operation puts extra strain on your refrigerator’s compressor and can lead to higher energy bills. It also risks flooding if a fill valve sticks open. Address the problem promptly to avoid more serious damage.
Why does my ice maker work fine sometimes but run constantly other times?
Intermittent problems usually point to a thermostat or sensor that’s beginning to fail. Temperature fluctuations in your freezer (from frequent door opening or a failing seal) can also cause inconsistent operation. Check your door gasket for gaps and monitor your freezer temperature over 24 hours.
This article contains affiliate links. We may earn a small commission at no extra cost to you.