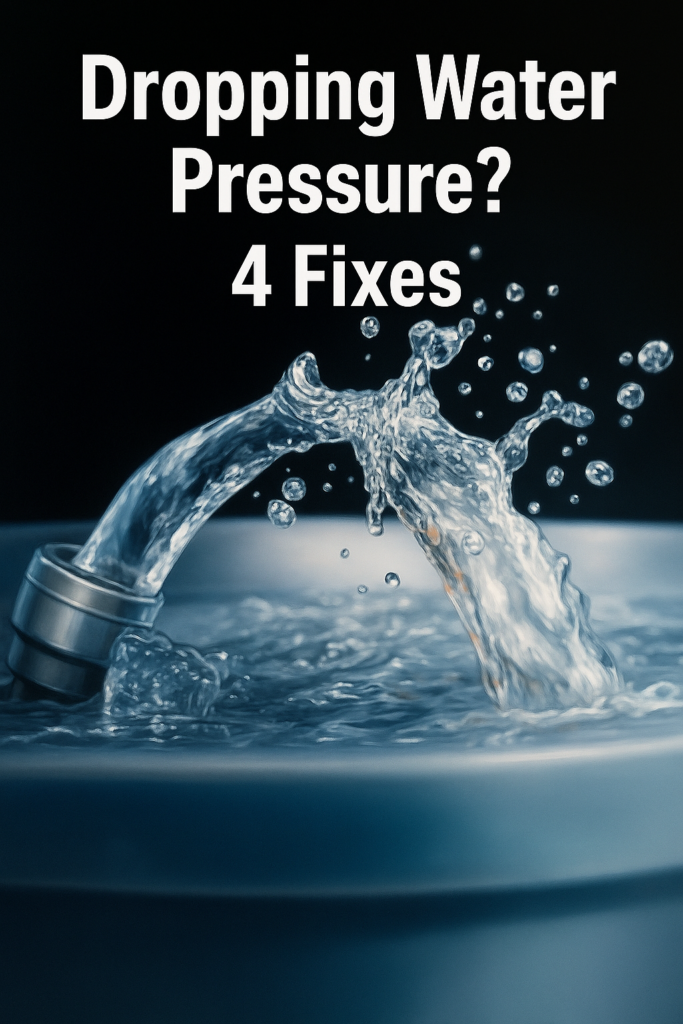
A puddle of water under your kitchen sink is never a welcome sight, especially when it’s coming from your garbage disposal. This common problem can range from a minor annoyance to a serious issue that needs immediate attention. The good news is that most disposal leaks have fixable causes, and you don’t always need a plumber to solve them.
Before you panic and start pricing new units, you should know that garbage disposal leaks typically come from just a few specific areas. Once you identify where the water is coming from, you can usually fix it yourself with basic tools and a little patience.
Where Is Your Disposal Actually Leaking From?
The first step in fixing any leak is finding its exact source. Grab a flashlight and dry off the disposal completely with a towel. Then run water down the drain while you watch carefully. The leak will usually appear in one of four locations.
Check the top where the disposal connects to the sink drain. Look at the dishwasher inlet on the side if you have a dishwasher connected. Examine the discharge drainpipe that carries water out to your main drain line. Finally, inspect the bottom of the unit itself.
Each location points to a different problem with its own solution. Let’s break down what causes leaks in each spot and how to fix them.
Leak at the Top: Sink Flange Problems
Water leaking from where the disposal meets the sink usually means the flange seal has failed. This flange is the metal ring you see in your drain opening, and it’s sealed with plumber’s putty or a rubber gasket underneath.
Over time, the putty dries out or the gasket deteriorates. You’ll need to disconnect and remove the entire disposal to access this area. Once it’s out, scrape away all the old putty, apply fresh plumber’s putty around the flange, and reinstall everything.
This repair takes some muscle because disposals are heavy. Make sure you have something to support the unit while you work on loosening the mounting ring. A small jack or a helper makes this job much easier.
Dishwasher Connection Leaks
If water drips from the side of your disposal where the dishwasher hose connects, you’ve got a simpler fix. This connection uses a small hose secured with a metal clamp, and either the clamp has loosened or the hose has degraded.
Turn off the power to your disposal at the breaker box first. Then use a screwdriver to tighten the clamp. If that doesn’t stop the leak, you may need to replace the hose section or the rubber gasket inside the connection point.

Garbage Disposal Wrench Set
Essential for turning and adjusting disposal mounting hardware during repairs.
Sometimes the knockout plug inside the dishwasher inlet hasn’t been removed properly. If you recently installed a dishwasher connection, check that the plug was completely knocked out and removed from inside the disposal. Loose pieces can prevent a proper seal.
Discharge Drainpipe Leaks
The discharge drainpipe connects your disposal to the main drain system. This connection uses bolts and a rubber gasket or flange to create a watertight seal. Leaks here usually mean the gasket has worn out or the bolts have loosened.
You can often fix this without removing the disposal. Tighten the bolts on the metal flange with a screwdriver or wrench. If that doesn’t work, you’ll need to remove the drainpipe and replace the rubber gasket.
When you replace the gasket, make sure the pipe is properly aligned before you tighten everything down. Misalignment puts stress on the seal and guarantees future leaks. Take your time with this part.
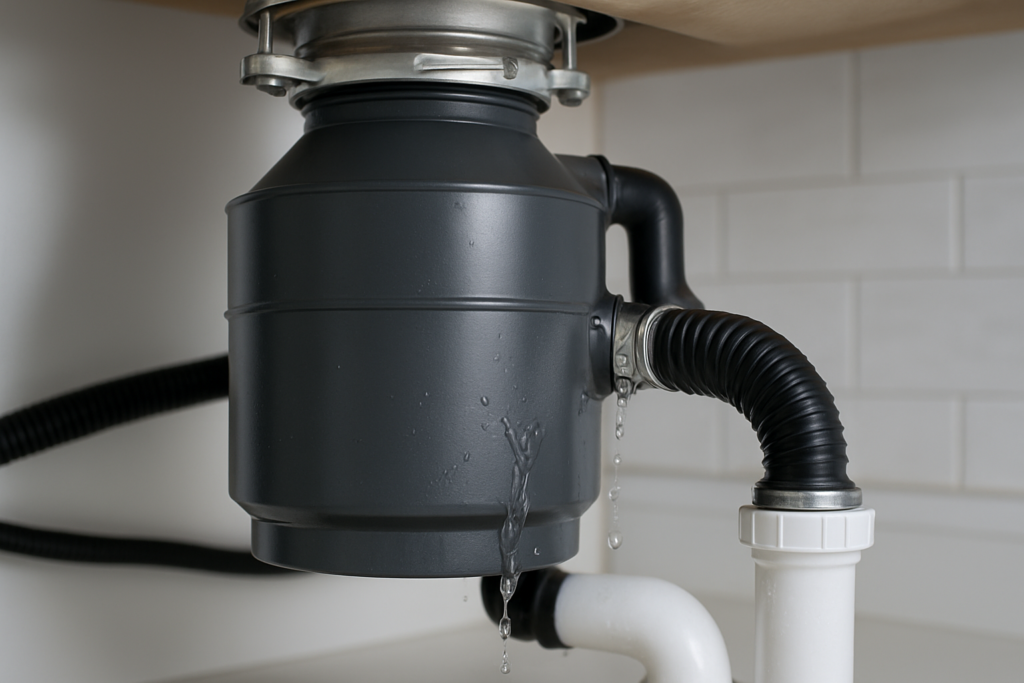
Leaks from the Bottom of the Unit
Water coming from the very bottom of your disposal usually means internal seals have failed. Unfortunately, this is the one leak you can’t really fix. Internal seals aren’t serviceable parts in most disposal models.
A disposal leaking from its base has reached the end of its useful life. Most units last 8 to 15 years depending on usage and maintenance. Internal seal failure typically happens in older units that have processed years of food waste.
When you shop for a replacement, consider models with higher horsepower if your current disposal struggles with food waste. The InSinkErator Evolution series and Waste King Legend series both offer reliable performance. Check the warranty length too, as better models often come with longer coverage.

Plumbers Putty
Necessary for resealing the sink flange when fixing top-mount leaks.
Tools You’ll Need for Most Repairs
Most garbage disposal leak repairs require just a few basic tools. Keep a set of screwdrivers (both Phillips and flathead) handy. You’ll want an adjustable wrench for tightening bolts and connections.
A garbage disposal wrench is incredibly useful for working with the mounting hardware. Many disposals come with one, but they’re easy to lose over the years. A flashlight helps you see what you’re doing in the dark cabinet space.
Have a bucket and old towels ready to catch water when you disconnect pipes. Some plumber’s putty and replacement rubber gaskets should be in your supplies. These items are inexpensive and worth having on hand for quick repairs.
Preventing Future Leaks
Regular maintenance keeps your disposal running longer and reduces leak risk. Always run cold water when using the disposal, and keep it running for 15 seconds after the grinding stops. This flushes everything through completely.
Avoid putting grease, oil, coffee grounds, and fibrous vegetables like celery through your disposal. These materials cause clogs and put extra strain on seals. Use your disposal for appropriate food scraps only.
Check all connections every few months. Give bolts a quick tightening if needed. This two-minute inspection can catch small problems before they become major leaks.
Frequently Asked Questions
Can I use my disposal if it’s leaking?
You shouldn’t use a leaking disposal until you fix it. Running water through a leak can damage your cabinet, cause mold growth, and potentially create electrical hazards if water reaches the motor connections. Place a bucket under the leak and make the repair as soon as possible.
How long does it take to fix a disposal leak?
Simple fixes like tightening a loose connection take 10 to 15 minutes. Replacing gaskets or resealing the sink flange takes one to two hours depending on your experience level. The job goes faster if you have the right tools ready before you start.
Should I repair or replace a leaking disposal?
Repair if the leak is from a connection point or flange seal and your disposal is less than 10 years old. Replace if water leaks from the unit’s body itself, if your disposal is older than 12 years, or if it has other problems like loud noises or poor grinding performance. Sometimes replacing makes more sense than repairing an aging unit.
This article contains affiliate links. We may earn a small commission at no extra cost to you.