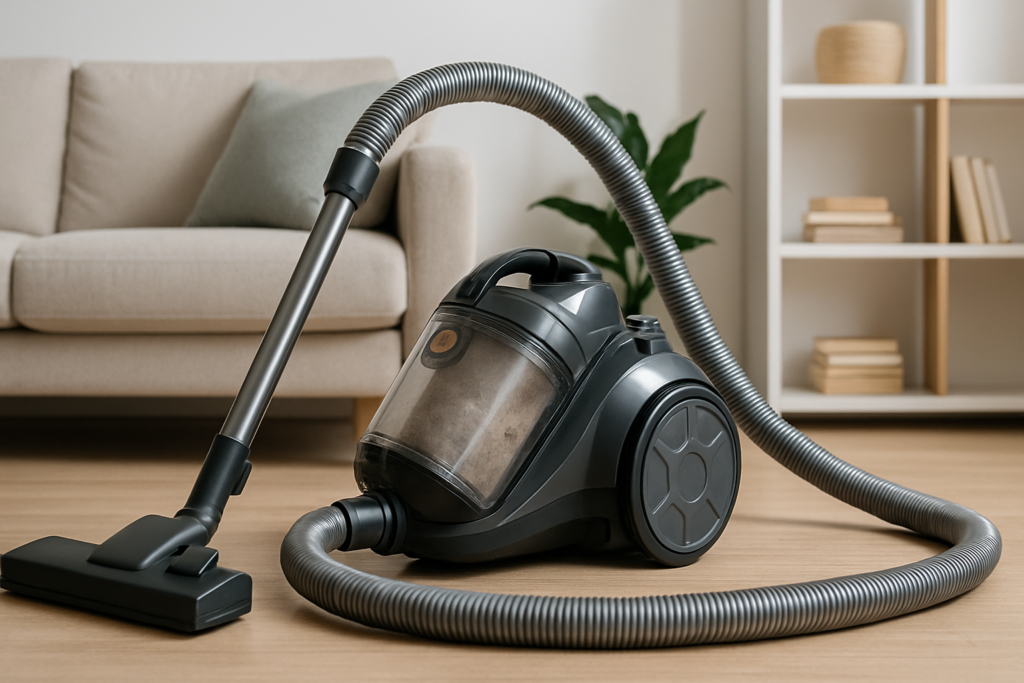
Nothing’s more frustrating than reaching for your vacuum to tackle that weekend cleaning session, only to find it completely unresponsive when you press the power button. Whether you’re dealing with a canister, upright, or stick vacuum, a unit that won’t turn on can derail your entire cleaning routine.
Before you start shopping for a replacement or call in a repair service, there’s good news. Many vacuum power issues stem from simple problems you can diagnose and fix yourself. From loose plugs to tripped breakers, most “dead” vacuums just need some basic troubleshooting to get back to work.
This systematic approach will walk you through six essential steps to identify why your vacuum won’t start. We’ll cover everything from basic power checks to more advanced electrical diagnostics, plus important safety considerations for each step.
Step 1: Check Your Power Source
Start with the most obvious culprit. Your vacuum needs a solid electrical connection to operate, and power source issues account for roughly 40% of vacuum startup problems.
First, examine the power cord from end to end. Look for visible damage like cuts, kinks, or exposed wires. Pay special attention to areas where the cord bends frequently, particularly near the vacuum body and plug. These stress points often develop internal breaks that aren’t visible from the outside.
Test your wall outlet by plugging in a lamp or phone charger. If these devices don’t work either, check your circuit breaker panel. Vacuum cleaners draw significant current, especially during startup, which can trip breakers in older homes or overloaded circuits.
Try a different outlet in another room to rule out localized electrical issues. Many outlets in bathrooms, kitchens, and basements have GFCI protection that may have tripped. Look for reset buttons on nearby outlets and press them if needed.
Cable Matters Heavy Duty Extension Cord
A reliable extension cord for testing your vacuum in different locations during troubleshooting
Step 2: Inspect the Power Button and Switches
Vacuum power switches endure thousands of on/off cycles and can wear out over time. This step requires careful examination of all controls on your unit.
Press the power button or switch firmly and listen for clicking sounds. A properly functioning switch should produce a distinct click when engaged. If the button feels mushy, sticks in one position, or makes no sound, the switch mechanism may have failed internally.
Many vacuums have multiple switches or safety interlocks. Check for a separate motor switch, brush roll controls, or variable speed settings. Some models won’t start unless all switches are in the correct position.
Clean around the switch housing with compressed air or a dry cloth. Dust and debris can interfere with electrical contacts, preventing proper switch operation. Don’t use water or cleaning solutions near electrical components.
Safety Interlock Systems
Modern vacuums often include safety features that prevent operation under certain conditions. These systems protect both the motor and user but can seem like mysterious power failures.
Check that your vacuum’s dust bin or bag compartment is properly installed and fully seated. Many models won’t start if these components aren’t correctly positioned. Look for alignment tabs or locking mechanisms that must engage completely.
Upright vacuums frequently have brush roll covers that must be securely fastened. Canister models may require the hose to be properly connected. These interlocks prevent operation when components aren’t safely assembled.
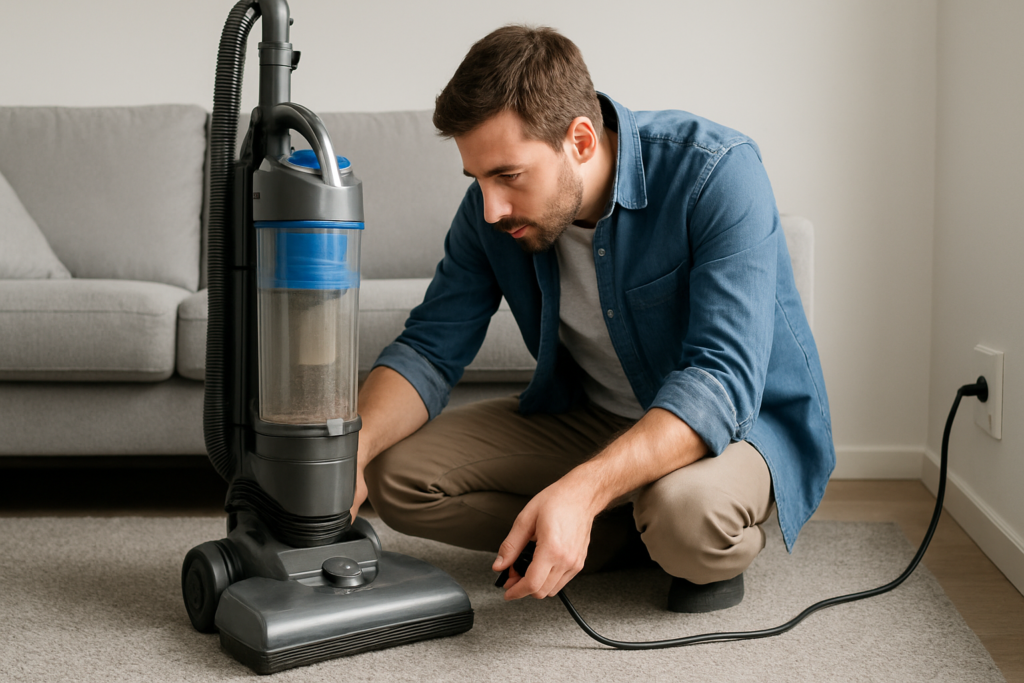
Step 3: Examine the Power Cord Connection
The connection between your vacuum’s power cord and internal wiring experiences constant stress from coiling, storage, and movement during use. These connections can loosen or break without obvious external signs.
Unplug your vacuum and locate where the power cord enters the unit. Gently flex the cord near this connection point while watching for any movement or looseness in the housing. Internal wire breaks often occur in this high-stress area.
Some vacuum models have removable or replaceable power cords. Check if your cord disconnects from the unit and try reseating the connection. Clean any dust or debris from connection points using a dry cloth.
For hardwired cord connections, you’ll need to remove the vacuum’s outer housing to inspect internal wiring. Only attempt this if you’re comfortable working with electrical components and have unplugged the unit completely.
Testing Cord Continuity
Warning: This step requires a multimeter and basic electrical knowledge. Only proceed if you understand electrical safety procedures and have experience using test equipment.
Set your multimeter to continuity or resistance mode. Test each wire in the power cord by placing probes on the corresponding prongs and internal connections. A good wire should show near-zero resistance or trigger the continuity beeper.
If you discover a broken wire, replacement cords are available for many vacuum models. However, cord replacement requires electrical skills and knowledge of your specific vacuum’s wiring configuration.

Klein Tools MM400 Multimeter
A reliable basic multimeter perfect for vacuum troubleshooting and electrical testing
Step 4: Check Internal Fuses
Many vacuum cleaners include internal fuses or thermal protection devices that can blow during motor overload conditions. These safety components protect expensive motor windings from damage but need replacement when they fail.
Locate your vacuum’s user manual or search online for your model’s fuse location. Common spots include near the motor housing, inside the power switch assembly, or attached to the main circuit board.
Remove any fuses carefully and inspect them visually. Blown fuses often show a broken filament wire inside the glass body or have blackened, burnt-looking elements. Some models use replaceable thermal fuses that look like small cylindrical components with wire leads.
Replace blown fuses only with identical ratings. Using incorrect amperage or voltage ratings can damage your vacuum or create safety hazards. Fuse specifications are typically printed on the component body or listed in your owner’s manual.
Why Fuses Blow
Understanding why your vacuum’s fuse failed helps prevent repeat failures. Common causes include clogged filters restricting airflow, brush rolls jammed with hair or debris, or worn motor bearings creating excessive current draw.
Before replacing a blown fuse, inspect your vacuum thoroughly for blockages, clean or replace filters, and ensure brush rolls turn freely. Installing a new fuse without addressing the underlying problem will likely result in immediate failure.
If fuses continue blowing after clearing obvious problems, your vacuum likely has internal motor damage requiring professional repair or replacement consideration.
Step 5: Motor and Internal Component Inspection
Warning: This step involves exposing internal electrical components. Only proceed if you have electrical repair experience and appropriate safety equipment. When in doubt, consult a qualified repair technician.
Remove your vacuum’s outer housing according to manufacturer instructions. Most models use Phillips head screws or plastic clips to secure covers. Keep track of hardware and note cable routing for reassembly.
Inspect internal wiring for obvious damage like burnt insulation, disconnected terminals, or corrosion. Look for loose connections at motor terminals, switch assemblies, and circuit boards.
Check the motor’s carbon brushes if your vacuum uses a brushed motor design. These small carbon blocks transfer power to the rotating motor assembly and wear out with use. Excessively worn brushes can prevent motor startup.
Motor Testing Procedures
Use your multimeter to test motor winding continuity. Most vacuum motors show resistance readings between 5-50 ohms across their windings, though specific values vary by model and motor type.
Test for shorts between motor windings and the metal motor housing. Your meter should show infinite resistance (open circuit) between any winding wire and the motor case. Low resistance readings indicate dangerous insulation breakdown requiring professional attention.
Motors with obviously burnt windings, damaged commutators, or seized bearings typically need complete replacement. These repairs usually exceed the cost of a new vacuum unless you’re dealing with a premium model.
Shark Navigator Lift-Away Professional
A dependable replacement option if your current vacuum requires expensive motor repairs
Step 6: Professional Repair Assessment
Some vacuum problems require specialized tools, replacement parts, or technical expertise beyond typical DIY capabilities. Knowing when to seek professional help can save time and prevent further damage.
Consider professional repair for motor replacement, circuit board issues, or complex electrical problems. Many vacuum specialty shops offer diagnostic services that can identify problems you might miss with basic tools.
Get repair estimates before authorizing work. For many mid-range vacuums, repair costs exceeding 50% of replacement price make new purchase consideration worthwhile, especially if your current unit is several years old.
Warranty Considerations
Check your vacuum’s warranty status before attempting any repairs. Opening the housing or replacing components often voids manufacturer warranties, even for simple procedures.
Many manufacturers offer extended warranties or service plans that cover electrical failures. These programs might provide free repairs or significant discounts on professional service.
Document any repair attempts with photos and notes. This information helps technicians understand what you’ve tried and can speed diagnosis if professional service becomes necessary.
Prevention and Maintenance Tips
Regular maintenance prevents many electrical problems that cause startup failures. Simple care habits extend your vacuum’s life and reduce repair needs.
Store your vacuum with the power cord loosely coiled, avoiding tight wraps that stress internal wires. Keep the storage area dry and dust-free to prevent corrosion of electrical connections.
Clean or replace filters according to manufacturer schedules. Clogged filters force motors to work harder, generating excess heat that can damage electrical components over time.
Remove hair and debris from brush rolls after each use. Jammed brushes create motor strain that can blow fuses or damage motor windings during startup.
When to Replace vs Repair
Age and repair history help determine whether fixing your current vacuum makes economic sense. Units over 10 years old with multiple previous repairs often cost more to maintain than replace.
Consider your vacuum’s original purchase price when evaluating repair costs. High-end models justify more expensive repairs, while budget units might be better replaced when major components fail.
Technology improvements in newer models offer better filtration, lighter weight, and improved reliability compared to older designs. These benefits might outweigh repair savings for some users.
Frequently Asked Questions
Can I use my vacuum if the power cord is slightly damaged?
Never use a vacuum with visible power cord damage. Exposed wires create serious shock and fire hazards. Replace damaged cords immediately or have them professionally repaired before using the vacuum again.
Why does my vacuum work sometimes but not others?
Intermittent power issues usually indicate loose connections, worn switches, or internal wire breaks that make contact only in certain positions. These problems typically worsen over time and require repair to prevent complete failure.
How can I tell if my vacuum motor is burned out?
Burned motors often produce distinct odors, unusual noises, or visible smoke during operation. If your motor shows no continuity on electrical tests or has obviously damaged windings, replacement is typically necessary.
Is it safe to work on vacuum electrical components myself?
Basic checks like testing outlets and replacing fuses are generally safe for most users. However, motor repairs, internal wiring work, and electrical testing require proper knowledge and tools. When in doubt, consult qualified repair professionals to avoid injury or further damage.
This article contains affiliate links. We may earn a small commission at no extra cost to you.