Your garage has become that place where you throw everything you don’t want to deal with right now. Bikes tangled with garden hoses, boxes stacked on boxes with mystery contents from three moves ago, and that awkward shuffle you do just to reach your car door. You know it needs fixing, but the thought of tackling it feels overwhelming.
The truth is, decluttering your garage doesn’t require a weekend marathon or a dumpster rental (though those can help). What you need is a clear process that breaks this monster task into manageable chunks. This checklist will walk you through exactly how to transform your garage from a dumping ground into actually usable space.
Step 1: Empty Everything Out
Yes, everything. This is the step most people try to skip, and it’s exactly why their garage stays cluttered. You can’t properly assess what you have or plan your space while working around existing piles.
Pick a day with decent weather and move everything onto your driveway or lawn. Create broad zones as you remove items: tools in one area, sporting goods in another, holiday decorations together. This rough sorting saves time later and prevents you from feeling completely overwhelmed by a random pile of chaos.
Take photos of your empty garage. You’ll want these later when you’re planning your storage layout, plus they’re incredibly motivating when you’re halfway through and questioning your life choices.
Step 2: Sort Ruthlessly (This Is Where the Magic Happens)
With everything out in the daylight, you’ll see your belongings with fresh eyes. Create four clear categories: Keep, Donate/Sell, Trash, and Undecided.
The Keep pile should only include items you’ve used in the past year or have concrete plans to use soon. Those skis you haven’t touched in five years but might use someday? Be honest with yourself. The camping gear from your one camping trip in 2015? Time to let it go to someone who’ll actually use it.
For the Undecided pile, box it up with a date label six months out. If you haven’t needed anything from that box by then, donate it without opening. You won’t miss what you can’t remember.
Dangerous or expired items go straight to proper disposal. Old paint cans, rusty chemicals, and mystery liquids from previous homeowners need special handling. Check your local waste management website for hazardous material drop-off days.
Step 3: Clean the Actual Space
Your empty garage is probably showing years of accumulated dust, oil stains, and cobwebs in corners you forgot existed. Sweep out debris, scrub any oil spots on the floor, and wipe down walls where you’ll be installing storage.
This is also your chance to spot any maintenance issues. Check for water damage, cracks in the foundation, or pest entry points. Fix these now before you put everything back and forget about them for another decade.
Consider sealing your concrete floor if it’s in rough shape. It makes future cleaning easier and gives the whole space a more finished look. You don’t need fancy epoxy coatings, just a basic concrete sealer works fine.
Step 4: Plan Your Storage Layout
Before buying any storage solutions, measure your space and sketch a basic layout. Consider what you need to access frequently versus seasonally. Your lawnmower and everyday tools should be easily reachable. Holiday decorations can go higher or further back.
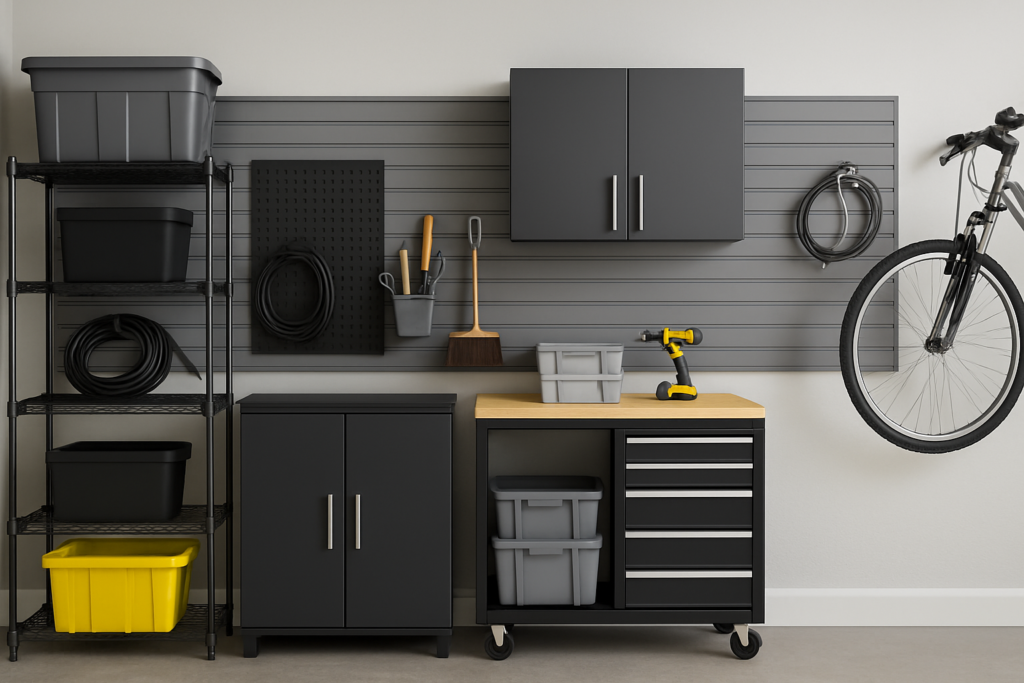
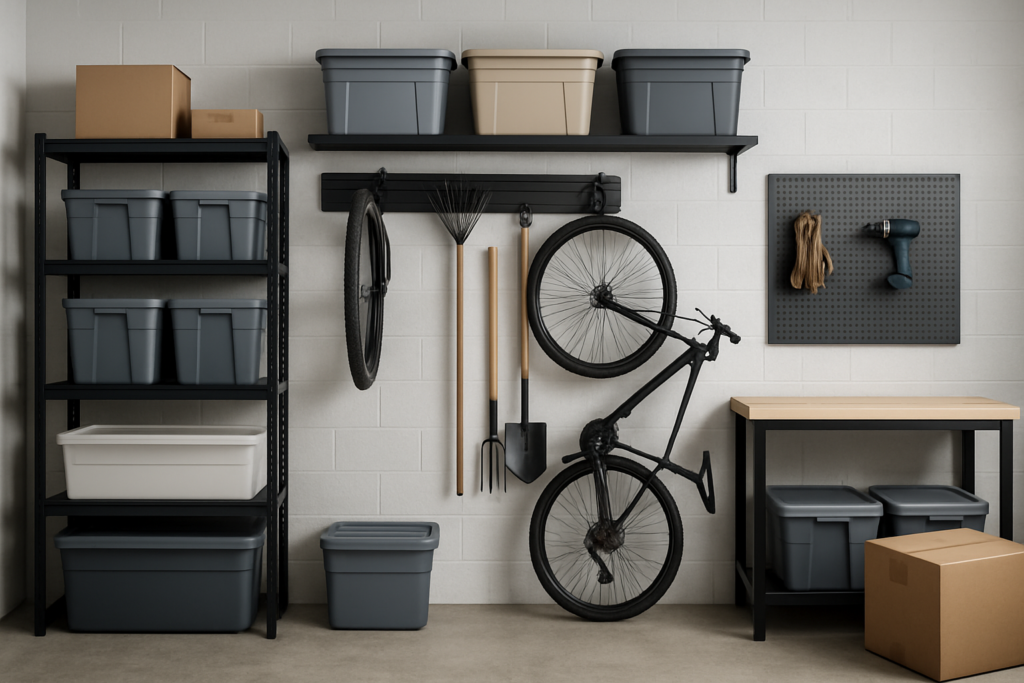
Vertical space is your best friend in garage organization. Most garages waste the entire upper half of their walls. Installing wall-mounted shelving can double or triple your usable storage.

Heavy Duty Garage Shelving Units
Metal shelving units can hold serious weight and last decades with zero maintenance.
For items you use constantly, pegboard systems beat traditional shelves. You can customize tool placement and change the layout whenever you add new equipment. Install pegboard at a comfortable working height along your main workspace wall.
Overhead storage racks work great for seasonal items like holiday decorations or camping gear. Just make sure you install them in ceiling joists, not just drywall. A rack full of Christmas boxes crashing down is not the holiday surprise you want.

Ceiling Mounted Storage Racks
These reclaim dead space above your car and keep seasonal items out of the way but accessible.
Step 5: Invest in the Right Storage Solutions
You don’t need to spend a fortune, but cheap storage often creates more problems than it solves. Flimsy shelves that bow under weight or plastic bins that crack in temperature extremes just mean you’ll be doing this again in two years.
Clear plastic bins beat cardboard boxes every time. You can see contents without labeling, they stack securely, and they protect against moisture and pests. Get bins in 2-3 standard sizes so they stack and fit your shelving efficiently.
For long-handled tools like rakes, shovels, and brooms, wall-mounted tool hooks and hangers keep them organized and off the floor. The simple rubber-grip style hooks work better than complex systems that require precise placement.
Sports equipment deserves dedicated storage. Balls rolling around the floor is a recipe for tripping hazards. A simple sports equipment rack or even a large mesh bin keeps everything contained and findable.
Step 6: Put Everything Back Strategically
This isn’t just reversing Step 1. You’re creating zones based on how you actually use your garage. Create a gardening zone, a tool zone, a sports zone, and a seasonal storage zone.
Place the heaviest items on lower shelves and keep frequently used items at arm level. Seasonal decorations and rarely used equipment can go up high or in back corners.
Leave clear pathways. You should be able to walk through your garage and access any zone without moving other items. If you have to shift three boxes to reach your toolbox, your system has already failed.
Label everything. Yes, even clear bins. Six months from now, you won’t remember which bin has camping gear versus beach supplies. A simple label maker or even masking tape and a marker saves countless minutes of searching.

Heavy Duty Storage Bins with Lids
Clear bins let you see contents instantly, and good lids keep out dust and moisture.
Maintaining Your Newly Organized Garage
The hardest part is keeping it this way. Set a recurring calendar reminder every three months to spend 30 minutes doing a quick garage reset. Put away items that have migrated, sweep the floor, and deal with any new clutter before it becomes a pile.
Institute a one-in-one-out rule for garage items. Buying a new rake means the old one gets donated or trashed. This prevents the slow creep back to chaos.
Keep a donation box in your garage permanently. When you notice something you’re not using, toss it in immediately rather than waiting for your next big decluttering session. When the box fills up, drop it at a donation center on your next errand run.
Frequently Asked Questions
How long does it take to completely declutter a typical two-car garage?
Plan on a full weekend for most garages. Day one for emptying, sorting, and cleaning. Day two for installing storage and putting everything back. If you have decades of accumulation or a larger space, add another day. Breaking it across two weekends is fine too, just cover your driveway piles if weather threatens.
Should I rent a dumpster or just use my regular trash service?
If you’re filling more than 6-8 large trash bags, a small dumpster rental makes sense. It saves multiple trips to the dump and lets you work at your own pace. For moderate decluttering, scheduling a bulk pickup with your regular trash service usually works fine and costs less.
What’s the best way to store items that need temperature control?
Garages experience temperature extremes that damage certain items. Paint, electronics, photographs, and important documents don’t belong in garage storage. If your garage is climate-controlled, you’re fine. Otherwise, find indoor storage for temperature-sensitive items. Canned goods and bottled water handle temperature swings better than most people think, but check expiration dates more frequently.
This article contains affiliate links. We may earn a small commission at no extra cost to you.