As an Amazon Associate I earn from qualifying purchases. This article contains affiliate links.
A winter boot station needs three things: somewhere to catch drips, room for footwear to dry, and a walking route you can still use while carrying groceries. You can create that setup beside an ordinary front door, even when your home has no mudroom.
Start with the boots your household actually wears each day. Store occasional footwear elsewhere so your entryway doesn’t become the home for every shoe you own.
Measure the doorway before you buy storage
Open the door fully and mark its swing with removable tape. Walk through with a bag on each shoulder, then check the route to the nearest hallway. Your tray, bench, and mat need to stay outside that working space.
Measure the floor area left beside the door, including any baseboard that stops a tray sitting flush against the wall. Measure your largest boots as a pair, leaving an air gap between them. Product dimensions should describe the usable tray interior, not just the outer rim.
Use a piece of cardboard to test the footprint for a day. A smaller station you can walk past comfortably is more useful than a generous one you have to sidestep. Our entryway organization guide covers the surrounding coats, bags, and everyday shoes.
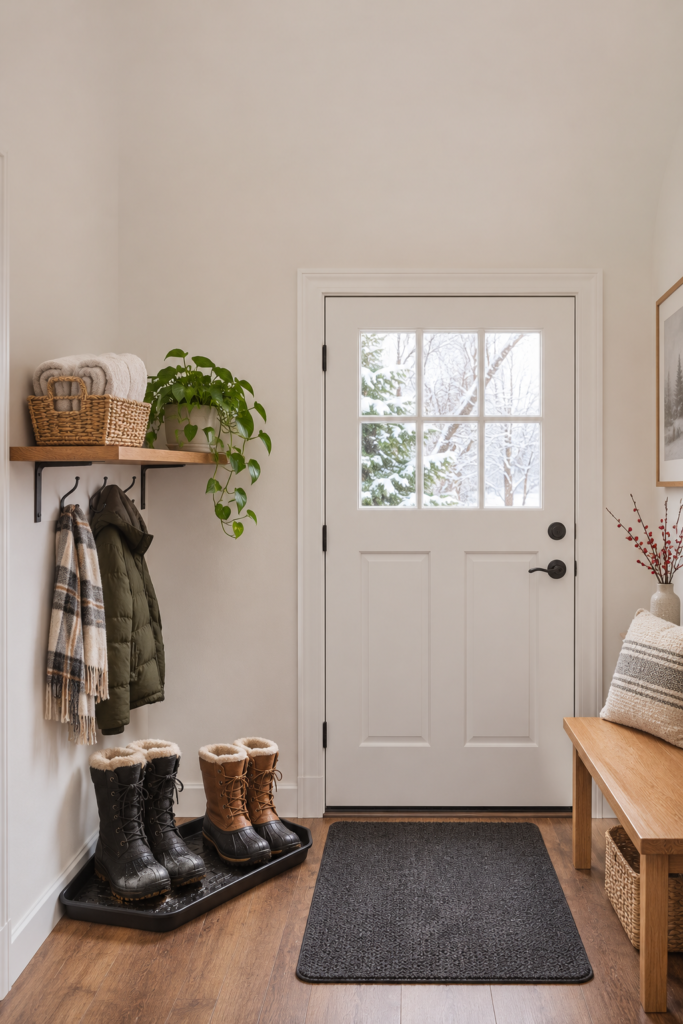
Build three simple zones
- Arrival zone: Put an appropriate entrance mat where you can wipe your soles without obstructing the door. Keep its edges flat.
- Wet zone: Place a washable, rimmed tray beside the mat. Stand boots upright with enough separation to reach between them.
- Dry zone: Give fully dry boots a shelf or separate shoe rack. Move them there instead of leaving every pair on the drip tray.
A tray with a continuous raised edge is my first choice for a compact space because you can lift it out and empty it. Decorative baskets suit dry accessories, but they aren’t a substitute for a container designed to hold drips.
Rimmed waterproof boot tray
Measure your available floor space first. Look for a continuous raised lip, a washable surface, and enough room to separate your everyday boots. Opens Amazon search results.
Skip a layer of decorative pebbles. It adds weight, makes the tray harder to clean, and can hide standing water. You should be able to see when the tray needs attention.
Give damp boots a realistic drying routine
Follow the footwear maker’s care instructions. Where permitted, loosen the laces, open the tongues, and remove removable insoles to expose damp surfaces to room air. Avoid crowding boots together or sealing wet footwear inside a closed cabinet.
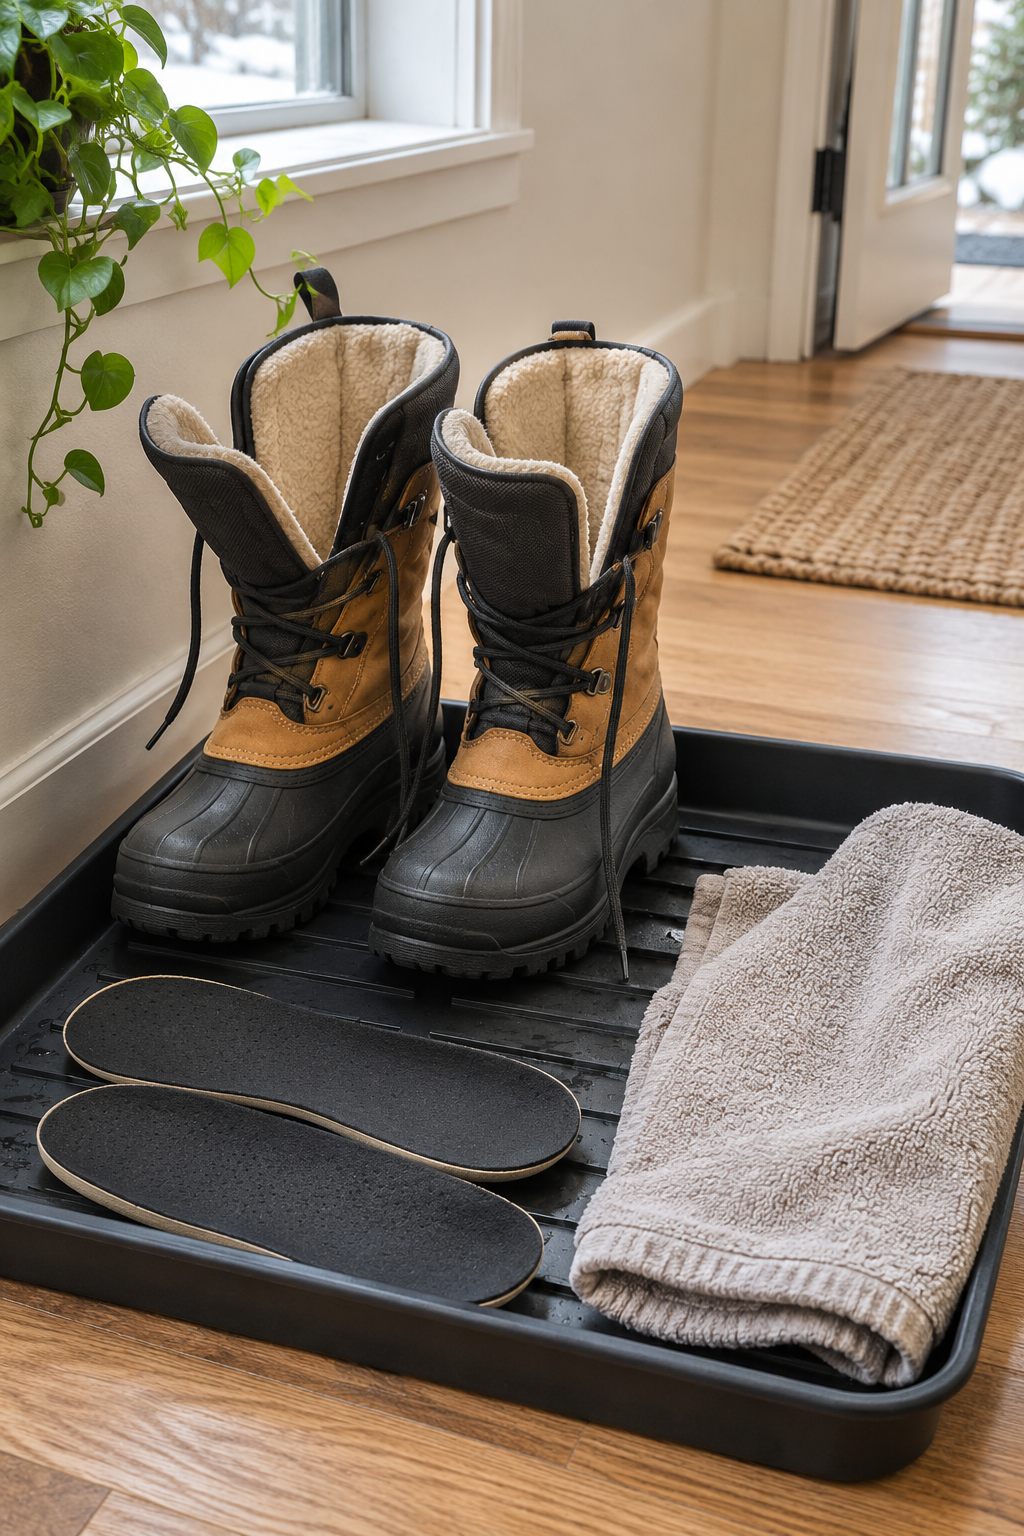
Keep a small towel nearby for wiping the tray and a separate cloth for the floor. Hang used towels to dry before putting them in the laundry. Keep them away from clean scarves and gloves.
Don’t position footwear against a space heater or radiator. Concentrated heat can damage materials, and a busy doorway is a poor place for trailing electrical cords. A passive station is enough to organize the space; drying performance still depends on your footwear, room conditions, and how wet it gets.
Choose a layout for your available space
- Narrow hallway: Use one tray against a side wall and store spare shoes elsewhere. Add hooks only where coats won’t brush the boots.
- Door beside a closet: Keep the wet tray outside the closet and use an interior shelf for dry pairs.
- Bench already in place: Test whether a tray slides underneath without pushing wet footwear against the bench’s underside.
- Several people sharing one door: Assign each person one daily pair in the wet zone, with overflow going to a separate drying area.
Choose an absorbent mat with care instructions you can follow and a backing suitable for your flooring. Check beneath both mat and tray regularly. Trapped moisture or grit can affect a floor even when the visible surface looks tidy.
Washable entryway mat
Check door clearance and floor compatibility. Choose a low-profile mat that stays flat and can be washed according to its care label. Opens Amazon search results.
Use a short evening reset
Move dry footwear to its shelf, empty collected water, wipe the tray, and let it dry before putting it back. Lift the mat when needed so the floor beneath can dry too. Deal with salt or dirt using your flooring manufacturer’s approved method.
Once a week, wash the mat if its care label allows, clear the shelf, and remove shoes nobody is using. You can attach this job to your Sunday reset routine instead of creating a separate cleaning appointment.
Common questions
Can you put a boot tray directly on hardwood?
Check the tray and flooring manufacturers’ guidance. Whatever the material, lift the tray regularly and dry moisture underneath. Don’t assume a waterproof tray makes the floor beneath maintenance-free.
How many pairs should stay by the door?
Start with one everyday pair per person, then reduce that number if the tray becomes crowded. The limit should come from your clear walking route and drying space, not the number of slots on a rack.
Article images are AI-generated illustrations.