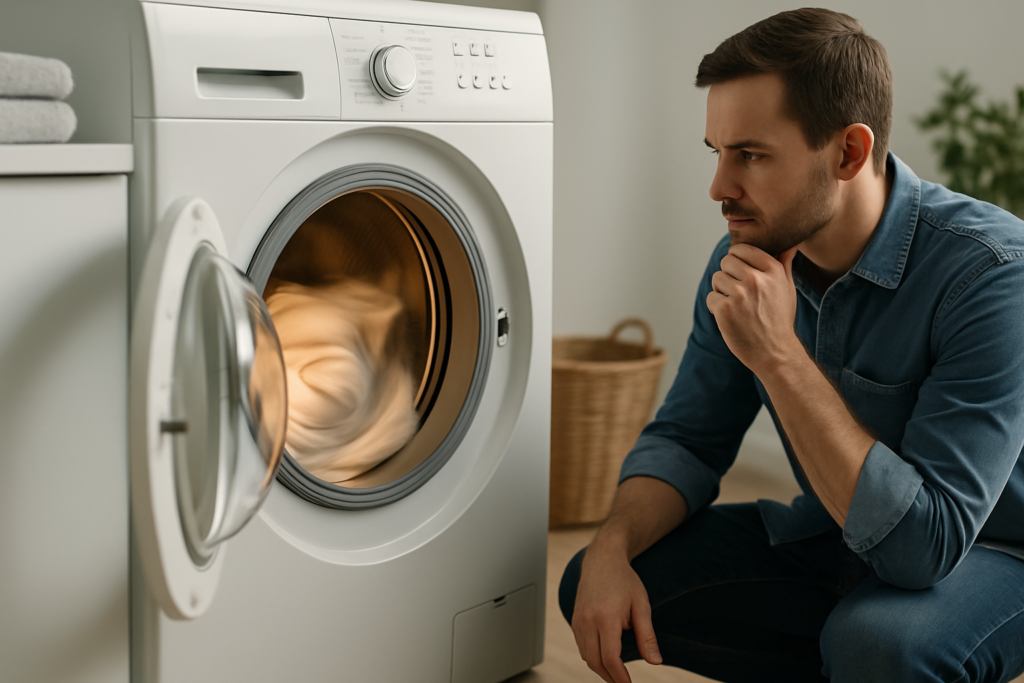
You toss a load of laundry into the dryer, set the timer for 45 minutes, and walk away. When the buzzer goes off, you return to find damp clothes and a dryer that’s still running. Or maybe your dryer just never stops at all, running cycle after cycle until you manually shut it off. Either way, you’ve got a problem that’s wasting energy and potentially damaging your clothes.
A dryer that won’t stop running typically points to one of three culprits: a faulty thermostat, a malfunctioning moisture sensor, or restricted airflow preventing proper heat regulation. The good news is that most of these issues are fixable without replacing the entire appliance. Let’s break down what’s happening inside your dryer and how to get it back to normal operation.
Understanding How Your Dryer Knows When to Stop
Before you can fix the problem, you need to understand how dryers are supposed to shut off. Modern dryers use two primary methods: timed cycles and automatic cycles with moisture sensing.
Timed cycles are simple. You set a duration, and the dryer runs for that exact amount of time before stopping. If your timed cycle won’t stop, you’re dealing with a mechanical timer issue or a stuck start button.
Automatic cycles rely on moisture sensors (usually metal strips inside the drum) that detect when clothes are dry. These sensors communicate with a control board that tells the heating element and drum motor when to shut off. When this system fails, your dryer can’t tell that the clothes are already dry.
The Thermostat Issue: Your Dryer’s Temperature Regulator
Your dryer contains multiple thermostats that regulate temperature and prevent overheating. The cycling thermostat is the one most often responsible for continuous running. This component turns the heating element on and off to maintain the proper temperature range.
When a cycling thermostat fails in the closed position, it keeps sending power to the heating element continuously. The dryer never reaches the temperature threshold that would signal the end of the cycle. Your clothes might get extremely hot, or the dryer might run forever without ever getting hot enough to dry anything properly.
Testing a thermostat requires a multimeter. Disconnect power to your dryer first (this is non-negotiable for safety). Locate the cycling thermostat, which is usually mounted on the blower housing or heating element housing. Remove the wires and test for continuity. A functioning thermostat should show continuity when cold and break continuity when heated.

Dryer Thermostat Kit
Most kits include both the cycling thermostat and thermal fuse for a complete repair
Replacing a thermostat is relatively simple once you’ve accessed it. Take a photo of the wire connections before removing anything. The new thermostat mounts in the same location with the same screw holes. Match the wires to your photo, secure everything, and test the dryer.
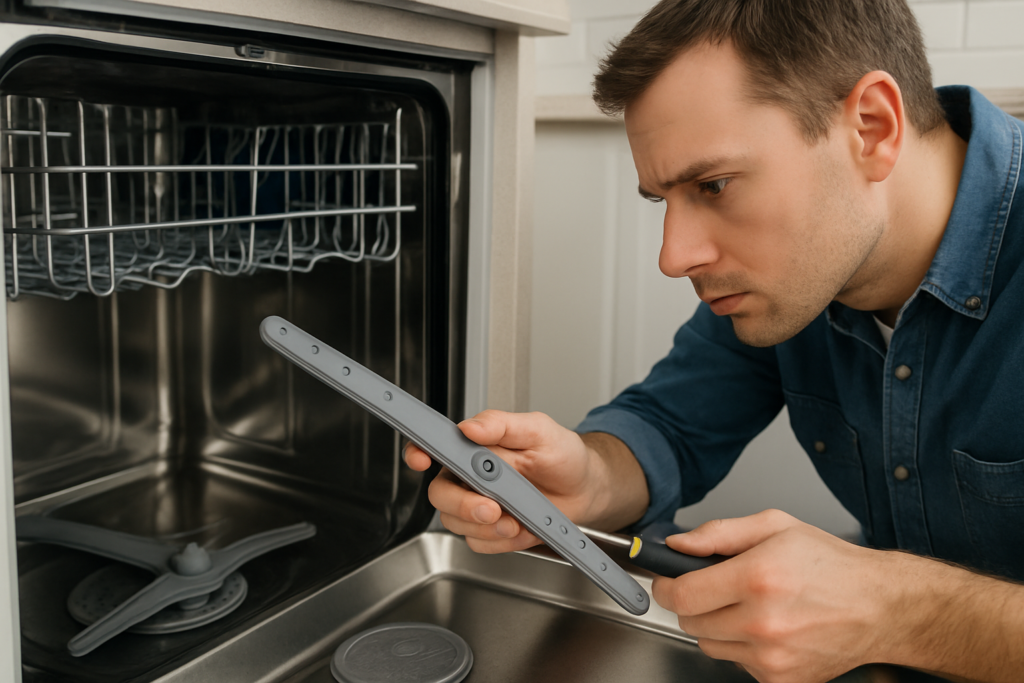
Moisture Sensor Problems: When Your Dryer Can’t Tell Dry from Wet
The moisture sensor system is incredibly common in dryers manufactured after 2000. Two metal strips inside the drum (usually located near the lint filter or on the back drum wall) detect electrical conductivity. Wet clothes conduct electricity between the strips. As clothes dry, conductivity drops, and the sensor signals the control board to end the cycle.
Here’s where things go wrong: dryer sheets, fabric softener residue, and mineral deposits from hard water coat these sensor strips over time. The coating acts as an insulator, preventing accurate moisture readings. Your dryer thinks the clothes are still wet even when they’re bone dry.
Clean your moisture sensors every month. Use rubbing alcohol and a cotton pad or soft cloth to wipe both metal strips until they shine. You’ll be surprised how much residue comes off even if they look clean. This five-minute maintenance task can solve continuous running problems immediately.
If cleaning doesn’t work, the sensor itself might be defective, or the wiring between the sensor and control board could be damaged. Check the wire connections at both the sensor and the control board. Look for corrosion, loose connectors, or damaged insulation.
Airflow Restriction: The Hidden Cause of Dryer Problems
Restricted airflow is the most overlooked cause of continuous running. When hot, moist air can’t escape the dryer properly, the temperature and moisture readings become inaccurate. Your dryer keeps running because it genuinely can’t dry the clothes in a reasonable timeframe.
Start with the lint filter. Pull it out and hold it up to a light. If you can’t see through the mesh clearly, it needs deep cleaning even if you remove lint after every load. Wash the filter with hot water and dish soap, scrubbing with a soft brush. Fabric softener sheets create a nearly invisible film that blocks airflow.
Next, check your dryer vent and ductwork. Disconnect the duct from the back of the dryer and inspect it. If you see significant lint buildup or the duct is crushed or kinked, you’ve found your problem. Dryer vents should be cleaned professionally every 1-2 years, or you can do it yourself with a dryer vent cleaning kit.
Flexible plastic or foil ducts are fire hazards and restrict airflow more than rigid metal ducts. Replace them with 4-inch rigid or semi-rigid metal ducting. Keep the duct run as short as possible (under 25 feet is ideal) with minimal bends.
Checking the Blower Wheel and Exhaust Hood
Inside the dryer, the blower wheel pulls air through the drum and pushes it out the vent. Lint buildup on the blower wheel or a loose blower wheel can reduce airflow dramatically. Access the blower by removing the front or rear panel of your dryer (depends on the model). Clean any lint from the blower blades and housing.
Outside your home, check the exhaust hood where the vent terminates. Make sure the flapper opens freely when the dryer runs. Bird nests, lint buildup, or a stuck flapper will trap moisture inside the system.
Control Board and Timer Failures
Electronic control boards manage all the timing and sensor inputs in modern dryers. When a control board fails, you might see erratic behavior including cycles that never end. Unfortunately, control board diagnosis requires some technical skill and specialized equipment.
Signs of control board failure include error codes on the display, the dryer running even when the door is open, or the timer advancing randomly. Before replacing an expensive control board, check all wire connections to the board for corrosion or loose terminals.
Mechanical timers in older dryers can also stick or fail. If you can hear the timer motor running but the timer dial doesn’t advance, the timer motor has failed. If the dial advances but the dryer doesn’t shut off, the contacts inside the timer are stuck closed.

Dryer Control Board
Search by your dryer’s exact model number for the correct replacement part
Door Switch and Drum Belt Issues
The door switch is a safety feature that should stop the dryer when you open the door. A faulty door switch might fail to detect that the door is open, allowing the dryer to run indefinitely. Test the door switch by opening the door during a cycle. The dryer should stop immediately. If it doesn’t, replace the door switch.
A broken or loose drum belt won’t directly cause continuous running, but it creates a situation where the drum doesn’t turn while the heating element stays on. This can confuse the sensors and prevent proper cycle completion. Listen for the drum tumbling. If you hear the motor running but the drum isn’t turning, check the belt.
Step-by-Step Troubleshooting Guide
When your dryer won’t stop running, follow this diagnostic sequence to identify the problem efficiently:
- Test with a timed dry cycle instead of an automatic cycle. If the dryer stops properly on timed cycles, your moisture sensors are the problem.
- Clean the moisture sensor strips with rubbing alcohol and run another automatic cycle.
- Clean or replace the lint filter and check the entire vent system for restrictions.
- Test the cycling thermostat with a multimeter for proper operation.
- Inspect all wire connections at sensors, thermostats, and the control board.
- If all else fails, test the control board or timer for proper operation.
Keep in mind that some problems create cascading failures. A clogged vent can cause thermostats to fail prematurely due to overheating. Fix the root cause, not just the symptom.
When to Call a Professional
Most dryer repairs are DIY-friendly if you’re comfortable with basic tools and can follow safety procedures. Always disconnect power before working on any electrical appliance. Gas dryers require extra caution around the gas connection.
Call a professional if you’re dealing with gas line work, if you can’t identify the problem after basic troubleshooting, or if the issue involves the control board and you’re not confident testing electronic components. A good appliance technician can diagnose the problem in 15-30 minutes and often complete the repair the same day.
Sometimes the cost of professional repair approaches the cost of a new dryer, especially for older models. If your dryer is over 10 years old and needs a control board replacement, consider whether a new energy-efficient model might be a better investment.
Frequently Asked Questions
Why does my dryer run for hours and the clothes are still damp?
This almost always indicates an airflow problem. Check your lint filter, dryer vent, and ductwork for blockages. A clogged vent prevents hot, moist air from escaping, so the dryer can’t actually dry the clothes no matter how long it runs. Clean the entire vent system and you’ll likely solve the problem immediately.
Can a bad heating element cause the dryer to run continuously?
Yes, but not in the way you might think. A heating element that’s failed completely will cause the dryer to run forever because the clothes never get warm enough to dry. A heating element stuck in the “on” position due to a relay or thermostat failure will cause excessive heat and continuous running. Use a multimeter to test the heating element for proper resistance.
How do I know if my dryer moisture sensor is bad or just dirty?
Start by cleaning the sensors thoroughly with rubbing alcohol. Run a test load on an automatic cycle. If the dryer still won’t shut off or shuts off too early, check the sensor with a multimeter. Touch the multimeter probes to both sensor strips with damp clothes in the dryer. You should see conductivity. With dry clothes, conductivity should drop significantly. No change in readings means a failed sensor.
Is it normal for a dryer to run for 90 minutes or more?
Automatic cycles should adjust based on load size and moisture content, but 90 minutes is excessive for a normal load in a properly functioning dryer. Heavy items like comforters might take longer, but regular laundry should dry in 30-60 minutes. Extended run times indicate airflow restrictions, failing sensors, or thermostat problems. Don’t ignore this, continuous operation wastes energy and wears out components faster.
This article contains affiliate links. We may earn a small commission at no extra cost to you.