A clogged kitchen sink drain can bring your daily routine to a grinding halt. One minute you’re washing dishes normally, and the next you’re staring at a basin full of dirty water that refuses to drain. Before you reach for the phone to call a plumber, take a deep breath and grab a few common household items.
Most kitchen sink clogs respond well to simple DIY solutions. Grease buildup, food particles, and soap scum are the usual culprits, and they don’t require expensive professional intervention to remove. With the right approach and a little patience, you can restore your drain to full flow in less than an hour.
This guide walks you through five proven methods, starting with the gentlest approaches and progressing to more intensive techniques. Each step builds on the previous one, so you’ll only use as much effort as your specific clog requires.
Step 1: Start With Hot Water
Hot water alone can dissolve many kitchen sink clogs, especially those caused by grease and soap buildup. This method works best on minor clogs and serves as an excellent first line of defense.
Boil a large pot of water on your stove. You’ll need at least 6-8 cups for this technique to be effective. While the water heats up, remove any standing water from your sink using a cup or bowl.
Pour the boiling water down the drain in two or three stages, allowing it to work for a few seconds between each pour. The hot water melts grease deposits and flushes away loose debris that might be causing the blockage.
Test your drain by running cold water for 30 seconds. If the water drains normally, you’re done. If it still drains slowly or backs up, move on to the next step.
Step 2: The Baking Soda and Vinegar Method
When hot water isn’t enough, the classic baking soda and vinegar combination creates a fizzing reaction that can break down stubborn clogs. This natural approach is safe for your pipes and won’t damage your plumbing system.
Remove any standing water from your sink first. Pour one cup of baking soda directly down the drain, pushing it down as far as possible with a spoon or your fingers. Follow this immediately with one cup of white vinegar.
Cover the drain opening with a wet rag or stopper to contain the reaction. You’ll hear fizzing and bubbling as the mixture works to break down the clog. Let it sit for 15-20 minutes.
After the waiting period, remove the cover and flush the drain with another pot of boiling water. This combination often dissolves organic matter and minor grease clogs effectively.
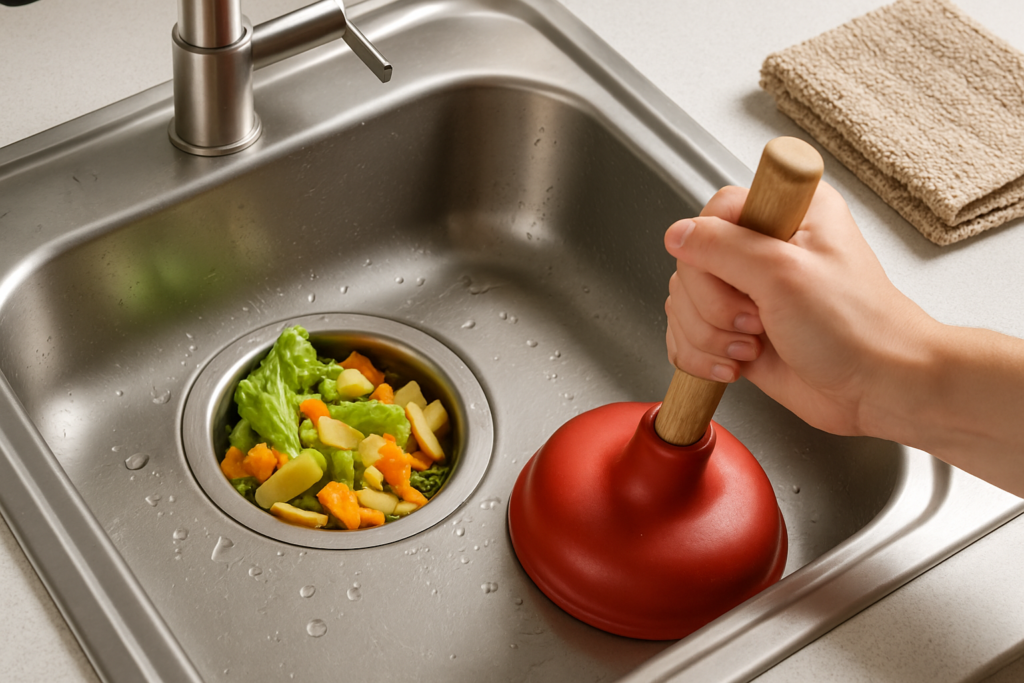
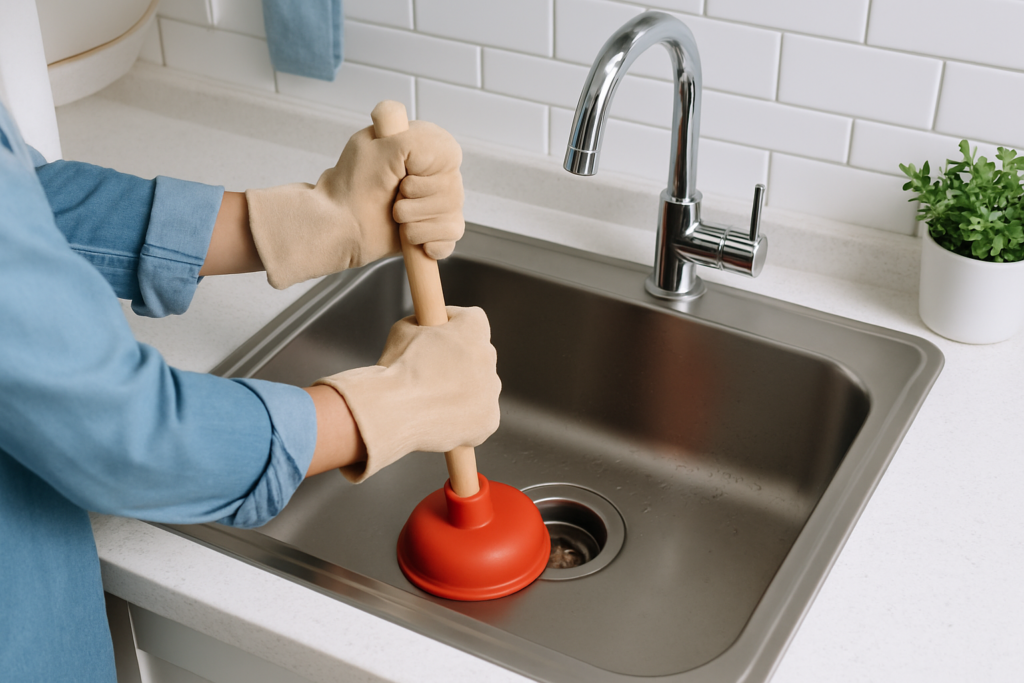
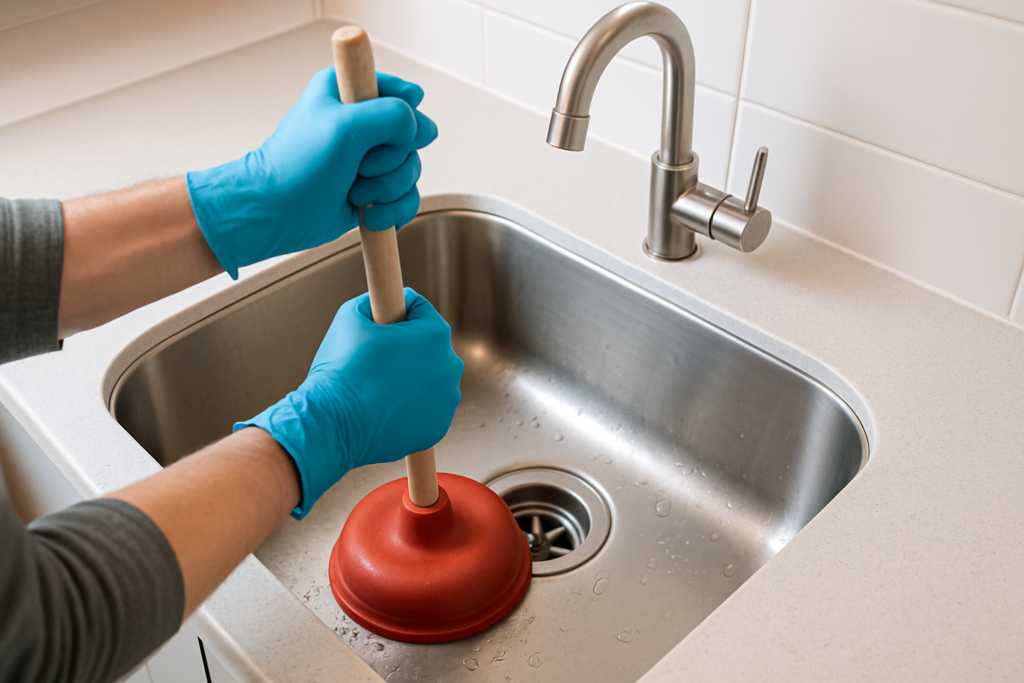
Step 3: Use a Plunger
A standard cup plunger can create enough pressure to dislodge clogs that chemical methods can’t handle. You’ll need to create a proper seal for this technique to work effectively.
Fill your sink with 3-4 inches of water to cover the plunger cup. If you have a double sink, plug the other drain with a wet rag to maintain pressure. Remove the sink strainer if possible to create a better seal.
Place the plunger over the drain and pump vigorously 15-20 times. You want to create strong suction on both the push and pull motions. The pressure changes can break up clogs and force them through the pipes.
Remove the plunger quickly and check if the water drains. You might need to repeat this process 2-3 times for stubborn clogs. Between attempts, add more hot water to help flush away loosened debris.
Step 4: Try a Drain Snake
When gentler methods fail, a drain snake can physically break through or retrieve clogs that are stuck deeper in your pipes. You can purchase a quality drain snake for under competitively priced, making this an affordable alternative to professional service.
Remove the sink strainer and any visible debris around the drain opening. Insert the snake slowly, turning the handle clockwise as you feed it down the drain. You’ll feel resistance when you hit the clog.
Once you reach the blockage, continue turning and pushing gently. The snake will either break through the clog or catch onto it so you can pull it out. Work slowly to avoid scratching your pipes or pushing the clog deeper.
Pull the snake out gradually, continuing to turn the handle. You might retrieve hair, food particles, or grease clumps. Run hot water for several minutes after snaking to flush away any remaining debris.
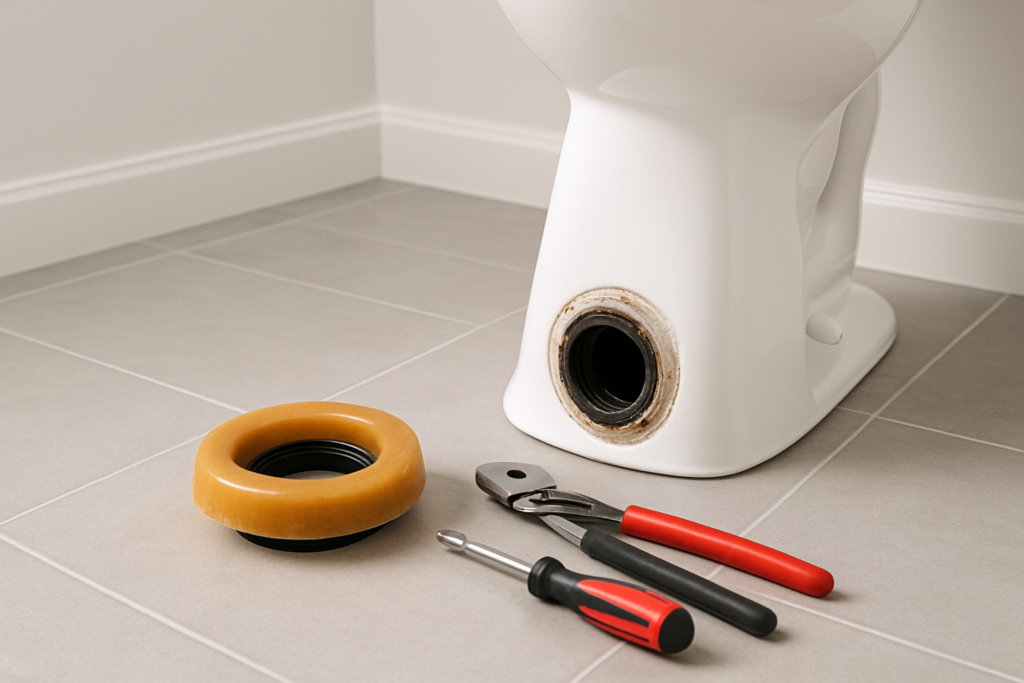
Step 5: Remove and Clean the P-Trap
The P-trap is the curved section of pipe directly under your sink, and it’s where many clogs form. Removing and cleaning this component requires basic tools but can solve even stubborn blockages.
Turn off the water supply and place a bucket under the P-trap to catch water and debris. You’ll find two slip nuts on either side of the curved section. Loosen these by hand or with pliers, turning counterclockwise.
Once the nuts are loose, the P-trap will come away from the other pipes. Water will spill out, along with whatever is causing your clog. Clean the trap thoroughly with hot water and a bottle brush.
Check the trap for cracks or damage while you have it apart. Reinstall by reversing the removal process, making sure the slip nuts are tight but not overtightened. Turn the water back on and test for leaks.
Safety Considerations
Safety should be your top priority when working on plumbing issues. Always wear rubber gloves when handling drain cleaning chemicals or reaching into drains. The combination of bacteria and sharp objects can lead to cuts or infections.
Never mix different chemical drain cleaners, as this can create dangerous gas reactions. If you’ve used a commercial drain cleaner recently, wait at least 24 hours before trying other methods.
Be careful with boiling water if you have PVC pipes, as extreme heat can soften the joints. Lukewarm water works almost as well for dissolving grease without risking damage to your plumbing.
When to Call a Professional
Some clogs require professional intervention, and recognizing these situations can save you time and prevent damage to your plumbing system. Call a plumber if water backs up into other drains when you run your kitchen sink.
Multiple slow drains throughout your home indicate a main line blockage that’s beyond DIY repair. Similarly, if you smell sewer gas or notice water damage around your pipes, professional help is necessary.
Tree roots, collapsed pipes, and major grease blockages in the main line require professional equipment like motorized augers and hydro-jetting systems. These aren’t available to homeowners and require expertise to use safely.
Preventing Future Clogs
Prevention is always easier than repair when it comes to drain clogs. Simple habits can keep your kitchen sink flowing freely and reduce the need for future unclogging sessions.
Scrape plates thoroughly before washing and avoid putting grease down the drain. Instead, collect cooking oil in a container and dispose of it in the trash once it solidifies. Coffee grounds, eggshells, and pasta should also go in the garbage rather than down the drain.
Run hot water for 30 seconds after each use to help flush away soap residue and small food particles. A weekly treatment with baking soda and vinegar can prevent buildup before it becomes a problem.
Consider installing a quality sink strainer to catch debris before it enters your drain system. These inexpensive devices can prevent most food-related clogs with minimal effort.
Frequently Asked Questions
How often should I clean my kitchen sink drain?
Clean your drain weekly with hot water and monthly with the baking soda and vinegar method. Regular maintenance prevents major clogs and keeps your sink smelling fresh. If you cook frequently or have a garbage disposal, you might need more frequent cleaning.
Can I use chemical drain cleaners on kitchen sink clogs?
Chemical drain cleaners can damage pipes over time and aren’t environmentally friendly. They’re also less effective on kitchen clogs, which are usually grease-based rather than hair-based. Stick with natural methods or mechanical removal for better results and safer pipes.
Why does my sink keep clogging even after I clear it?
Recurring clogs usually indicate incomplete removal of the original blockage or poor drain habits. You might have pushed the clog deeper instead of removing it, or grease buildup in your pipes continues to catch new debris. Try the P-trap cleaning method for a more thorough solution.
Is it normal for both sides of a double sink to drain slowly?
Double sinks often share the same drain line, so a clog can affect both sides. Start with the side that drains worse, as this is usually where the blockage sits. Make sure to plug one side when plunging the other to maintain proper pressure.
This article contains affiliate links. We may earn a small commission at no extra cost to you.