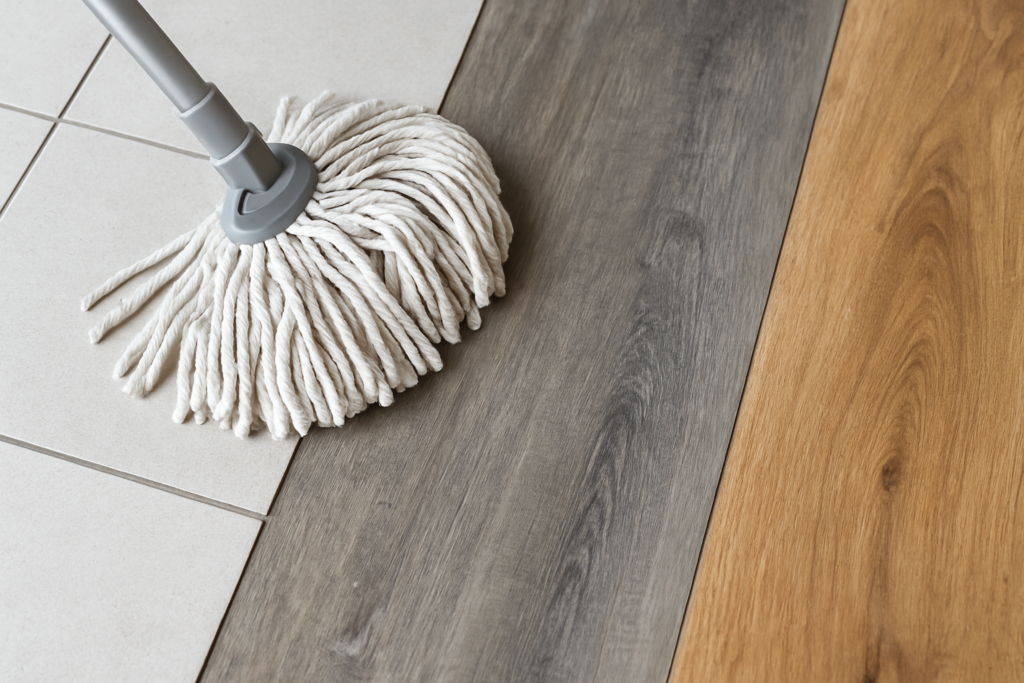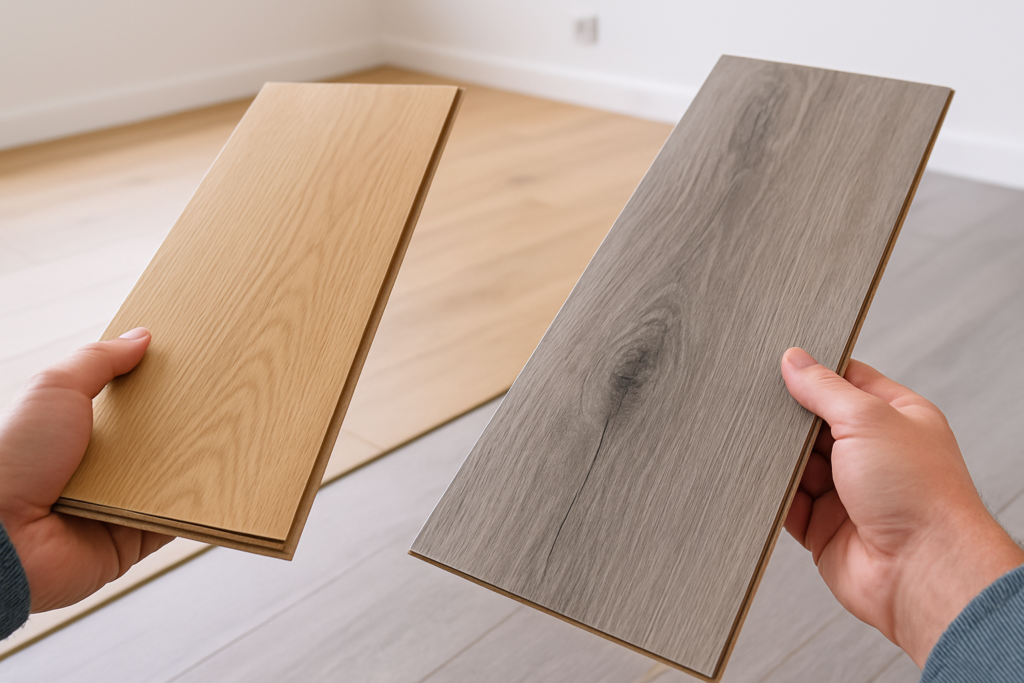
Your beautiful tile floors were a significant investment, and with proper care, they can maintain their stunning appearance for decades. Whether you installed sleek porcelain in your kitchen or natural stone in your entryway, each type of tile has unique maintenance requirements that determine how long it will look its best.
Most homeowners make critical mistakes in their daily cleaning routines without realizing it. Using the wrong products or neglecting essential maintenance steps can lead to permanent damage, costly repairs, and floors that look tired long before they should.
This guide covers everything you need to know to keep your tile floors looking pristine, from daily cleaning techniques to specialized care for different tile materials. You’ll learn professional maintenance secrets that will extend your floors’ lifespan and save you money on premature replacement.
Step 1: Master Your Daily Cleaning Routine
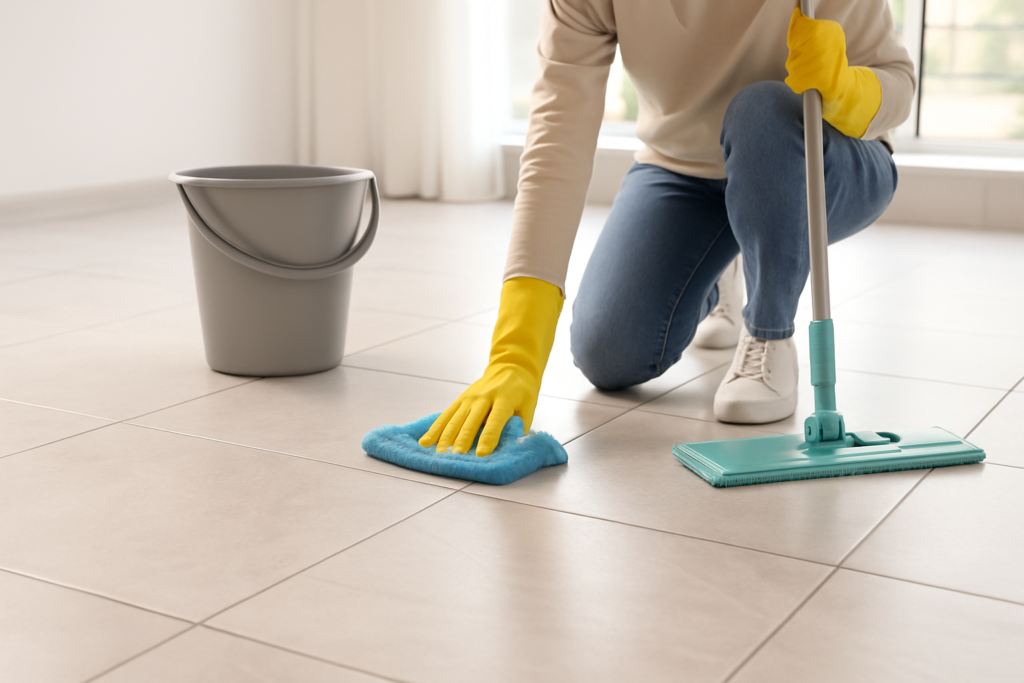
Daily maintenance forms the foundation of tile floor care. The key is removing dirt and debris before it has a chance to scratch your tiles or embed in grout lines.
Start each day by sweeping or vacuuming high-traffic areas. Use a soft-bristled broom or a vacuum with a hard floor setting to avoid scratching. Pay special attention to entryways and areas near exterior doors where tracked-in dirt accumulates.
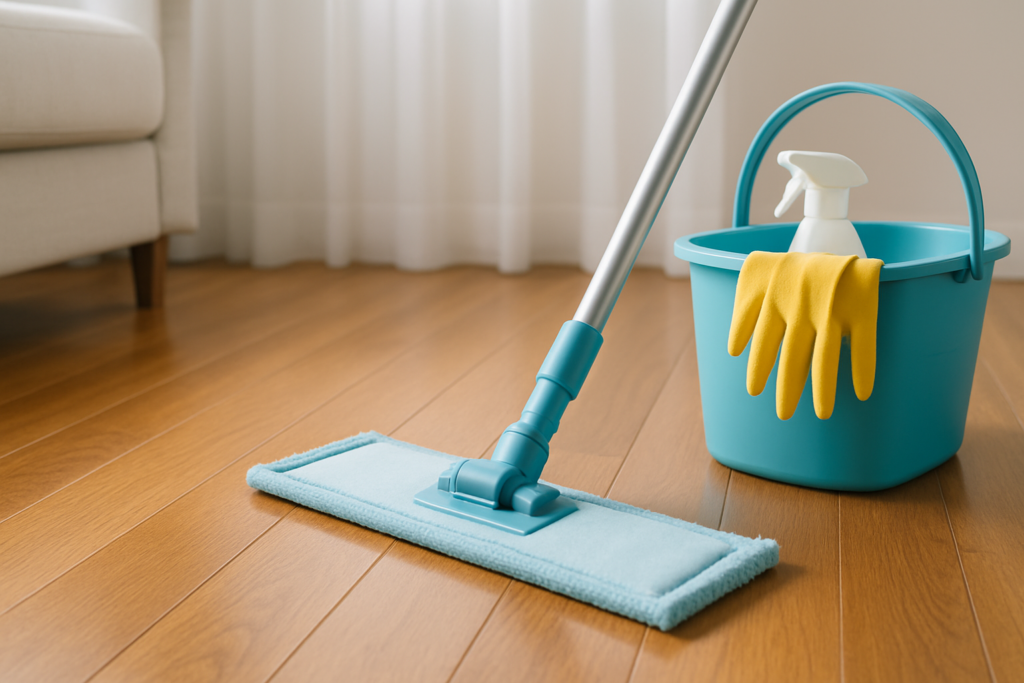
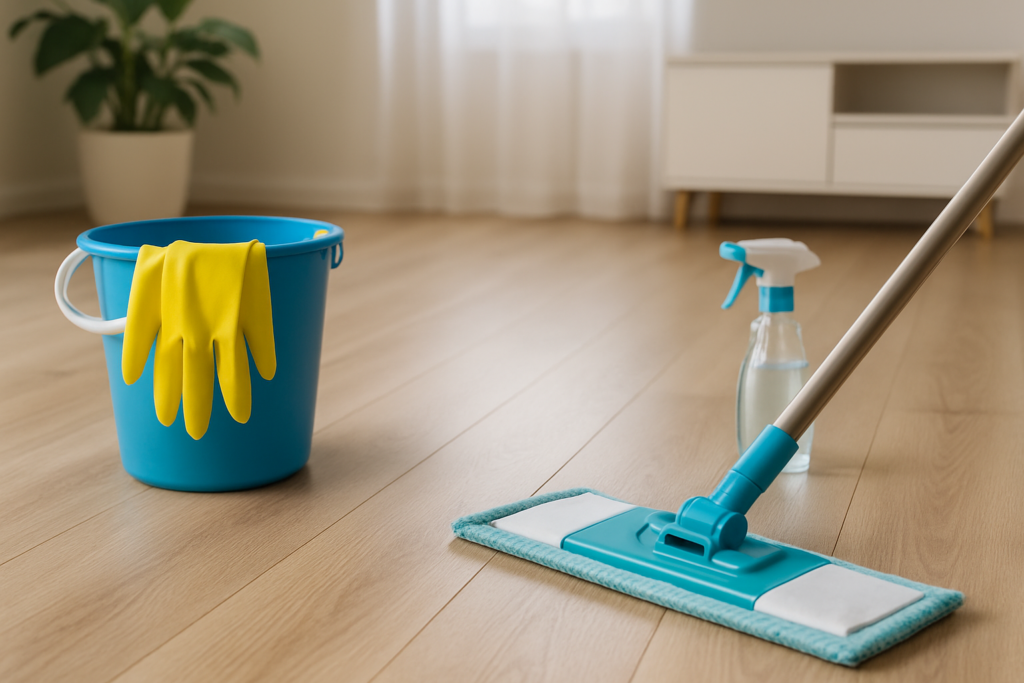
For daily mopping, avoid harsh chemicals or acidic cleaners that can damage certain tile types. A simple solution of warm water with a pH-neutral cleaner works best for most surfaces. Change your mop water frequently to prevent spreading dirty water across clean areas.
The O-Cedar EasyWring Microfiber Spin Mop excels at daily cleaning because its microfiber head captures dirt without requiring harsh chemicals. The self-wringing bucket system prevents oversaturation, which is crucial for protecting grout and preventing water damage.
O-Cedar EasyWring Microfiber Spin Mop
Perfect control over water levels and excellent dirt pickup without harsh chemicals
Never use string mops or sponge mops on tile floors. These tools push dirty water into grout lines and can leave streaks on glossy surfaces. Microfiber mops clean more effectively and dry faster, reducing the risk of water damage.
Step 2: Establish a Deep Cleaning Schedule
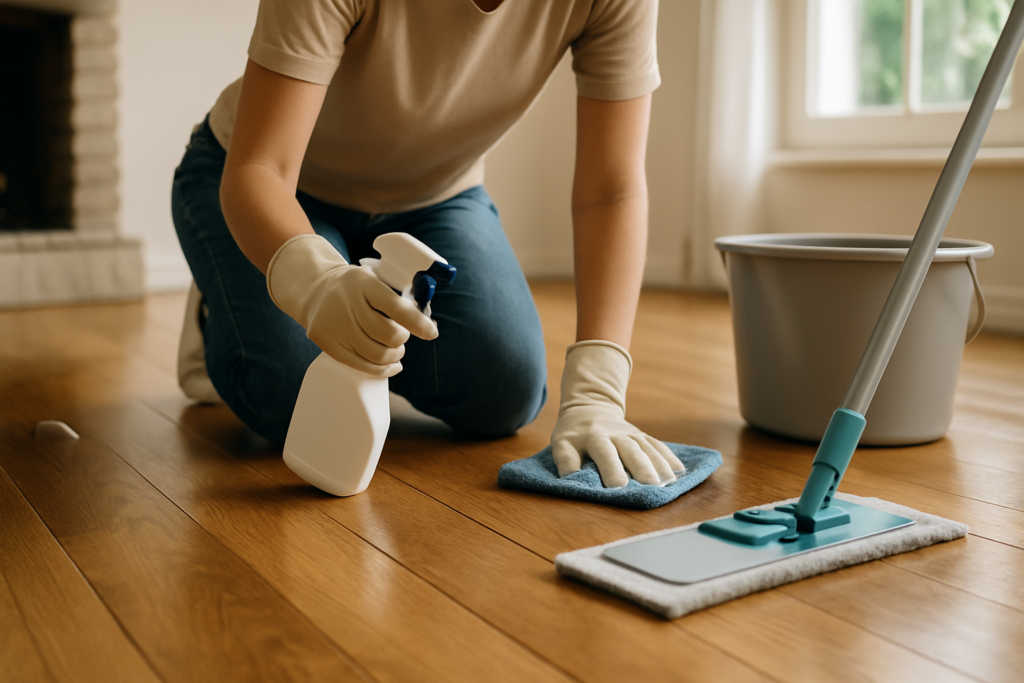
Weekly deep cleaning removes buildup that daily maintenance can’t handle. This process involves more thorough cleaning solutions and techniques that restore your tiles’ original luster.
Mix a stronger cleaning solution using warm water and a tile-specific cleaner. For most ceramic and porcelain tiles, you can use Bona Stone, Tile & Laminate Floor Cleaner, which effectively removes soap scum and residue without leaving streaks.
Work in small sections, applying the cleaning solution and letting it sit for 5-10 minutes before scrubbing. Use a soft-bristled brush or microfiber cloth for stubborn spots, but avoid abrasive scrubbers that can scratch the surface.
Monthly deep cleaning should include moving furniture and appliances to clean underneath. Dust and debris accumulate in these hidden areas and can scratch floors when items are moved. Use furniture pads to prevent damage when repositioning heavy pieces.
Bona Stone, Tile & Laminate Floor Cleaner
Specifically formulated for hard surfaces with no residue buildup
For textured tiles, use an old toothbrush to clean the recessed areas where dirt collects. Textured surfaces require more frequent deep cleaning because their irregular surface traps more debris than smooth tiles.
Step 3: Prioritize Grout Maintenance
Grout is the weakest link in your tile installation. It’s porous, prone to staining, and requires regular maintenance to prevent costly replacement.
Clean grout lines weekly using a specialized grout cleaner or a paste made from baking soda and water. Apply the cleaner, let it sit for 15 minutes, then scrub with a grout brush. Rinse thoroughly and dry completely to prevent mold growth.
For heavily stained grout, use an oxygen bleach cleaner rather than chlorine bleach. Oxygen bleach is safer for colored grout and won’t weaken the grout structure over time. The Grout-Eez Super Heavy Duty Tile & Grout Cleaner penetrates deep into grout pores to remove embedded stains.
Inspect grout lines monthly for cracks or missing sections. Small cracks allow water to penetrate behind tiles, potentially causing expensive structural damage. Repair minor grout issues immediately using a color-matched grout pen or fresh grout mixture.
Replace grout entirely every 10-15 years, even with proper maintenance. Old grout becomes increasingly porous and impossible to clean effectively. Professional regrouting costs far less than replacing tiles damaged by water infiltration.
Natural Stone Grout Considerations
Natural stone installations require different grout care. Avoid acidic cleaners that can etch the stone surface. Use only pH-neutral products designed for natural stone, and seal both the stone and grout regularly.
Marble and limestone are particularly sensitive to acid damage. Even mild cleaners can cause permanent etching that appears as dull spots on polished surfaces. When in doubt, test any cleaner in an inconspicuous area first.
Step 4: Understand Sealing Requirements
Proper sealing protects both tiles and grout from stains, moisture, and wear. Different materials have varying sealing requirements and schedules.
Most ceramic and porcelain tiles don’t require sealing because they’re fired at high temperatures that create a naturally non-porous surface. However, unglazed tiles and all natural stone tiles need regular sealing to maintain their protective barrier.
Test whether your tiles need sealing by dropping a small amount of water on the surface. If the water beads up, the seal is intact. If it absorbs within 5-10 minutes, it’s time to reseal.
Grout always requires sealing, regardless of tile type. Apply a penetrating grout sealer annually in high-traffic areas and every 2-3 years in low-traffic spaces. The Miracle Sealants 511 Impregnator provides excellent protection for both grout and natural stone without changing the surface appearance.
Miracle Sealants 511 Impregnator
Professional-grade sealer that penetrates deep without altering appearance
Apply sealers when temperatures are between 50-80°F and humidity is low. Clean the surface thoroughly and allow it to dry completely before application. Follow manufacturer instructions exactly, as over-application can create a cloudy appearance that’s difficult to remove.
Natural Stone Sealing Schedule
Marble, limestone, and travertine require sealing every 6-12 months depending on traffic levels. Granite and slate are less porous but still benefit from annual sealing. Quartzite falls between these categories and typically needs sealing every 1-2 years.
Use stone-specific sealers rather than generic products. Each stone type has different porosity levels and chemical sensitivities. What works for granite may damage marble or limestone.
Step 5: Implement Damage Prevention Strategies
Preventing damage costs far less than repairing it. Simple protective measures can extend your tile floors’ life by decades.
Place high-quality mats at all entrances to trap dirt and moisture before it reaches your floors. Choose mats with rubber backing that won’t slip or scratch the surface. Replace mats when they become worn or ineffective.
Use furniture pads under all heavy items to prevent scratching when pieces are moved. Replace pads annually or when they become compressed and lose their protective value. Avoid rubber pads on natural stone, as they can cause discoloration.
Control humidity levels between 30-50% to prevent grout cracking and tile expansion issues. Use dehumidifiers in humid climates and humidifiers in arid regions. Extreme humidity changes cause materials to expand and contract, leading to cracks and loose tiles.
Address spills immediately, especially on natural stone surfaces. Acidic liquids like wine, citrus juice, and coffee can cause permanent staining or etching within minutes. Keep appropriate cleaning supplies easily accessible in kitchens and dining areas.
High-Traffic Area Protection
Install transition strips where tile meets other flooring materials to prevent edge damage. Exposed tile edges are vulnerable to chipping and cracking from impact or thermal expansion differences.
Consider area rugs in high-traffic zones to reduce wear on both tiles and grout. Choose rugs with breathable backing that won’t trap moisture underneath. Rotate rugs periodically to ensure even wear patterns.
Step 6: Tailor Care to Your Specific Tile Type
Different tile materials require specialized care approaches. Using the wrong products or techniques can cause permanent damage that voids warranties and necessitates expensive replacement.
Ceramic and Porcelain Tiles
These fired clay tiles are the most forgiving and easiest to maintain. They resist stains, scratches, and most chemicals. Use any pH-neutral cleaner for routine maintenance and stronger alkaline cleaners for deep cleaning.
Glazed ceramic tiles have a glass-like surface that provides excellent stain resistance but can show water spots. Dry these surfaces after cleaning to maintain their appearance. Unglazed ceramic requires sealing and more frequent cleaning due to its porous nature.
Porcelain tiles are denser than ceramic and virtually waterproof. They can handle more aggressive cleaning when necessary but rarely need it due to their stain resistance.
Natural Stone Tiles
Stone tiles require the most careful maintenance. Each type has specific requirements and sensitivities that must be respected.
Marble and limestone are calcium-based stones that react with acids, causing permanent etching. Use only pH-neutral cleaners specifically designed for natural stone. Never use vinegar, lemon juice, or generic bathroom cleaners on these surfaces.
Granite is much more durable and chemical-resistant but still benefits from gentle care. It can handle mildly acidic cleaners occasionally but performs best with neutral pH products.
Slate has a naturally rough texture that hides dirt well but requires more frequent cleaning to prevent buildup in surface irregularities. Use brushes to clean textured areas effectively.
Travertine has natural holes and pits that trap dirt and require extra attention during cleaning. Some installations fill these holes, while others leave them natural for aesthetic reasons.
Specialty and Decorative Tiles
Glass tiles show water spots easily and require frequent drying to maintain their clarity. Use squeegees or lint-free cloths to prevent streaking.
Metal tiles can oxidize if exposed to certain chemicals or excessive moisture. Dry thoroughly after cleaning and use specialized metal cleaners when necessary.
Cement tiles are porous and require immediate sealing after installation. They’re sensitive to acids and require gentle, pH-neutral maintenance products.
Frequently Asked Questions
How often should I deep clean my tile floors?
Deep clean tile floors weekly in high-traffic areas and bi-weekly in low-traffic spaces. Kitchens and bathrooms may require more frequent deep cleaning due to grease, soap scum, and moisture exposure. Natural stone tiles often need deep cleaning more frequently than ceramic or porcelain due to their porous nature.
Can I use vinegar to clean my tile floors?
Avoid vinegar on natural stone tiles like marble, limestone, or travertine, as the acid can cause permanent etching and damage. Vinegar is generally safe for ceramic and porcelain tiles, but pH-neutral cleaners are always the safer choice and won’t risk damaging grout or causing long-term issues.
Why do my tiles look cloudy after cleaning?
Cloudy tiles usually result from cleaning product residue or hard water deposits. Switch to a pH-neutral cleaner and rinse thoroughly after cleaning. For existing cloudiness, try a tile-specific cleaner designed to remove residue buildup. Using distilled water for final rinsing can prevent hard water spots.
How do I know when my grout needs to be replaced?
Replace grout when it becomes permanently discolored, develops multiple cracks, or feels soft and crumbly. If water absorbs quickly into grout lines despite recent sealing, or if you notice loose tiles, the grout has likely failed and needs replacement. Professional inspection can help determine whether cleaning, resealing, or full replacement is necessary.
Grout-Eez Super Heavy Duty Tile & Grout Cleaner
Professional-strength formula that tackles even the toughest grout stains safely
Proper tile floor maintenance isn’t complicated, but it requires consistency and the right approach for your specific materials. By following these six steps and tailoring your routine to your tile type, you’ll enjoy beautiful, durable floors for many years to come. Remember that prevention always costs less than repair, and small efforts in daily maintenance pay huge dividends in long-term floor performance and appearance.
This article contains affiliate links. We may earn a small commission at no extra cost to you.