There’s nothing quite like the frustration of a toilet that won’t stop running or won’t flush properly. Most of the time, the culprit is a worn-out toilet flapper, that rubber piece at the bottom of your toilet tank that controls water flow. The good news is you don’t need to call a plumber or spend your weekend on this repair.
Replacing a toilet flapper is one of the simplest plumbing fixes you can tackle yourself. With just a few basic tools and about 10 minutes of your time, you’ll have your toilet working like new again. This guide walks you through every step of the process, from identifying the right replacement part to testing your repair.
Before we get started, let me put your mind at ease. This job doesn’t require any special plumbing knowledge or expensive tools. You won’t be dealing with complex pipe connections or risking major water damage. It’s truly a beginner-friendly repair that can save you money and give you a sense of accomplishment.
What You’ll Need for This Repair
Gather these items before you start:
- New toilet flapper (we’ll cover how to choose the right one)
- Rubber gloves (optional but recommended)
- Towel or rag
- Flashlight or phone light
- Small wire brush or old toothbrush
You might already have most of these items around your house. The only thing you’ll likely need to purchase is the replacement flapper itself.
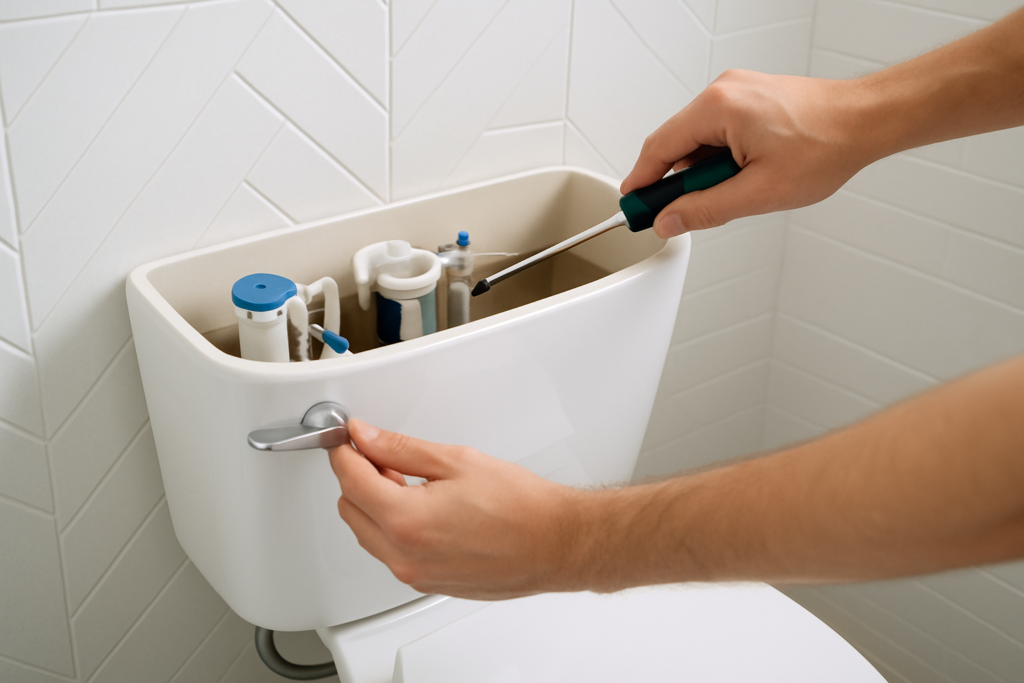
Step 1: Identify Your Current Flapper Type
Before heading to the store, you need to know what type of flapper you currently have. Remove the toilet tank lid carefully and set it aside in a safe place where it won’t fall or get damaged.
Look at the flapper at the bottom of the tank. You’ll see one of three main types:
- Chain-style flapper: Attached to the flush handle with a chain
- Seat disk flapper: A flat disk that slides up and down on a guide arm
- Tank ball: A rubber ball that sits on a valve seat (less common in newer toilets)
Most modern toilets use chain-style flappers, which are also the easiest to replace. Take a photo with your phone so you can reference it later at the hardware store.
Step 2: Choose the Right Replacement Flapper
Universal flappers work with most toilet models, but getting the right fit ensures the best seal. Measure your current flapper’s diameter or bring the old one with you to the store for comparison.
For most toilets, a universal toilet flapper will work perfectly. These adjustable models fit most standard toilet tanks and come with clear installation instructions.
Korky 2021BP Universal Toilet Flapper
This adjustable flapper fits most toilet models and includes a stainless steel chain that won’t rust
Pay attention to the chain length as well. The chain should have just enough slack to allow the flapper to seal completely when closed, but not so much that it gets caught under the flapper.
Step 3: Turn Off the Water and Drain the Tank
Locate the water shut-off valve behind your toilet, usually on the wall or floor. Turn it clockwise to shut off the water supply. You’ll know it’s closed when you can’t turn it any further.
Flush the toilet to drain most of the water from the tank. The tank won’t refill since you’ve turned off the water supply. Use a towel to soak up any remaining water in the bottom of the tank.
Don’t worry about getting your hands wet during this process. The water in the toilet tank is clean supply water, not waste water from the bowl.
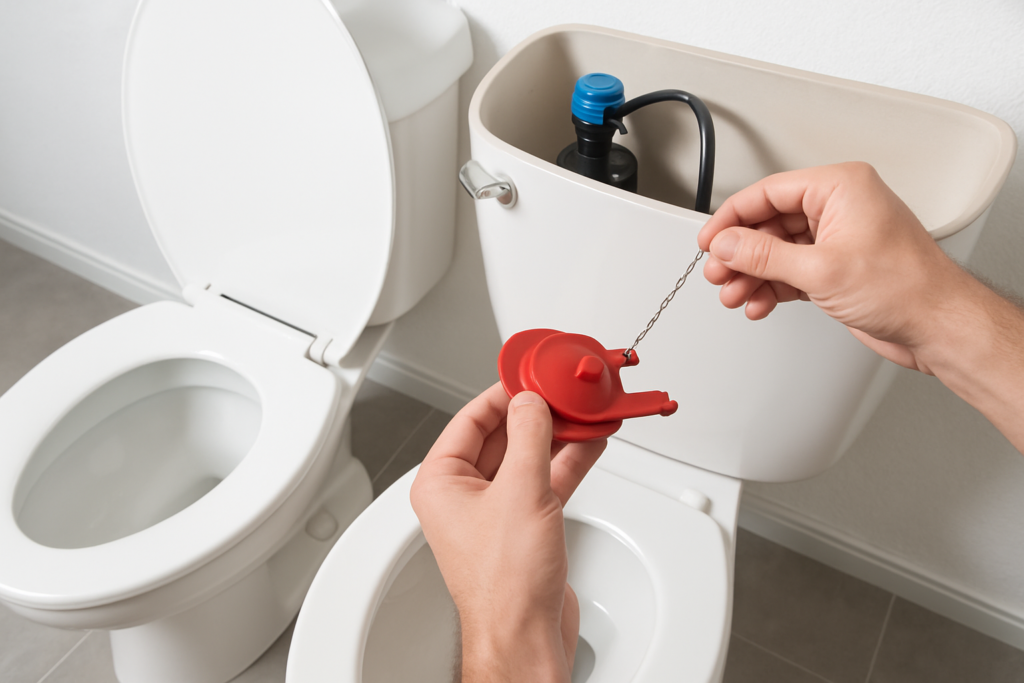
Step 4: Remove the Old Flapper
Disconnect the chain from the flush handle lever by unhooking it. Then, look at how the flapper attaches to the flush valve seat at the bottom of the tank.
Most flappers have small tabs or ears that hook onto posts on either side of the flush valve. Gently lift these tabs and slide the flapper off the posts. Some older models might have a ring that slides over the overflow tube instead.
If the flapper seems stuck, don’t force it. Sometimes mineral deposits build up around the connection points. Use your wire brush or old toothbrush to clean away any buildup, then try again.
Step 5: Clean the Valve Seat
This step is crucial for ensuring a good seal with your new flapper. The valve seat is the circular rim where the flapper sits when closed. Over time, mineral deposits, algae, or debris can accumulate here.
Use your wire brush or toothbrush to scrub the valve seat thoroughly. Pay special attention to any rough spots or buildup that could prevent the new flapper from sealing properly.
Wipe the area clean with your towel. A smooth, clean valve seat is essential for preventing water from continuously running into the bowl.
Step 6: Install the New Flapper
Take your new flapper and position it over the valve seat. If you have a chain-style flapper, hook the ears or tabs onto the posts on either side of the flush valve, just like the old one was attached.
Make sure the flapper sits flat against the valve seat with no gaps or warping. Some universal flappers are adjustable, so you might need to trim or adjust the fit according to the manufacturer’s instructions.
Fluidmaster 5403 Universal Water Saving Flapper
Features a solid frame design that prevents warping and includes adjustable chain length
Connect the chain to the flush handle lever. The chain should have about half an inch of slack when the flapper is closed. Too much slack means the flapper won’t lift fully when you flush, while too little slack prevents the flapper from sealing properly.
Step 7: Test and Adjust
Turn the water supply back on by turning the shut-off valve counterclockwise. The tank will begin to fill with water. Watch the flapper as the tank fills to make sure it’s sealing properly against the valve seat.
Once the tank is full, test the flush mechanism. Press the flush handle and observe how the flapper lifts and falls. It should lift completely when you flush and drop straight down to seal against the valve seat.
If the flapper doesn’t lift high enough, shorten the chain by moving it to a different hole in the flush lever. If it doesn’t seal properly, lengthen the chain slightly.
Step 8: Fine-Tune the Chain Length
Getting the chain length right is often the trickiest part of this repair, but it’s important for proper operation. The chain needs to lift the flapper completely clear of the valve seat during flushing but allow it to drop straight down afterward.
Test flush several times and watch the flapper’s movement. A properly adjusted chain will lift the flapper about 90 degrees from its closed position. If the chain is too long, the flapper won’t open fully and you’ll get a weak flush.
Most replacement flappers come with extra chain links, so you can easily adjust the length by moving the connection point on the flush lever.
Common Installation Problems and Solutions
Flapper Won’t Stay Closed
If your new flapper won’t stay sealed against the valve seat, check for warping or debris. Some rubber flappers need time to settle into shape, especially if they were bent in packaging.
Make sure the chain isn’t too short, which can prevent the flapper from closing completely. Also, verify that the valve seat is completely clean and smooth.
Weak Flush Power
A weak flush usually means the flapper isn’t opening far enough. Shorten the chain so the flapper lifts higher during flushing. You want the flapper to stay open long enough for a full flush cycle.
Some water-saving flappers are designed to close faster to conserve water, but they shouldn’t close so quickly that they reduce flush effectiveness.
Toilet Still Runs Continuously
If the toilet keeps running after installation, the flapper likely isn’t sealing properly. Check that it’s sitting flat against the valve seat without any twisting or gaps.
Sometimes the issue is with the flush chain getting caught under the flapper. Adjust the chain length so it doesn’t interfere with the flapper’s ability to close completely.
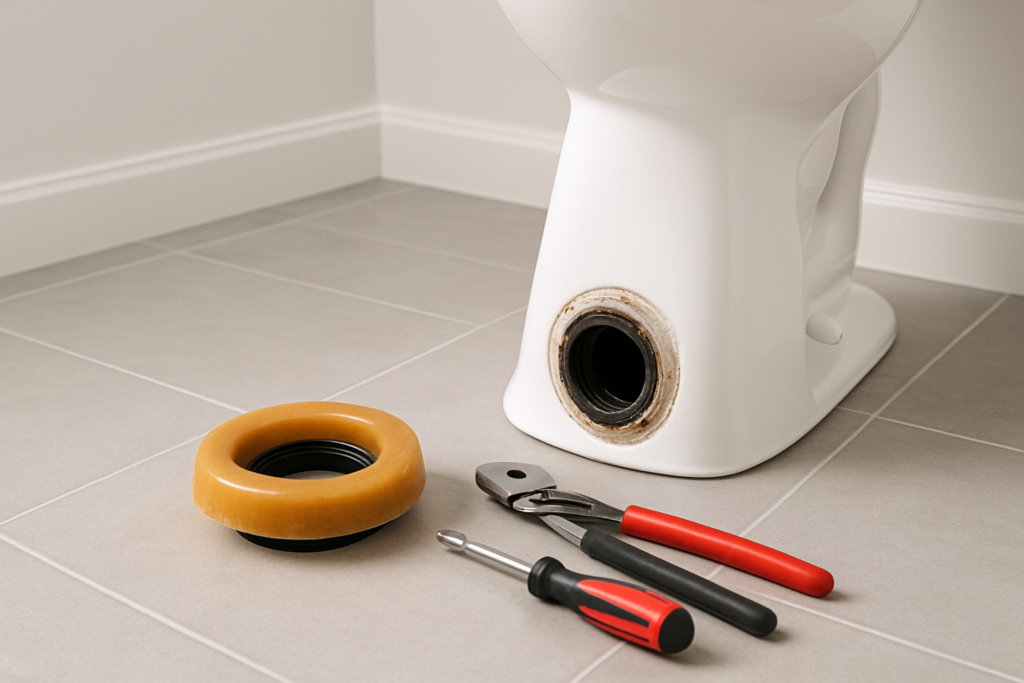
When to Call a Professional
While flapper replacement is usually simple, some situations might require professional help. If your valve seat is cracked or severely corroded, you might need to replace the entire flush valve assembly.
Similarly, if your toilet has an unusual or very old flushing mechanism that doesn’t match standard replacement parts, a plumber can help you find the right solution.
However, these situations are rare. Most toilet flapper replacements go smoothly and provide years of reliable operation.
Maintaining Your New Flapper
A quality toilet flapper should last 5-7 years with proper care. To extend its life, avoid using drop-in toilet cleaners that contain bleach or harsh chemicals, as these can cause rubber to deteriorate faster.
Clean your toilet tank annually by removing mineral deposits and debris. This prevents buildup that could interfere with the flapper’s seal.
Fluidmaster 400AH PerforMAX Universal Toilet Fill Valve
While you’re in the tank, consider upgrading your fill valve too for even better performance
If you notice your toilet starting to run occasionally, don’t wait until it becomes a constant problem. Check the flapper and chain adjustment before the issue gets worse.
Frequently Asked Questions
How do I know when my toilet flapper needs replacing?
The most obvious sign is a toilet that runs continuously or intermittently. You might also notice that the flapper looks warped, has mineral buildup, or feels slimy or deteriorated when you touch it. If your toilet requires multiple flushes to clear the bowl, the flapper might not be opening fully.
Are all toilet flappers the same size?
Toilet flappers come in different sizes, typically 2-inch or 3-inch diameters. Universal flappers are adjustable and work with most standard toilets. Measure your current flapper or check your toilet’s documentation to be sure, but universal models are usually your best bet.
Can I use any chain with my toilet flapper?
While most chains will work mechanically, stainless steel chains resist corrosion better than regular metal chains. Plastic chains can become brittle over time. The chain that comes with your replacement flapper is usually the best choice for longevity.
Why does my new flapper close too quickly?
Some water-saving flappers are designed to close faster to reduce water usage per flush. While this saves water, it can sometimes result in incomplete flushing. You can try adjusting the chain to keep the flapper open slightly longer, or choose a standard flapper instead of a water-saving model.
This article contains affiliate links. We may earn a small commission at no extra cost to you.