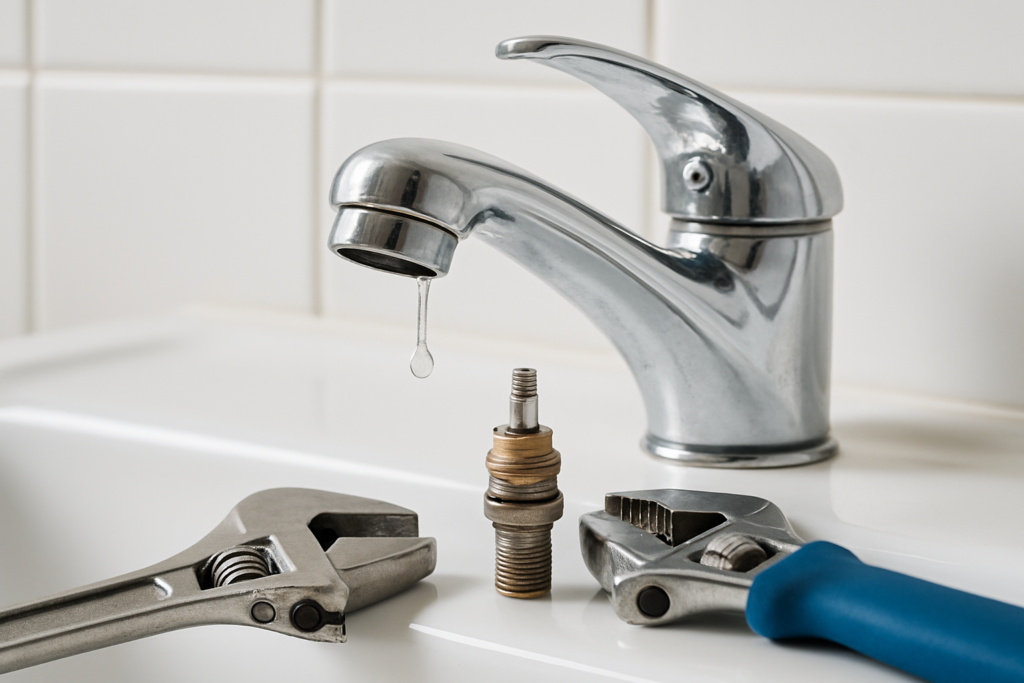
That persistent drip from your kitchen or bathroom faucet isn’t just annoying – it’s literally money going down the drain. A single leaky faucet can waste over 3,000 gallons of water per year, adding unnecessary dollars to your utility bill. The constant sound alone is enough to drive anyone crazy, especially during quiet moments or when you’re trying to sleep.
Before you call a plumber and spend hundreds of dollars on what might be a simple fix, take a closer look at your faucet. Most leaky faucets can be repaired with basic tools and a little patience. The key is identifying which type of faucet you have, since each uses different internal mechanisms and requires specific repair approaches.
We’ll walk you through identifying and fixing the four most common faucet types: ball, cartridge, compression, and ceramic disk. With the right guidance and tools, you can tackle this repair yourself and have your faucet working like new again.
How to Identify Your Faucet Type
Before you can fix your leaky faucet, you need to know what type you’re dealing with. Each faucet type has distinct characteristics that make identification fairly simple once you know what to look for.
Visual Identification Methods
Start by examining the handle area of your faucet. Single-handle faucets are typically either ball or cartridge types, while two-handle faucets are usually compression or cartridge types. Ceramic disk faucets almost always have a single handle with a wide, flat base.
Look for manufacturer markings on the faucet body or handles. Popular brands like Delta often use ball mechanisms, while Moen frequently uses cartridge systems. Kohler manufactures various types, so brand alone won’t always tell the whole story.
The age of your home can provide clues too. Compression faucets were standard in homes built before 1980, while newer construction typically features cartridge or ceramic disk mechanisms. However, renovations can change this timeline significantly.
Ball Faucet Repair
Ball faucets are common in single-handle kitchen sinks and are easily recognized by their single handle that moves in multiple directions to control both water flow and temperature. These faucets contain a slotted metal ball that rotates within the faucet body to align with inlet ports.
Tools and Materials Needed
- Adjustable wrench
- Needle-nose pliers
- Seat wrench or Allen wrench set
- Ball faucet repair kit
- Plumber’s silicone grease
A quality ball faucet repair kit typically includes new springs, valve seats, O-rings, and packing material. These kits are specific to your faucet manufacturer, so check the model number before purchasing.
Delta Faucet Repair Kit
This comprehensive kit includes all the essential parts needed for most Delta ball faucet repairs
Step-by-Step Repair Process
Turn off the water supply valves under the sink and run the faucet to drain remaining water. Remove the handle by loosening the screw that’s usually hidden under a decorative cap on top of the handle.
Use pliers to remove the packing nut, then lift out the ball and cam assembly. You’ll see small rubber seats and springs in the faucet body – these often cause leaks when they become worn or displaced.
Replace the valve seats and springs with new ones from your repair kit. Install the new ball, making sure the pin on the ball aligns with the slot in the valve body. Replace the cam assembly and packing nut, then reattach the handle.
Turn the water supply back on gradually and test the faucet. Minor adjustments to the packing nut may be needed to eliminate drips while maintaining smooth handle operation.
Cartridge Faucet Repair
Cartridge faucets can have either one or two handles and use a cartridge that moves up and down or rotates to control water flow. These are among the most reliable faucet types but can develop leaks when the cartridge or its O-rings wear out.
Identifying Cartridge Type
Single-handle cartridge faucets have a handle that lifts up for flow and rotates for temperature. Two-handle versions have separate hot and cold controls. The cartridge itself is typically plastic or brass and fits snugly into the faucet body.
Remove the handle to access the cartridge. Look for identifying numbers on the cartridge body, as replacement cartridges must match exactly. Take a photo or bring the old cartridge to the hardware store to ensure you get the correct replacement.
Required Tools and Parts
- Screwdriver set
- Adjustable wrench
- Cartridge puller tool
- Replacement cartridge
- New O-rings
- Plumber’s grease
A cartridge puller tool makes removal much easier, especially for cartridges that have been in place for years. These tools grip the cartridge securely and provide the leverage needed for stubborn removals.
Replacement Procedure
After shutting off water and removing the handle, you’ll typically find a retaining nut or clip holding the cartridge in place. Remove this hardware and note the cartridge’s orientation before pulling it out.
Some cartridges come out easily by hand, while others require a puller tool. Work slowly and avoid damaging the cartridge threads or the faucet body. Clean the cartridge seat thoroughly before installation.
Install the new cartridge in the exact same position as the old one. Replace any O-rings with new ones coated in plumber’s grease. Reassemble the faucet in reverse order and test for proper operation.
Moen Cartridge Replacement
This genuine Moen cartridge fits most single-handle Moen faucets and includes detailed installation instructions
Compression Faucet Repair
Compression faucets are the traditional two-handle design found in older homes. They work by compressing a rubber washer against a valve seat to stop water flow. These faucets are simple in design but require more frequent maintenance than newer types.
Distinguishing Features
Compression faucets always have two handles that you turn clockwise to shut off. The handles typically require several full turns to go from fully open to completely closed. Hot and cold water are controlled by separate valve stems with rubber washers at the bottom.
These faucets often develop leaks around the packing nut or from the spout when washers become worn or valve seats get damaged. The good news is that parts are inexpensive and widely available.
Tools and Supplies
- Adjustable wrenches
- Screwdrivers
- Seat wrench or seat dresser
- Assorted rubber washers
- Packing material or O-rings
- Valve seat replacements if needed
An assorted washer repair kit saves multiple trips to the hardware store. These kits contain various sizes of washers and O-rings to handle most compression faucet repairs.
Detailed Repair Steps
Remove the handle by taking out the screw under the decorative cap. Use a wrench to remove the packing nut and pull out the entire valve stem assembly. This may require some wiggling and gentle pressure.
Examine the rubber washer at the bottom of the stem. Replace it with a new washer of the same size and shape. Also check the O-ring around the stem and replace if it looks cracked or flattened.
Inspect the valve seat where the washer makes contact. Rough or pitted seats will cause continued leaks even with new washers. Use a seat dresser to smooth minor imperfections or replace severely damaged seats entirely.
Coat new O-rings with plumber’s grease before reassembly. Thread everything back together snugly but don’t overtighten, as this can damage the new washers and create leaks.
Ceramic Disk Faucet Repair
Ceramic disk faucets represent newer technology and are known for durability and longevity. They use two ceramic disks that slide against each other to control water flow and temperature. These faucets rarely need repair but can develop issues with mineral buildup or cracked disks.
Identification and Function
These faucets typically have a single handle with a wide, flat mounting base. The handle moves in a quarter-circle arc rather than rotating multiple turns. Many high-end kitchen and bathroom faucets use ceramic disk technology.
When ceramic disk faucets do leak, it’s usually because debris has gotten between the disks or one of the disks has cracked. Unlike other faucet types, cleaning rather than replacing parts often solves the problem.
Necessary Equipment
- Screwdriver
- Adjustable wrench
- White vinegar or CLR cleaner
- Soft brush or cloth
- Replacement ceramic disk cartridge (if needed)
For cleaning, avoid abrasive materials that could scratch the ceramic surfaces. A soft brush and mild acid cleaner work best for removing mineral deposits without causing damage.
CLR Calcium Lime Rust Remover
This cleaner effectively dissolves mineral buildup on ceramic disks without harsh scrubbing
Cleaning and Repair Process
After removing the handle and accessing the cartridge, lift out the ceramic disk assembly carefully. These components are more fragile than metal parts and can crack if dropped or handled roughly.
Soak the ceramic disks in white vinegar for several hours to dissolve mineral buildup. Use a soft brush to gently clean the disk surfaces and inlet ports. Rinse thoroughly with clean water before reassembly.
If cleaning doesn’t solve the leak, the ceramic disk cartridge likely needs replacement. These cartridges are more expensive than other faucet parts but should last for many years once installed properly.
When reassembling, ensure the disks are aligned correctly according to the manufacturer’s instructions. Turn the water back on slowly, as ceramic disk faucets can be damaged by sudden pressure changes.
General Tips for All Faucet Types
Regardless of your faucet type, certain principles apply to all repairs. Always turn off the water supply before starting work and keep track of the order in which parts were removed. Taking photos during disassembly can save confusion later.
Replace multiple worn parts at once rather than fixing just the obvious problem. O-rings, washers, and seals are inexpensive, and replacing them all prevents repeat repairs in the near future.
Use plumber’s silicone grease on all rubber parts during reassembly. This lubricates the components and helps prevent premature wear. Avoid petroleum-based products that can deteriorate rubber seals.
When in doubt, take the old parts with you to the hardware store. Knowledgeable staff can help identify exactly what you need and may offer additional repair tips specific to your faucet brand.
When to Call a Professional
While most faucet repairs are well within DIY capabilities, some situations warrant professional help. If you discover cracked pipes, corroded valve bodies, or major mineral buildup throughout the plumbing system, a plumber’s expertise may be necessary.
Complex installations or repairs involving wall-mounted faucets often require special tools and experience. Similarly, if your repair attempts result in worse leaks or no water flow at all, professional intervention can prevent costly damage.
Consider your comfort level and available time. A simple washer replacement takes 30 minutes, but stuck parts or unexpected complications can turn a quick fix into an all-day project.
Frequently Asked Questions
How do I know if my faucet is worth repairing or should be replaced?
If repair parts cost more than half the price of a new faucet, replacement usually makes more sense. Also consider the faucet’s age and overall condition. Faucets over 15 years old with multiple problems often benefit from complete replacement rather than ongoing repairs.
Why does my faucet still drip after replacing all the parts?
The most common cause is a damaged valve seat that wasn’t addressed during repair. Mineral deposits or corrosion on the seat prevent proper sealing even with new washers or cartridges. Use a seat dresser to smooth the surface or replace the seat entirely.
Can I fix a faucet without turning off the main water supply?
Always turn off water at the shut-off valves under the sink first. If those valves don’t work properly or aren’t present, you’ll need to shut off the main water supply. Working on pressurized plumbing can cause flooding and make repairs much more difficult.
What’s the most common cause of faucet leaks?
Worn rubber components cause the majority of faucet leaks. O-rings, washers, and valve seats deteriorate over time due to constant water exposure and mineral deposits. Regular replacement of these inexpensive parts prevents most leak problems.
This article contains affiliate links. We may earn a small commission at no extra cost to you.