Your hardwood floors have seen better days. The finish is worn down to bare wood in high-traffic areas, scratches tell the story of years of family life, and what once gleamed now looks dull and tired. Refinishing those floors will bring back their beauty, but you’re facing a big decision: tackle this project yourself or hire professionals?
This isn’t just about saving money. It’s about understanding what you’re really getting into. DIY refinishing can save thousands of dollars, but it demands significant time, physical effort, and carries real risks if things go wrong. Professional refinishing costs more upfront but delivers expertise, efficiency, and warranties that protect your investment.
Let’s break down the true costs of both approaches so you can make the right choice for your situation, skills, and budget.
Understanding the Refinishing Process
Before diving into costs, you need to understand what hardwood refinishing actually involves. This isn’t a weekend project you can knock out between Saturday morning coffee and Sunday dinner.
The process starts with sanding, which removes the old finish and smooths out scratches and imperfections. You’ll typically need three grits: coarse (36-40 grit), medium (60-80 grit), and fine (100-120 grit). Each pass requires careful technique to avoid gouging the wood or creating uneven surfaces.
After sanding comes staining, if you want to change or enhance the wood’s color. The stain must be applied evenly and allowed to penetrate properly. Then you apply the protective finish, usually polyurethane, in multiple thin coats with light sanding between applications.
The entire process typically takes 4-7 days, including drying time between coats. You’ll need to stay off the floors during this period, which means relocating furniture and finding alternative living arrangements in affected areas.
DIY Hardwood Refinishing Costs
Equipment and Tool Rental
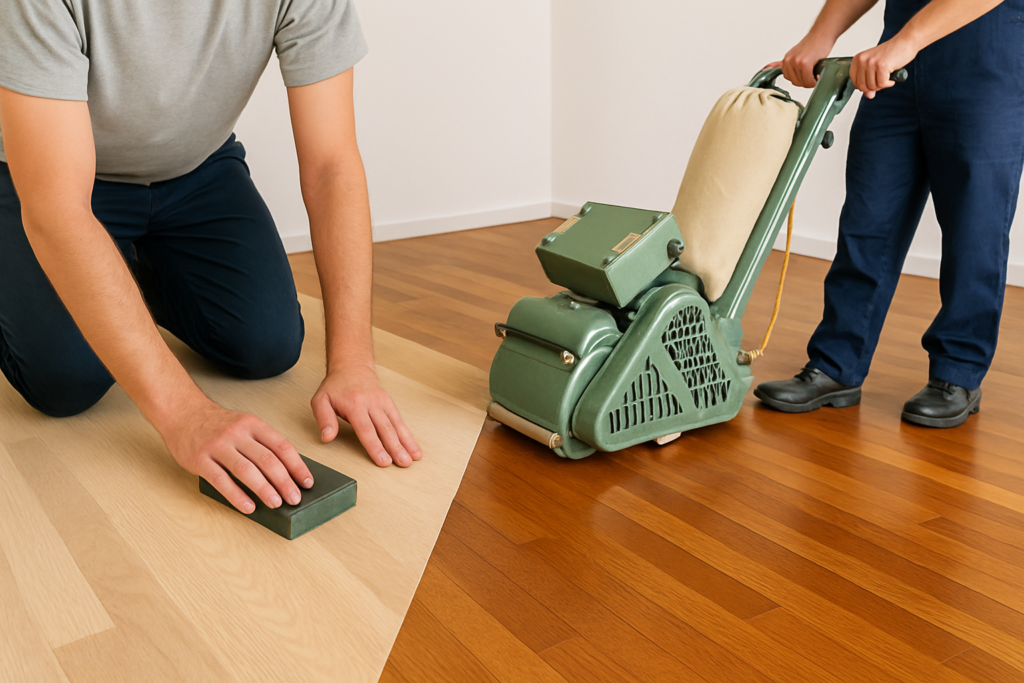
The biggest expense in DIY refinishing is equipment rental. You’ll need a drum sander for the main floor area and an edge sander for corners and borders. Most rental shops charge daily or weekly rates, and you’ll likely need both sanders for 2-3 days minimum.
Drum sanders are powerful machines that can remove a lot of material quickly, but they’re also unforgiving. One moment of hesitation or uneven pressure can create permanent gouges in your floor. Edge sanders are smaller but still require steady hands and consistent technique.
You’ll also need a floor buffer for applying stain and the final finish coats. Some DIYers try to skip this tool and apply everything by hand, but the results rarely match the smooth, even finish a buffer provides.
DEWALT Random Orbit Sander
A reliable backup sander for detail work and touch-ups during your refinishing project
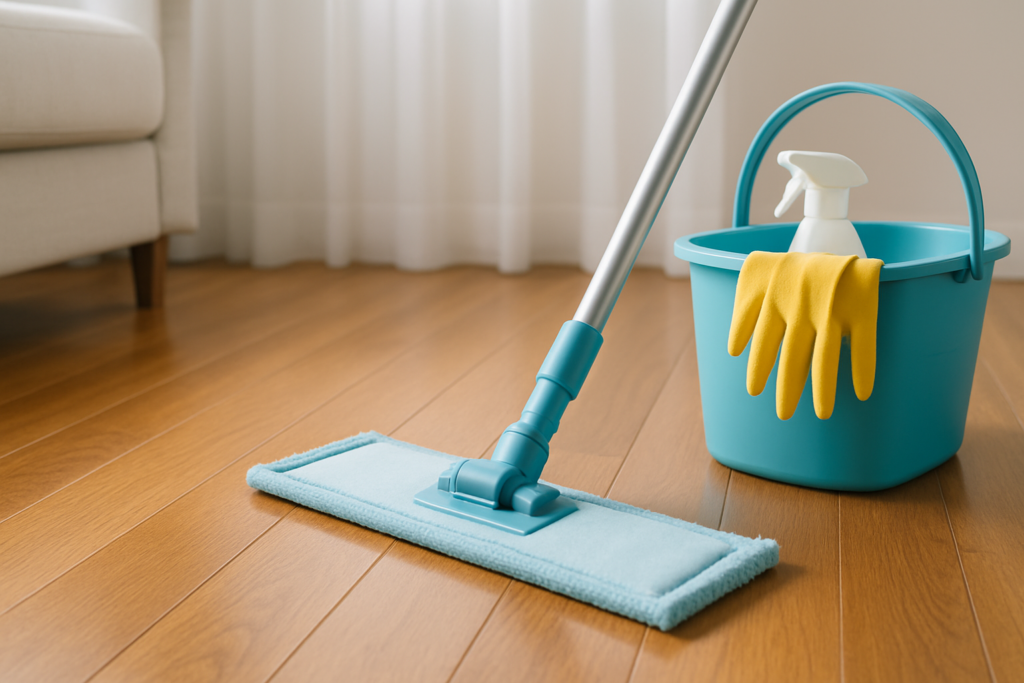
Materials and Supplies
Sandpaper costs add up quickly. You’ll need multiple sheets of each grit, and paper dulls faster than you might expect, especially on older floors with thick finishes. Plan on more sandpaper than you think you’ll need.
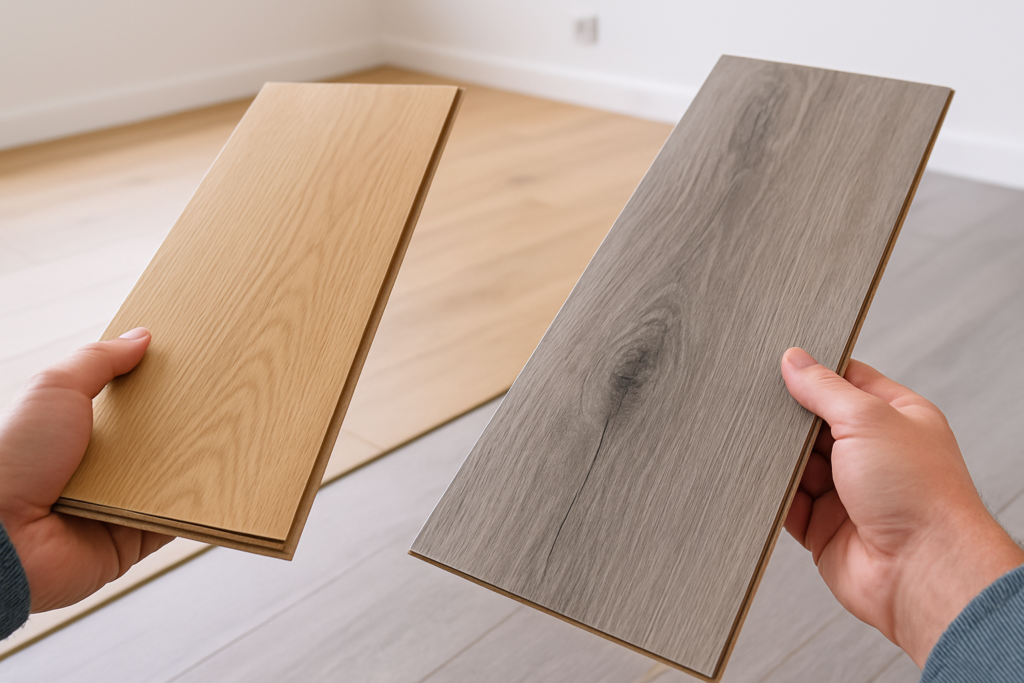
Wood stain selection depends on your desired color and the type of wood you’re refinishing. Oil-based stains penetrate deeper and provide richer colors, while water-based options dry faster and have less odor. Quality matters here, as cheap stains can result in blotchy, uneven coloring.
For the protective finish, you’ll choose between oil-based and water-based polyurethane. Oil-based poly provides a warm, amber tone and excellent durability but takes longer to cure and has strong fumes. Water-based poly dries faster, has minimal odor, and won’t yellow over time, but it’s more expensive and can raise wood grain.
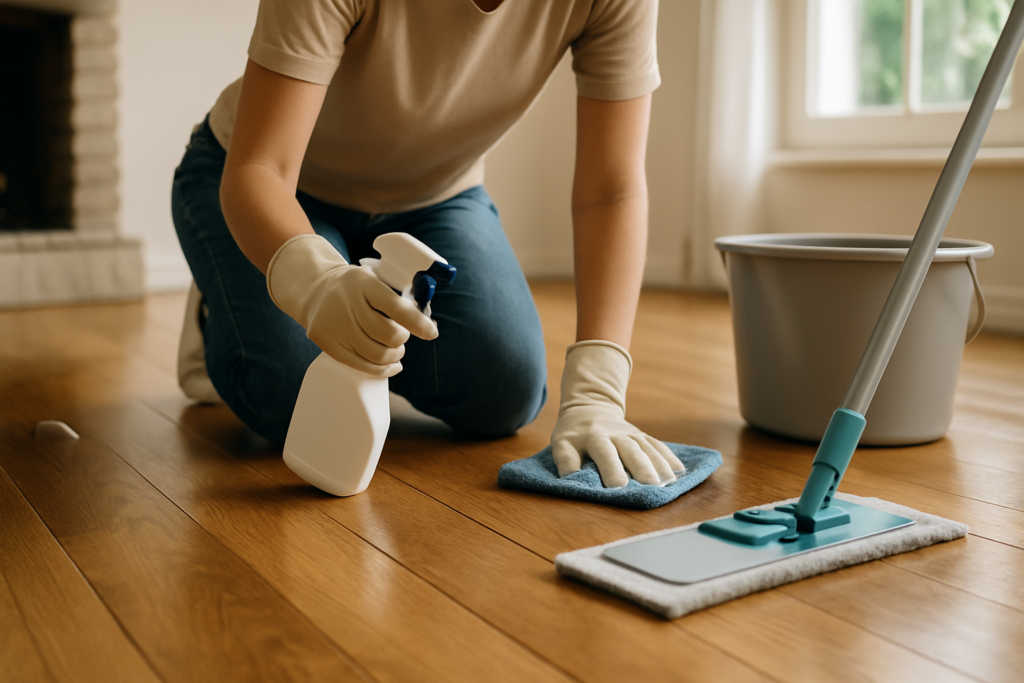
Don’t forget the smaller supplies: dust masks, safety glasses, knee pads, brushes, rollers, tack cloths, plastic sheeting, and tape. These items seem minor but are essential for both safety and quality results.

Varathane Wood Stain
Consistently rated wood stain that provides even coverage and rich color depth
Time Investment
Time is money, even when you’re doing the work yourself. A typical 300-square-foot room takes an experienced DIYer 3-4 full days of active work, spread over a week when you factor in drying times.
First-time refinishers often underestimate the physical demands. Sanding is exhausting work that requires constant attention to technique. Your back, knees, and arms will feel every minute by the end of the first day.
Preparation takes longer than expected. You’ll spend hours moving furniture, removing baseboards (if needed), and sealing off areas to contain dust. Cleanup between each step is crucial and time-consuming.
Hidden Costs and Potential Problems
DIY projects rarely go exactly as planned. You might discover damaged boards that need replacement, or uneven subflooring that requires attention. These issues can stop your project cold until you address them.
Mistakes happen, and they can be expensive. Gouges from improper sanding technique, uneven stain application, or finish problems like bubbles or streaks might require starting over in affected areas. Sometimes the entire floor needs to be re-sanded and refinished.
Dust containment is nearly impossible to achieve perfectly in a DIY setting. Fine sanding dust will infiltrate your entire home, settling on furniture, in air vents, and on every surface. Professional cleaning afterward can cost several hundred dollars.
Professional Refinishing Costs
Labor and Expertise
Professional refinishing crews bring years of experience and specialized knowledge to your project. They can assess your floors accurately, recommend the best approach, and execute the work efficiently.
Professionals have developed techniques for consistent sanding pressure, even stain application, and smooth finish coats. They know how to handle different wood species, work around obstacles, and achieve the smooth, flawless results that define quality refinishing.
Most professional jobs on a standard-sized room are completed in 2-3 days, compared to a week or more for DIY work. This means less disruption to your daily routine and faster access to your refinished floors.
Equipment and Materials
Professional contractors use commercial-grade equipment that produces superior results. Their sanders are more powerful and precise than rental units, and they maintain their equipment properly for consistent performance.
Pros also have access to professional-grade materials that aren’t available to consumers. Commercial finishes often provide better durability and appearance than retail products, and professionals know which products work best in different situations.
Dust containment systems used by professionals capture most airborne particles, keeping your home cleaner during the process. Some companies use dustless sanding systems that virtually eliminate airborne dust.
Minwax Polyurethane Protective Finish
Professional-quality polyurethane finish that provides excellent durability and clarity
Warranties and Insurance
Reputable refinishing companies provide warranties on their work, typically covering defects in workmanship for 1-3 years. This protection gives you recourse if problems develop after completion.
Professional contractors carry liability insurance that protects you if accidents occur during the work. They’re also bonded, which provides additional financial protection.
If professionals make mistakes, they fix them at no cost to you. DIY mistakes come out of your pocket and your time to correct.
Skill Level Requirements
DIY Skill Assessment
Successful floor refinishing requires several skills that many homeowners overestimate in themselves. Sanding demands steady hands, consistent pressure, and the ability to recognize when you’re removing too much or too little material.
Stain application looks easy but requires quick, even work to avoid lap marks and blotching. You need to maintain a wet edge across the entire floor, working systematically to ensure uniform coverage.
Applying polyurethane finish tests your patience and technique. Each coat must be thin and even, with proper preparation between coats. Rushing this step or applying finish too thickly leads to bubbles, streaks, and poor durability.
Previous experience with similar projects helps enormously. If you’ve successfully completed other demanding home improvement projects, you’re more likely to achieve good results with floor refinishing.
Learning Curve Challenges
Floor refinishing isn’t forgiving of learning mistakes. Unlike painting a wall, where you can easily fix problems, sanding errors can permanently damage your floors. Deep gouges require extensive additional sanding or board replacement.
Each step builds on the previous one. Poor sanding leads to uneven stain absorption. Inadequate preparation between finish coats causes adhesion problems. These cascading issues can ruin an entire project.
Working with rental equipment adds complexity. You might get only brief instruction on proper technique, and rental sanders may not be in perfect condition. Learning proper technique while working on your expensive hardwood floors is risky.
Safety Considerations
Health and Safety Risks
Wood dust, especially fine particles created during sanding, poses serious health risks. Extended exposure can cause respiratory irritation, and dust from certain wood species can trigger allergic reactions.
Chemical exposure from stains and finishes requires proper ventilation and protective equipment. Oil-based products release volatile organic compounds (VOCs) that can cause headaches, dizziness, and respiratory issues in enclosed spaces.
The physical demands of refinishing work can lead to injury. Heavy sanders are difficult to control, especially for extended periods. Back strain, knee problems, and muscle fatigue are common issues.
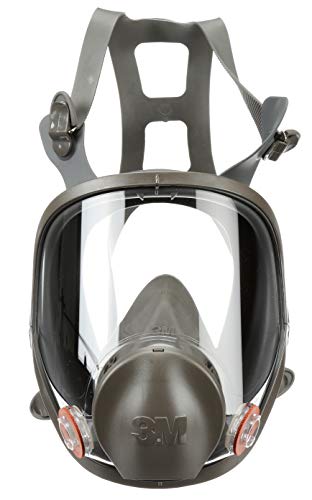
3M Respirator Mask for DIY Projects
Essential respiratory protection when sanding and applying finishes during floor refinishing
Professional Safety Standards
Professional refinishing crews follow established safety protocols and use proper protective equipment. They’re trained in safe handling of equipment and chemicals, reducing the risk of accidents and health issues.
Professionals also understand building codes and safety requirements. They ensure adequate ventilation, proper disposal of waste materials, and compliance with local regulations.
Insurance coverage protects both the workers and homeowners if accidents occur. DIY injuries are typically covered only by your health insurance, with no protection against property damage you might cause.
Quality and Durability Differences
Professional Results
Professional refinishing typically produces superior visual results. The finish is smooth and even, with consistent color and sheen throughout the entire floor. Professionals know how to blend areas where different wood grain patterns meet.
Durability often exceeds DIY work because professionals apply the right number of coats with proper preparation between each application. They also select appropriate products for your specific situation and traffic patterns.
Edge work, where the floor meets walls and transitions to other flooring types, is cleaner and more precise when done professionally. These details significantly impact the overall appearance of the finished project.
Common DIY Issues
DIY refinishing often shows telltale signs of amateur work. Uneven sanding creates wavy patterns that become obvious once stain is applied. Inconsistent stain application leads to blotchy coloring that can’t be easily corrected.
Finish application problems are common in DIY work. Brush marks, bubbles, dust nibs, and uneven sheen detract from the floor’s appearance. These issues often aren’t apparent until the finish cures completely.
DIY edge sanding frequently leaves visible differences between the main floor area and the perimeter. Hand-sanding edges to match the drum-sanded center requires considerable skill and patience.
Making Your Decision
Choose DIY refinishing if you have significant woodworking experience, plenty of time, and floors in relatively good condition. Small rooms with simple layouts are better candidates than large, complex spaces.
Your budget situation matters, but consider the total cost including your time, potential mistakes, and the possibility of needing professional help to fix problems. Sometimes the savings aren’t as significant as they initially appear.
Professional refinishing makes sense for valuable floors, large areas, or when you need guaranteed results. The time savings alone may justify the additional cost, especially if you have busy schedules or young children at home.
Consider a hybrid approach for some situations. You might hire professionals for sanding and major work, then handle staining and finish application yourself. This reduces the most risky aspects while still providing some cost savings.
Frequently Asked Questions
How long do I have to stay off refinished floors?
You can typically walk on refinished floors after 24 hours, but avoid heavy traffic and furniture for at least 48-72 hours. Full curing takes 7-10 days for water-based finishes and up to 30 days for oil-based products. During this time, be gentle with the floors and use protective pads under furniture legs.
Can all hardwood floors be refinished?
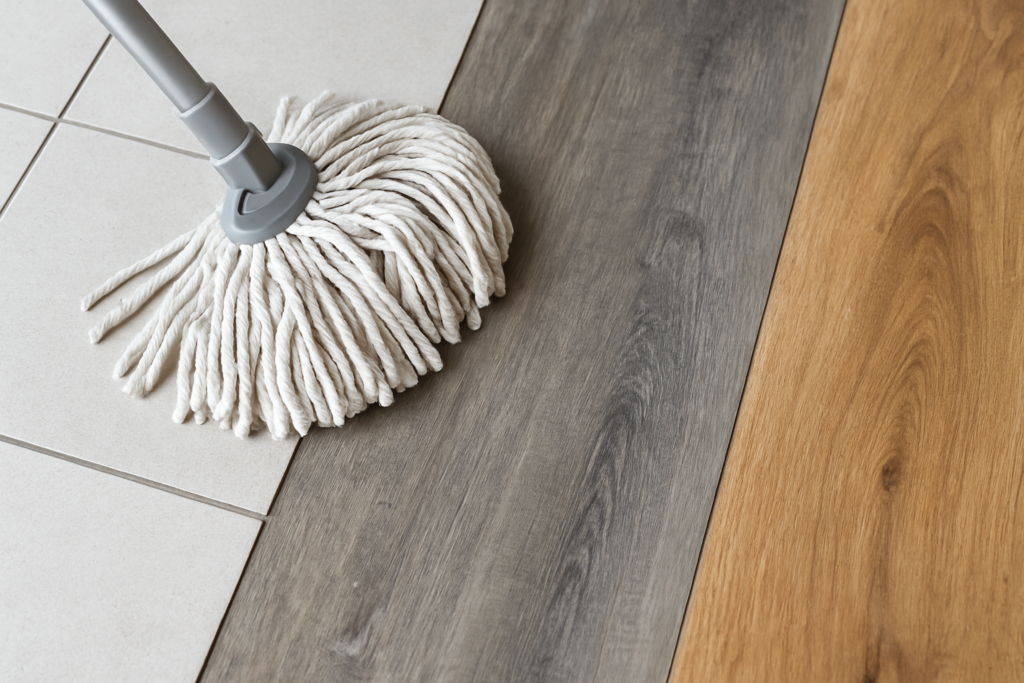
Solid hardwood floors can usually be refinished 4-6 times during their lifetime, depending on the wood thickness. Engineered hardwood can typically be refinished 1-2 times, as the top veneer layer is thinner. Floors with extensive water damage, deep gouges, or structural issues may not be good candidates for refinishing.
What’s the difference between screening and full refinishing?
Screening (or buff and recoat) involves light sanding with fine-grit abrasives to rough up the existing finish, followed by a new topcoat. This works when the wood itself is in good condition but the finish is worn. Full refinishing removes all existing finish and may include staining before applying new protective coats. Screening costs about half as much but only addresses surface wear.
How do I choose between oil-based and water-based finishes?
Oil-based polyurethane provides excellent durability and a warm, amber glow that enhances wood grain. It takes longer to dry and has strong odors during application. Water-based finishes dry faster, have minimal odor, and won’t yellow over time, but they cost more and may require additional coats for the same protection level. Your choice depends on your priorities for appearance, drying time, and budget.
This article contains affiliate links. We may earn a small commission at no extra cost to you.