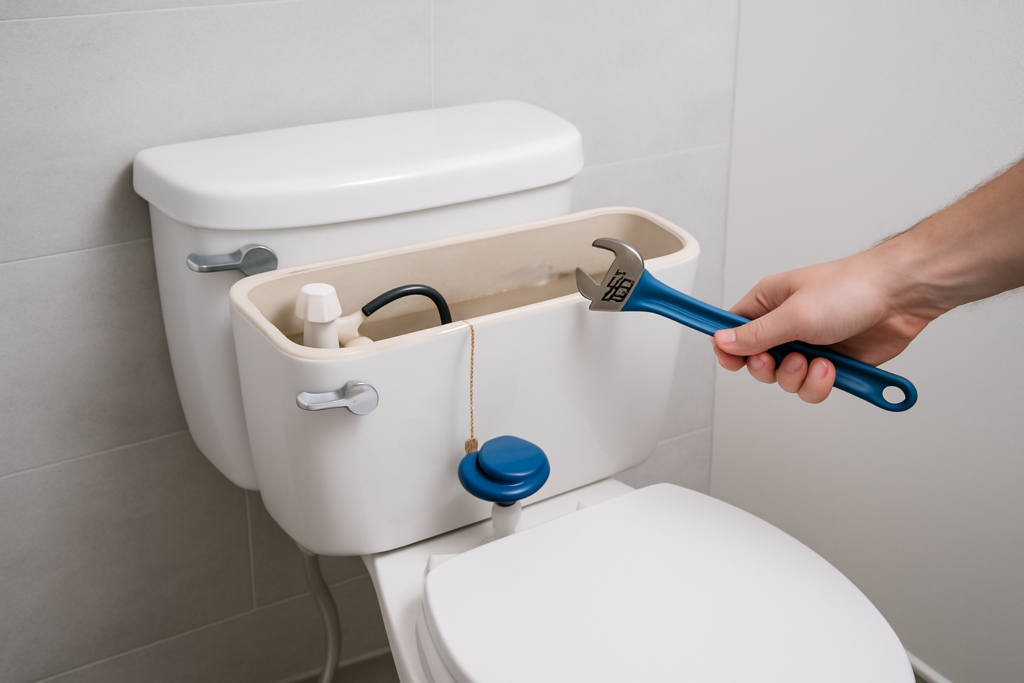
The sound is unmistakable. That constant trickling, gurgling noise coming from your bathroom that seems to mock you at 2 AM when you’re trying to sleep. Your toilet is running again, and it’s not just annoying – it’s literally flushing money down the drain with every minute it continues.
A running toilet can waste hundreds of gallons of water per day, turning your monthly water bill into an unwelcome surprise. The frustrating part is that most toilet running problems are actually simple fixes that take less time than waiting for a plumber to show up. With a few basic tools and about 15 minutes, you can diagnose and fix the majority of running toilet issues yourself.
Let’s walk through the most common causes and their solutions, so you can get back to peaceful nights and reasonable water bills.
Understanding Your Toilet’s Inner Workings
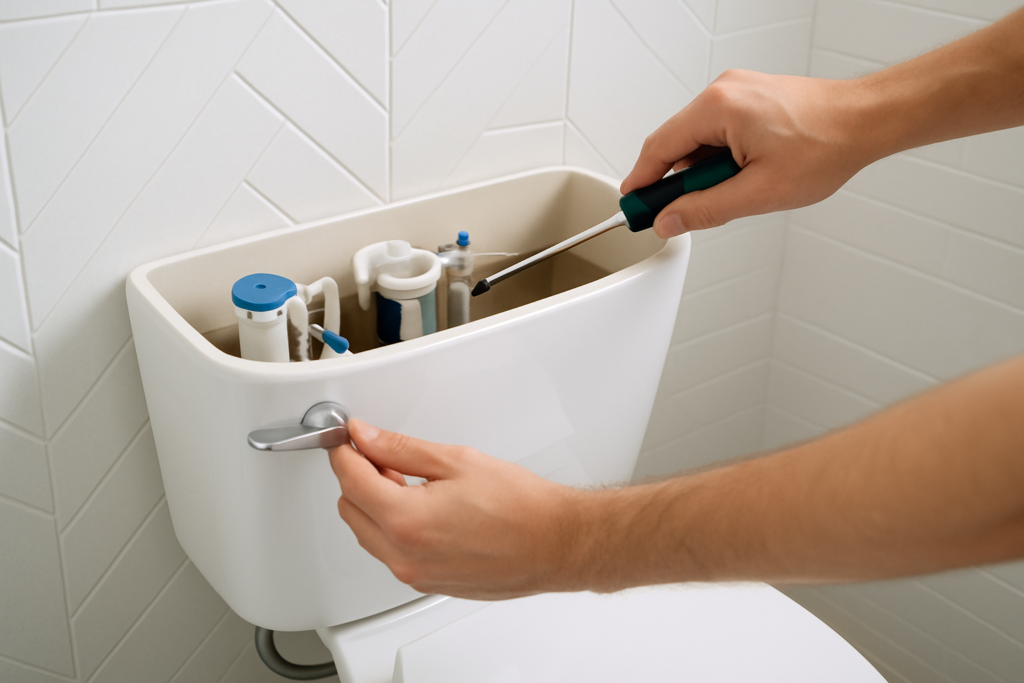
Before diving into fixes, it helps to understand the basic components inside your toilet tank. When you flush, the handle lifts a chain that opens the rubber flapper at the bottom of the tank. Water rushes from the tank into the bowl, and as the water level drops, the flapper closes and the fill valve opens to refill the tank.
The fill valve stops filling when the water reaches the proper level, determined by a float or internal mechanism. When any part of this system gets out of adjustment, your toilet keeps running. Most running toilet problems stem from just four components: the flapper, the chain, the water level, or the fill valve itself.
Problem #1: The Flapper Won’t Seat Properly
The flapper is that rubber seal at the bottom of your tank, and it’s the most common culprit behind a running toilet. Over time, flappers warp, crack, or get mineral buildup that prevents them from creating a watertight seal.
Remove the toilet tank lid and look at the flapper while the tank fills. If it’s warped, cracked, or has a slimy buildup, it needs replacement. Sometimes you can temporarily fix the problem by cleaning around the flapper seat with a pumice stone or scrub brush, but replacement usually provides the permanent solution.
When shopping for a replacement, measure your current flapper or take a photo to ensure you get the right size. Most flappers are either 2-inch or 3-inch diameter. The Korky Universal Toilet Flapper fits most standard toilets and includes multiple attachment options.
Korky Universal Toilet Flapper
This universal design fits most toilet models and includes clear installation instructions.
To replace the flapper, turn off water to the toilet and flush to empty the tank. Unhook the old flapper from the flush valve seat and chain, then attach the new one. The process takes about 5 minutes once you have the right part.
Problem #2: Chain Length Issues
The chain connecting your flush handle to the flapper needs to be just the right length. Too long, and the flapper won’t lift fully when you flush, causing weak flushes and potential running. Too short, and the flapper can’t close completely, letting water continuously leak into the bowl.
Check the chain length by pressing the flush handle. The chain should have just a slight amount of slack when the flapper is closed, typically about half an inch. When you press the handle, the chain should lift the flapper completely off its seat without straining.
Adjusting chain length is simple. Most chains hook onto the flush arm and the flapper with small clips or hooks. Move the chain to a different link to shorten or lengthen it. If your chain is broken or corroded, replacement chains are inexpensive and available at any hardware store.
Problem #3: Water Level Problems
Your toilet tank needs the right amount of water to function properly. Too much water, and it continuously overflows into the overflow tube, creating that running sound. Too little water, and your toilet won’t flush effectively.
The proper water level sits about one inch below the rim of the overflow tube, or at the water level mark inside the tank. If your water level is too high, you need to adjust the float or the fill valve mechanism.
Adjusting Ball Float Systems
Older toilets use a ball float connected to the fill valve with a metal arm. If water level is too high, bend the float arm down slightly to make the fill valve shut off sooner. If water level is too low, bend the arm up. Make small adjustments and test after each one.
Adjusting Float Cup Systems
Newer toilets use a float cup that slides up and down on the fill valve shaft. These systems usually have a adjustment screw or clip that you can move to change the water level. Turn the screw clockwise to lower water level, counterclockwise to raise it.
Problem #4: Fill Valve Replacement
When other fixes don’t solve the problem, the fill valve itself might be worn out. Fill valves typically last 4-5 years before internal parts wear out and cause continuous running or inadequate filling.
Replacing a fill valve takes about 15 minutes and requires no special plumbing skills. Turn off the water supply, flush to empty the tank, and disconnect the supply line. Remove the old fill valve by unscrewing the large nut underneath the tank.
The Fluidmaster 400AH PerforMAX Universal Toilet Fill Valve works with most toilet models and includes detailed instructions. This model features a quiet operation and adjustable height to fit various tank sizes.
Fluidmaster 400AH PerforMAX Universal Toilet Fill Valve
Industry-leading brand with universal compatibility and whisper-quiet operation.
Install the new fill valve by threading the mounting nut from underneath the tank, connecting the supply line, and adjusting the water level. Most universal fill valves include adapters and instructions for different toilet brands.
Tools You’ll Need
Most toilet repairs require only basic tools you probably already have. Keep these items handy for quick fixes:
- Adjustable wrench
- Pliers
- Scrub brush or pumice stone
- Rubber gloves
- Flashlight or phone light
- Towel for cleanup
For replacement parts, consider getting a complete toilet repair kit that includes flapper, chain, and fill valve components. Having spare parts on hand means you can fix problems immediately instead of making emergency trips to the hardware store.
Step-by-Step Troubleshooting Guide
When your toilet starts running, follow this systematic approach to identify the problem:
- Remove the tank lid carefully and set it aside on a towel. Tank lids are heavy and break easily.
- Watch the flapper as the tank fills. Does it seat completely against the flush valve?
- Check the chain for proper length and connection. Is it tangled or too tight?
- Observe the water level as the tank fills. Does it stop at the right height?
- Listen to the fill valve. Does it shut off completely when the tank is full?
This process helps you identify which component needs attention. Most toilet running issues become obvious once you can see what’s happening inside the tank.
Prevention Tips for Future Problems
Regular maintenance prevents most toilet running problems. Every six months, remove the tank lid and check all components. Clean mineral deposits from the flapper and flush valve seat with a pumice stone. Check that the chain has proper slack and isn’t corroded.
Avoid using tank tablets or bleach-based cleaners that can damage rubber components. These chemicals cause premature flapper failure and void warranties on many toilet parts. Instead, clean your toilet bowl regularly and use tank components designed for your specific toilet model.
Consider upgrading older toilet components proactively. If your toilet is more than 10 years old and still has original parts, replacing the flapper and fill valve before they fail saves you from middle-of-the-night emergencies.
Fluidmaster Universal Complete Toilet Repair Kit
Everything you need for most common toilet repairs in one convenient package.
When to Call a Professional
While most running toilet fixes are DIY-friendly, some situations require professional help. Call a plumber if you discover cracks in the toilet tank or bowl, if water is leaking around the base of the toilet, or if you’re not comfortable working with water supply connections.
Additionally, if you’ve tried multiple fixes and the toilet continues running, there might be an internal crack or warping that’s not immediately visible. A plumber can diagnose these less common problems and recommend whether repair or replacement makes more sense.
Persistent running after replacing all internal components sometimes indicates problems with the toilet’s mounting or internal passages that require professional assessment.
Cost Considerations and Water Savings
Fixing a running toilet pays for itself quickly through reduced water bills. A continuously running toilet can waste 200+ gallons per day, while toilet repair parts typically cost much less than a single month’s worth of wasted water.
Basic replacement parts like flappers and chains are very affordable. Even complete fill valve replacement costs significantly less than a single plumber visit. Keep spare parts on hand so you can address problems immediately.
The water savings add up quickly. Multiply your daily water waste by 30 days, then by your local water rate per gallon. Most homeowners discover that toilet repairs pay for themselves within the first month.
Frequently Asked Questions
Why does my toilet run intermittently throughout the day?
Intermittent running usually indicates a flapper that seals initially but gradually leaks as water pressure changes. The flapper might be warped slightly or have mineral buildup preventing a perfect seal. Replace the flapper and clean the flush valve seat thoroughly.
Can I adjust my toilet to use less water per flush?
Yes, you can lower the water level slightly to reduce water usage, but don’t go below the manufacturer’s recommended level. Toilets need adequate water volume for proper waste removal. A better approach is upgrading to a modern efficient toilet if yours is very old.
How do I know if my fill valve needs replacement instead of adjustment?
Replace the fill valve if adjustments don’t solve the running problem, if it makes loud noises during filling, or if water continues trickling into the overflow tube even when components appear properly adjusted. Fill valves have internal seals that wear out over time.
Is it safe to turn off water to the toilet while troubleshooting?
Absolutely. Turn off the water supply valve (usually located behind the toilet) before making repairs. This prevents accidental flooding and makes it easier to work inside the tank. Remember to turn water back on and test your repairs before considering the job complete.
This article contains affiliate links. We may earn a small commission at no extra cost to you.