Nothing’s more frustrating than turning on your kitchen faucet and watching water trickle out like a lazy stream. You’re trying to fill a pot for pasta, rinse dishes, or wash vegetables, and you’re stuck waiting forever for enough water pressure to get the job done.
The good news is that low water pressure in your kitchen faucet is usually a simple fix you can handle yourself. Most of the time, it’s caused by mineral buildup, sediment, or a clogged aerator that’s restricting water flow. These problems develop gradually over time, especially in areas with hard water.
Before you call a plumber and spend hundreds of dollars, try these proven solutions. With just a few basic tools and about 30 minutes of your time, you can likely restore your faucet to full pressure and save yourself both money and hassle.
Tools and Materials You’ll Need
Gather these items before you start working on your faucet:
- Adjustable wrench or pliers
- Old toothbrush
- White vinegar
- Small bowl or container
- Needle or small wire
- Flashlight or phone light
- Towel or cloth
- Replacement parts if needed
Most of these items are probably already in your home. The only thing you might need to purchase is replacement parts, depending on what you discover during your inspection.
Safety Precautions
Before you begin any work on your faucet, take these important safety steps:
Turn off the water supply. Look under your kitchen sink for two shut-off valves, one for hot water and one for cold. Turn both clockwise until they’re completely closed. If you can’t find individual valves, you may need to shut off the main water supply to your home.
Test the faucet. After shutting off the valves, turn on your faucet to make sure no water comes out. This confirms the water is off and helps drain any remaining water from the lines.
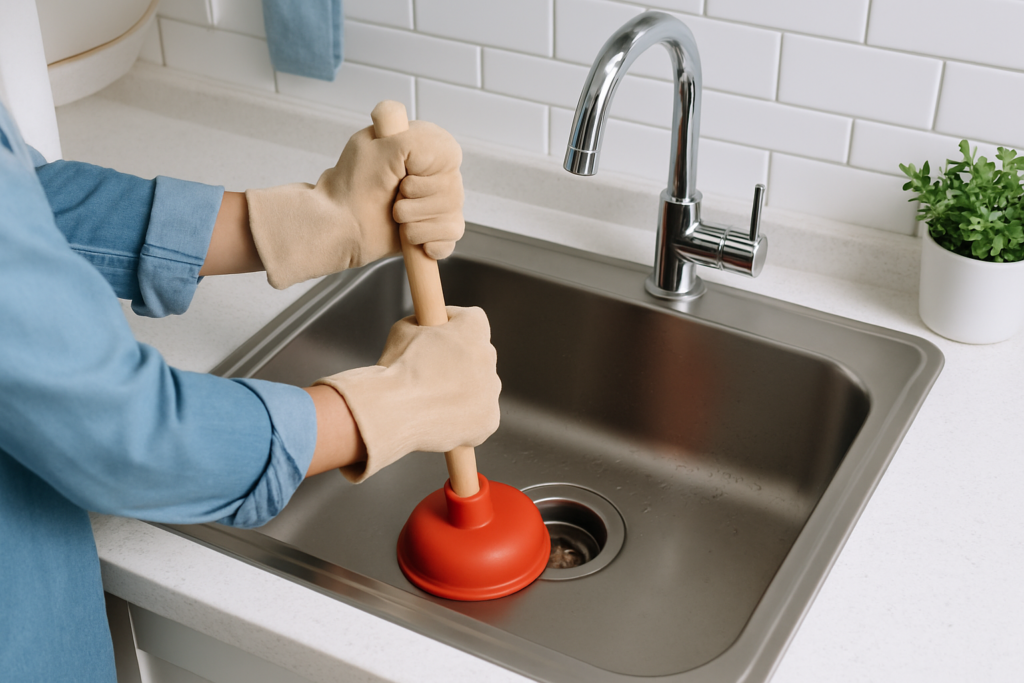
Protect your sink. Place a towel in the sink to catch any small parts that might fall during disassembly. You don’t want to lose a tiny screw down the drain.
Step 1: Clean the Aerator
The aerator is the small screen at the tip of your faucet that mixes air with water. It’s the most common culprit behind low water pressure because mineral deposits and debris easily clog its tiny holes.
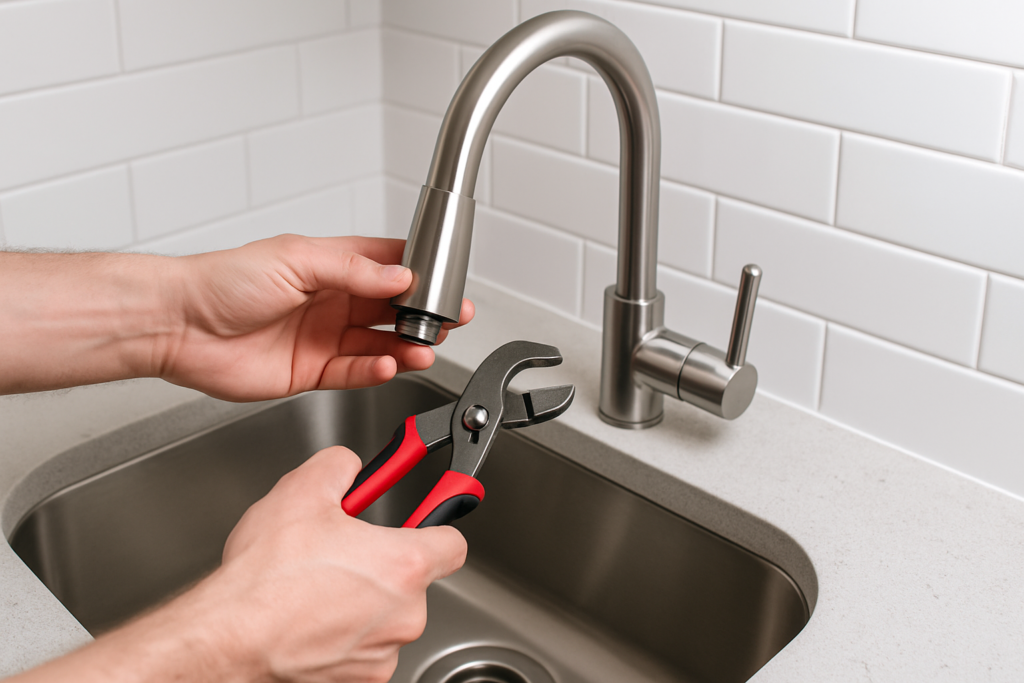
Remove the Aerator
Most aerators unscrew counterclockwise by hand. If it’s stuck, wrap a cloth around it to protect the finish and use pliers to gently turn it. Be careful not to overtighten or you might damage the threads.
Once removed, take a close look at the aerator. You’ll likely see white, chalky buildup or small debris blocking the screen openings. This buildup restricts water flow and creates the low pressure you’re experiencing.
Neoperl Dual-Thread Faucet Aerator
This universal aerator fits most kitchen faucets and provides excellent water flow.
Clean the Aerator Thoroughly
Disassemble the aerator by separating its parts. Most aerators have three components: the outer housing, a screen, and an internal mixer. Lay them out on your towel so you remember how they go back together.
Soak all parts in white vinegar for 15-20 minutes. The acid in vinegar dissolves mineral deposits naturally without harsh chemicals. For stubborn buildup, scrub gently with an old toothbrush.
Use a needle or thin wire to poke through each hole in the screen. This removes any debris that soaking didn’t dissolve. Rinse everything thoroughly with clean water before reassembling.
Reassemble and Test
Put the aerator back together in reverse order and screw it back onto your faucet. Turn the water supply back on and test the pressure. In many cases, this simple cleaning solves the problem completely.
Step 2: Remove Sediment from Supply Lines
If cleaning the aerator didn’t fix your pressure problem, sediment in your supply lines might be the culprit. This is especially common in older homes or areas with hard water.
Flush the Supply Lines
With the aerator still removed, turn your water supply back on slowly. Let both hot and cold water run for 30-60 seconds. This flushes out any loose sediment that might be restricting flow in the lines leading to your faucet.
You might see debris or discolored water come out initially. This is normal and indicates the flushing is working. Continue running the water until it runs clear.
Turn off the water supply again and reinstall your clean aerator. Test the pressure to see if this additional step resolved the issue.
Step 3: Inspect and Replace the Cartridge
If you still have low pressure after cleaning the aerator and flushing the lines, the problem might be inside your faucet. Most modern kitchen faucets use cartridges to control water flow, and these can become clogged or worn over time.
Access the Cartridge
Cartridge access varies by faucet type, but most require removing the handle first. Look for a screw under a decorative cap or button on the handle. Remove this screw and lift off the handle.
Next, you’ll typically see a packing nut or retaining ring that holds the cartridge in place. Use your adjustable wrench to remove this component. Some faucets have a cartridge puller tool requirement, but many cartridges can be removed by hand or with pliers.
Examine the Cartridge
Once removed, inspect the cartridge for mineral buildup, cracks, or wear. The cartridge should move smoothly when you manipulate it by hand. If it’s stiff, cracked, or heavily coated with deposits, replacement is your best option.
Clean the cartridge seat inside the faucet body as well. Use your flashlight to look for debris or buildup that might restrict water flow even with a clean cartridge.

Danco Universal Cartridge Puller
This tool makes cartridge removal much easier and prevents damage to your faucet.
Replace if Necessary
If your cartridge is damaged or extremely dirty, take it to your local hardware store to find an exact replacement. Cartridges are brand-specific, so you need the right model for your faucet.
Install the new cartridge in the same orientation as the old one. Most cartridges have alignment tabs or marks to ensure proper installation. Replace the packing nut, handle, and any decorative elements you removed.
Additional Troubleshooting Tips
Check Your Water Pressure Regulator
If multiple fixtures in your home have low pressure, the problem might be your main water pressure regulator. This device controls water pressure entering your home and can fail over time.
Test other faucets and showers in your house. If they all have low pressure, call a plumber to inspect your pressure regulator. This isn’t typically a DIY repair.
Inspect for Pipe Blockages
Older galvanized pipes can develop internal rust and mineral buildup that restricts flow. This problem typically affects the entire plumbing system, not just one faucet.
If your kitchen faucet is the only fixture with pressure problems and the previous steps didn’t help, you might have a blockage in the specific supply lines feeding that faucet.
Consider Water Quality
Homes with very hard water experience these problems more frequently. Consider installing a whole house water filter or water softener to prevent future mineral buildup.
Regular maintenance becomes more important with hard water. Plan to clean your aerator every 3-6 months to prevent severe buildup.
When to Call a Professional
While most low water pressure issues are DIY-friendly, some situations require professional help:
Multiple fixtures affected: If several faucets and fixtures throughout your home have low pressure, the problem is likely in your main supply line or pressure regulator.
No improvement after all steps: If you’ve cleaned the aerator, flushed the lines, and inspected the cartridge without improvement, there might be a deeper blockage or pipe damage.
Water quality concerns: If your water is discolored, has an unusual taste, or contains visible particles, stop using it and call a plumber immediately.
Pipe leaks: If you discover any leaks while working on your faucet, especially behind walls or under floors, professional repair is essential to prevent water damage.
Culligan WSH-C125 Whole House Water Filter
This filter reduces sediment and chlorine that can contribute to faucet clogs over time.
Prevention and Maintenance
Once you’ve restored your water pressure, follow these tips to prevent future problems:
Regular aerator cleaning: Remove and clean your aerator every 3-4 months, or more frequently if you have hard water. This simple maintenance prevents severe buildup.
Annual cartridge inspection: Check your faucet cartridge annually, especially if you notice any changes in water flow or handle operation.
Monitor water quality: Pay attention to changes in your water’s appearance, taste, or flow. Early detection makes repairs easier and less expensive.
Professional maintenance: Consider having your plumbing system inspected every few years, particularly in older homes or areas with known water quality issues.
Frequently Asked Questions
Why does my kitchen faucet have low pressure but other faucets work fine?
This usually indicates a localized problem with your kitchen faucet specifically, such as a clogged aerator, blocked cartridge, or sediment in the supply lines leading to that fixture. The solutions outlined in this article should resolve the issue.
How often should I clean my faucet aerator?
Clean your aerator every 3-4 months for normal water conditions, or monthly if you have very hard water. Regular cleaning prevents severe mineral buildup that can permanently damage the aerator screen.
Can I use CLR or other commercial cleaners instead of vinegar?
While commercial lime and calcium removers work, white vinegar is safer for both you and your faucet’s finish. Vinegar is less likely to damage rubber seals or metal components, and it’s much more affordable for regular maintenance.
What if my aerator won’t come off?
Try soaking the connection with vinegar for 30 minutes to dissolve mineral deposits that might be “welding” the threads together. Use cloth-wrapped pliers for better grip, but be gentle to avoid damaging the faucet finish. If it still won’t budge, the aerator housing might be corroded and require professional removal.
This article contains affiliate links. We may earn a small commission at no extra cost to you.