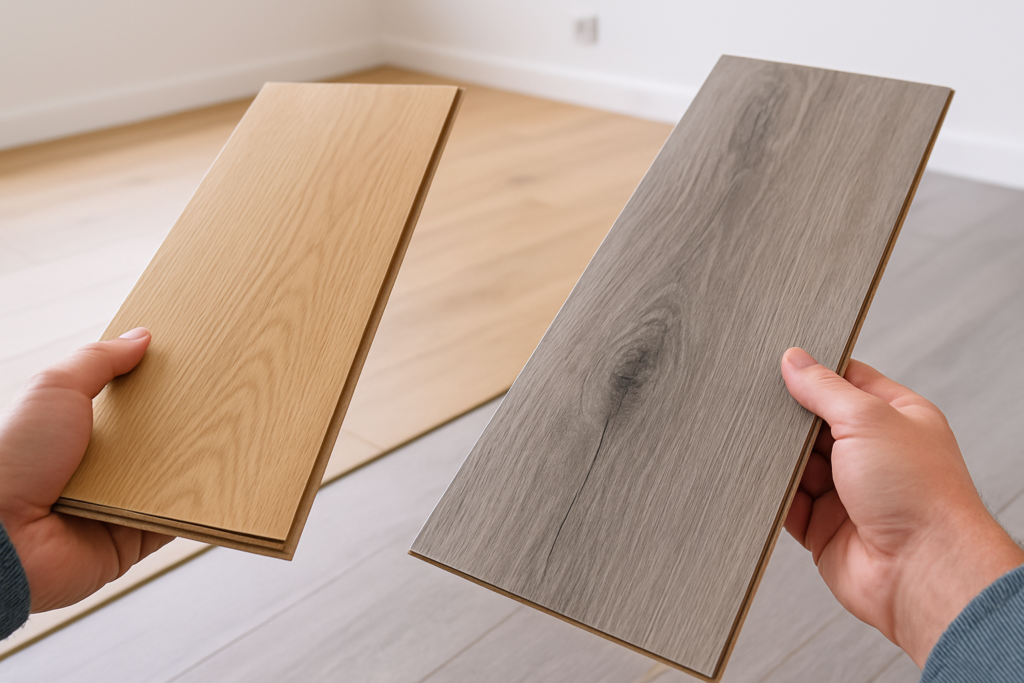
Luxury vinyl plank flooring has become one of the most popular flooring choices for good reason. It looks fantastic, handles moisture better than hardwood, and costs significantly less than premium materials. But here’s what many homeowners discover after installation: cleaning vinyl plank requires a different approach than other flooring types.
Your vinyl planks have a protective wear layer that keeps them looking new, but using the wrong cleaning products or methods can damage this crucial coating. I’ve seen beautiful floors ruined by well-meaning homeowners who used the same harsh cleaners they’d use on tile or laminate.
The key to maintaining vinyl plank flooring lies in understanding what works and what doesn’t. Follow these proven methods, and your floors will stay gorgeous for decades.
Understanding Your Vinyl Plank’s Wear Layer
Before diving into cleaning techniques, you need to understand what you’re protecting. The wear layer is a clear, protective coating that sits on top of your vinyl plank’s design layer. This transparent shield determines how long your floors will look new.
Most residential vinyl planks have wear layers between 6 and 20 mils thick. Thicker wear layers handle more abuse, but all of them can be damaged by acidic cleaners, abrasive tools, or excessive moisture.
When you scratch or chemically damage this layer, you’re creating permanent marks that can’t be buffed out or refinished like real hardwood. This is why gentle, pH-neutral cleaning is essential.
Daily Cleaning: The Foundation of Floor Care
Daily maintenance prevents dirt from building up and scratching your floors. Your routine should focus on removing loose debris before it gets ground into the surface.
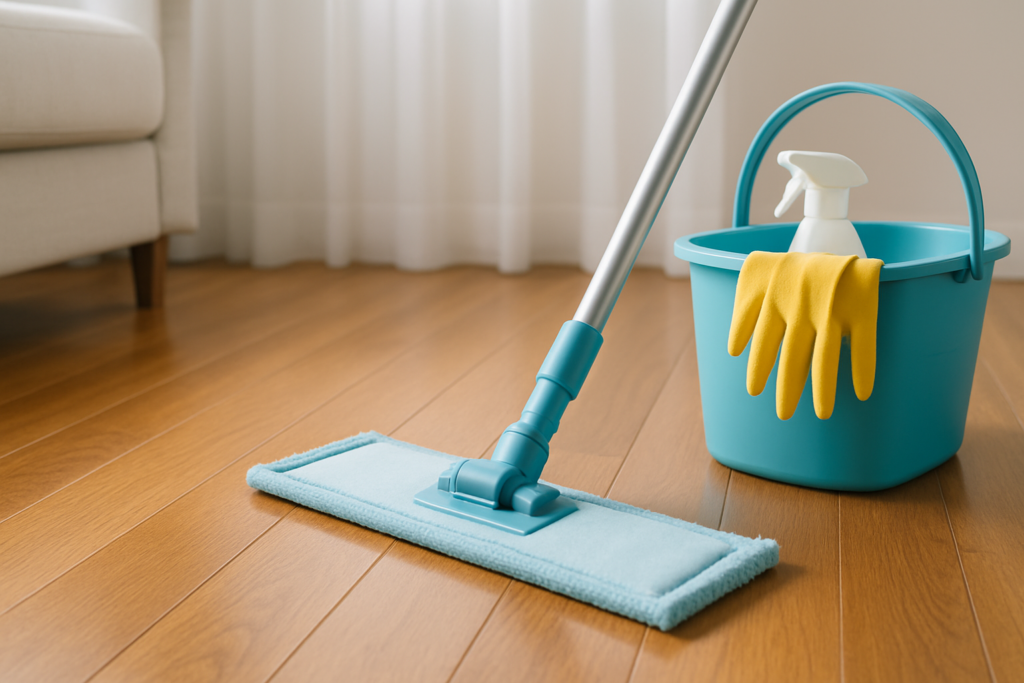
Start with dry cleaning every day or two. A microfiber dust mop works perfectly for this job. The electrostatic properties of microfiber grab dust and pet hair without scratching.
O-Cedar Dual-Action Microfiber Flip Mop
Perfect for daily dust removal with gentle microfiber that won’t scratch your wear layer
Avoid using traditional brooms with stiff bristles. They can push dirt around rather than picking it up, and the bristles may scratch your wear layer over time.
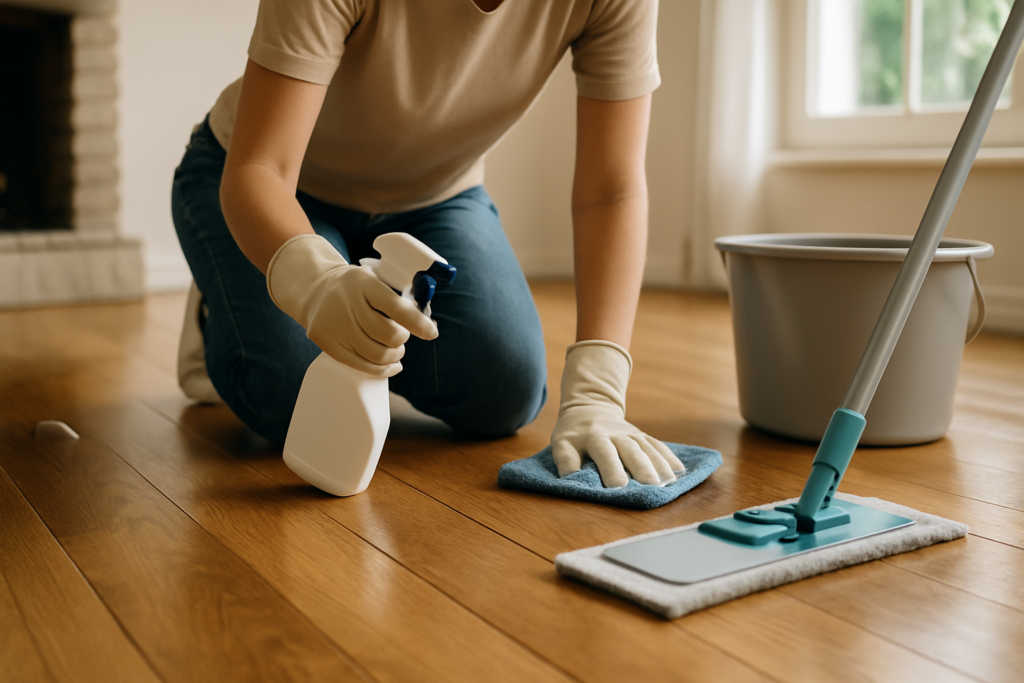
For quick spot cleaning, keep a spray bottle filled with plain water nearby. Most daily spills come right up with water and a microfiber cloth.
Weekly Deep Cleaning Methods
Once or twice per week, depending on foot traffic, you’ll want to do a more thorough cleaning. This removes the film that builds up from cooking oils, skin oils, and cleaning product residue.
The Best Cleaning Solutions
Plain water works for most weekly cleaning, but sometimes you need a bit more cleaning power. Your safest bet is a cleaner specifically formulated for luxury vinyl plank.
Bona Hard-Surface Floor Cleaner gets my top recommendation. It’s pH-neutral, doesn’t leave residue, and won’t damage your wear layer. Plus, it dries streak-free without rinsing.
Bona Hard-Surface Floor Cleaner
pH-neutral formula specifically designed for luxury vinyl with no residue buildup
If you prefer making your own solution, mix one cup of white vinegar with one gallon of warm water. While some manufacturers advise against vinegar, this diluted mixture is mild enough for occasional use and cuts through film effectively.
Another DIY option combines two tablespoons of dish soap (like Dawn) with one gallon of warm water. Make sure to use a soap that doesn’t contain moisturizers or antibacterial additives, as these can leave residue.
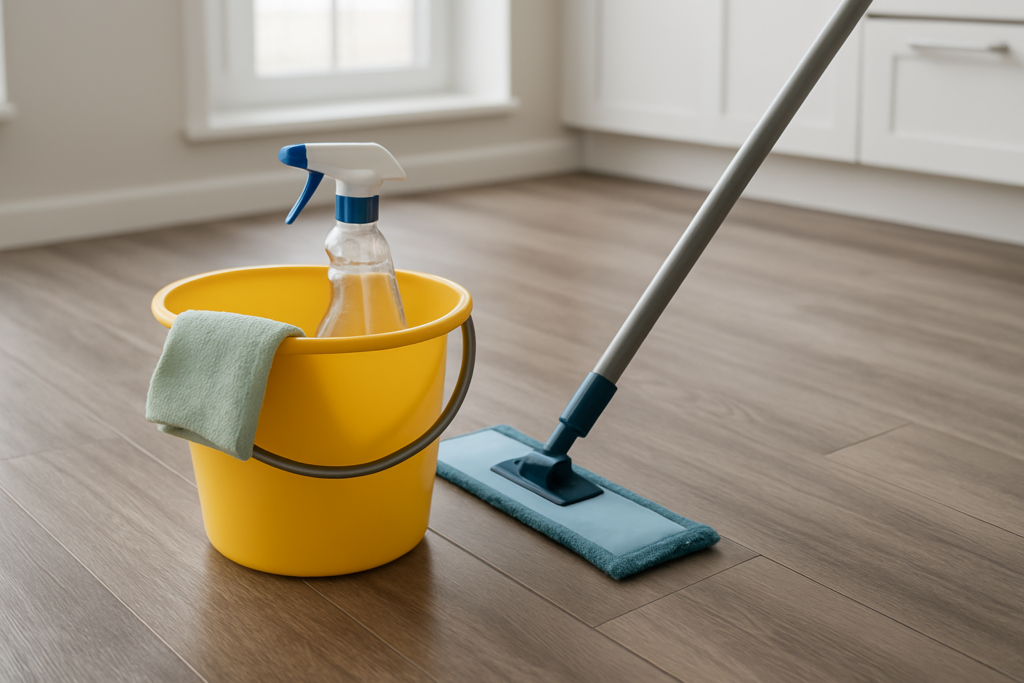
Proper Mopping Technique
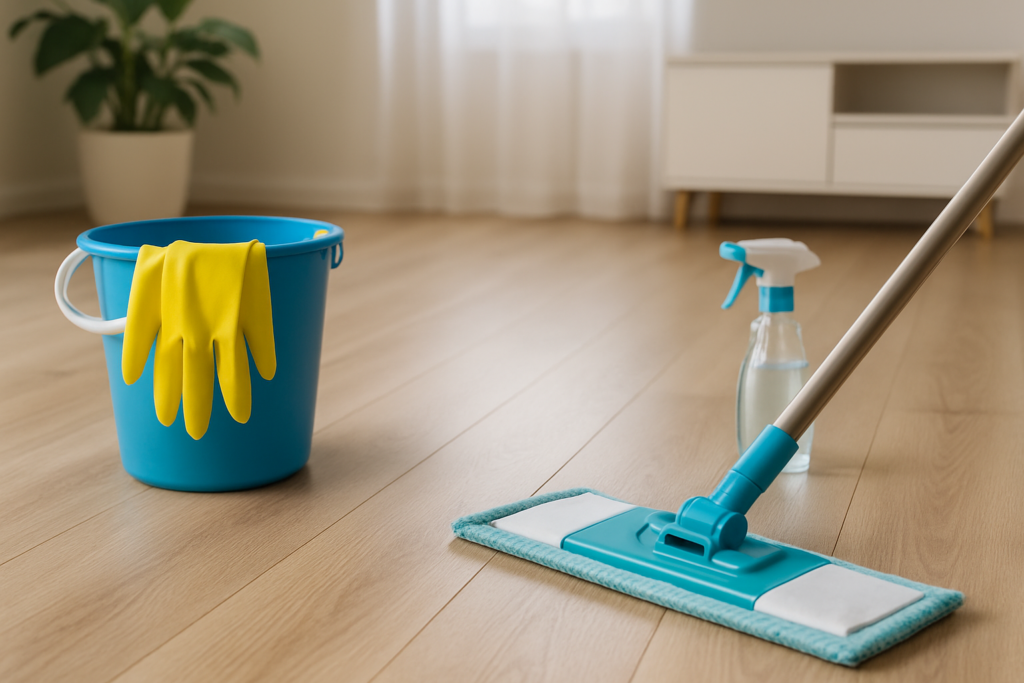
Your mopping technique matters as much as your cleaning solution. Start by removing all loose dirt with your microfiber dust mop. Then follow these steps:
Fill your mop bucket with your chosen cleaning solution. Wring out your mop thoroughly before touching the floor. Excess water can seep between planks and damage the subfloor or cause planks to lift.
Work in small sections, about 4×4 feet at a time. Mop with the grain of the planks when possible. This helps prevent streaking and ensures you’re cleaning in the texture lines where dirt can hide.
Rinse your mop frequently in clean solution. A dirty mop just spreads grime around rather than removing it.
Products and Methods to Avoid
Many common cleaning products can permanently damage vinyl plank flooring. Understanding what to avoid is just as important as knowing what to use.
Never Use These Cleaners
Bleach tops the list of products to avoid. While it’s tempting to reach for bleach on tough stains, it can discolor your planks and break down the wear layer. Once bleach damage occurs, you can’t reverse it.
Ammonia-based cleaners like some versions of Windex can also cause discoloration and wear layer damage. The high pH of ammonia is too harsh for vinyl.
Avoid abrasive cleaners like Comet or Ajax. The gritty particles scratch your wear layer, creating permanent damage that dulls the shine and makes future cleaning harder.
Oil-based cleaners might seem like a good idea for adding shine, but they create a sticky film that attracts dirt. Products like Pine-Sol (the original formula) fall into this category.
Tools That Cause Damage
Steel wool and abrasive scrubbing pads will scratch your wear layer. Even “fine” steel wool is too aggressive for vinyl plank flooring.
Steam mops present a controversial topic. While some manufacturers approve them on the lowest setting, the high heat and moisture can potentially damage seams and adhesives. I recommend avoiding them entirely to be safe.
Rubber-backed mats can cause permanent staining on vinyl floors. The rubber chemicals react with the vinyl over time, creating yellow or brown stains that can’t be removed.
Tackling Tough Stains and Scuffs
Even with careful maintenance, you’ll occasionally face stubborn stains or scuff marks. The key is addressing them quickly with the right approach.
Scuff Mark Removal
Most scuff marks come off with a simple pencil eraser. Gently rub the eraser over the scuff mark, then clean with your regular floor cleaner. This method works on black heel marks and most rubber scuffs.
For more stubborn scuffs, try rubbing alcohol on a clean cloth. Dab the scuff (don’t soak the area), let it sit for a minute, then wipe clean with a damp microfiber cloth.
Food and Beverage Stains
Clean food spills immediately when possible. For dried-on food, place a damp cloth over the spot for a few minutes to soften it, then wipe clean with your regular cleaner.
Red wine, coffee, and juice stains usually respond well to a paste made from baking soda and water. Apply the paste, let it sit for 10 minutes, then wipe clean with a damp cloth.
Ink and Crayon Marks
Isopropyl alcohol works well on ink stains. Apply it to a clean cloth and dab the stain gently. Don’t let the alcohol sit on the floor for extended periods.
For crayon marks, try the heat method. Use a hair dryer on low heat to slightly warm the crayon, then wipe it away with a clean cloth. Follow up with your regular cleaner.
Preventive Maintenance Tips
Preventing damage is always easier than repairing it. A few simple habits will keep your vinyl plank floors looking new for years.
Place doormats at every entrance, both inside and outside. This reduces the amount of dirt and moisture that reaches your floors. Choose mats without rubber backing to avoid staining.
Use furniture pads under all chair legs, table legs, and other heavy furniture. Even small movements can scratch vinyl plank flooring without proper protection.
Trim your pet’s nails regularly. Long nails can scratch the wear layer, especially when pets are running or playing on the floors.
Control humidity levels between 30-50%. While vinyl plank handles moisture better than hardwood, extreme humidity changes can cause expansion and contraction that stresses the joints.
When to Call Professionals
Most vinyl plank cleaning and maintenance falls within the DIY category, but some situations require professional help.
If you have widespread staining from rubber mats or furniture legs, a professional may have specialized products that can minimize the appearance of these stains.
Planks that have lifted, separated, or show signs of water damage underneath need professional assessment. Attempting to fix these issues yourself often makes them worse.
For commercial spaces or homes with extensive square footage, professional cleaning services with vinyl-specific equipment and products might be worth the investment for deep cleaning.
Special Considerations for Different Vinyl Types
Not all vinyl plank flooring is identical. Understanding your specific type helps you choose the best cleaning approach.
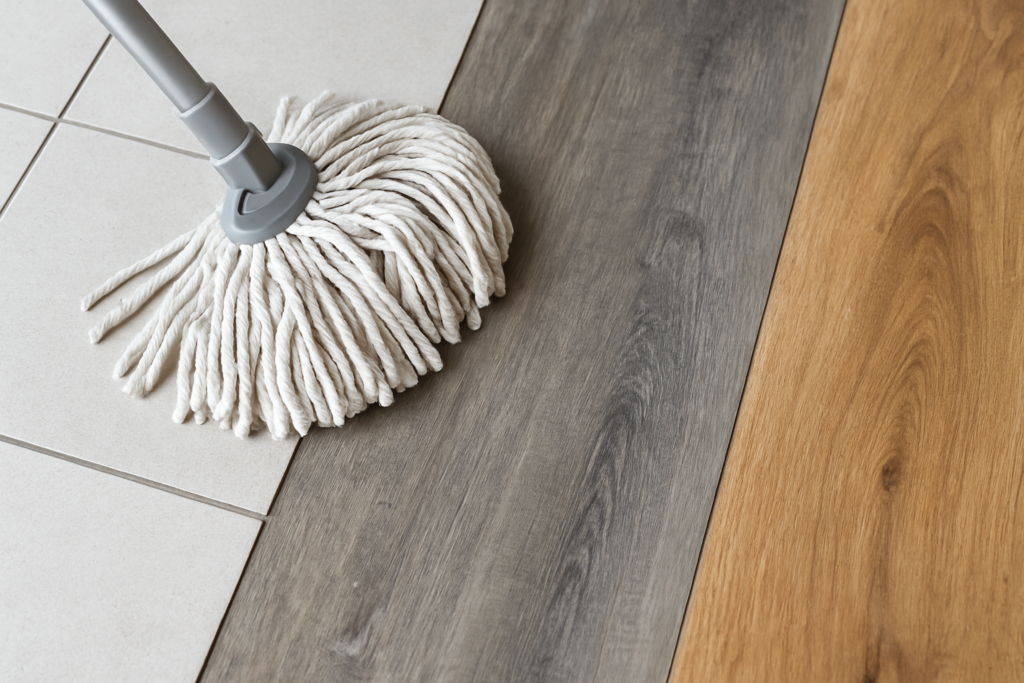
Click-lock floating floors need extra attention around the seams. Avoid getting excess moisture in the joints, as this can cause swelling and separation.
Glue-down vinyl planks typically handle moisture better, but strong solvents can still damage the adhesive bond over time.
Textured vinyl planks require more thorough cleaning since dirt can settle into the texture lines. A soft-bristled brush can help remove embedded dirt without scratching.
OXO Good Grips Deep Clean Brush Set
Soft bristles perfect for textured vinyl without damaging the wear layer
Creating a Maintenance Schedule
Consistency beats intensity when it comes to floor care. Create a simple schedule that fits your lifestyle and stick to it.
Daily: Quick sweep or dust mop in high-traffic areas. Wipe up spills immediately.
Weekly: Thorough dust mopping of all vinyl areas. Damp mop with appropriate cleaner in kitchens, bathrooms, and other areas that see moisture or cooking residue.
Monthly: Move furniture and clean underneath. Check for any developing issues like loose planks or persistent stains.
Seasonally: Deep clean with specialized vinyl cleaner. Inspect and replace furniture pads as needed. Clean or replace entrance mats.
FAQ: Common Vinyl Plank Cleaning Questions
Can I use a Swiffer on vinyl plank flooring?
Yes, Swiffer dry cloths work great for daily dust removal. The wet Swiffer cloths are generally safe too, but check that they don’t contain oils or waxes that can build up over time. Many people find the dry cloths sufficient for regular maintenance.
How do I restore shine to dull vinyl plank floors?
Dullness usually results from cleaning product buildup or micro-scratches. Clean with plain white vinegar solution (1 cup per gallon of water) to remove residue. If the dullness persists, it may be wear layer damage that can’t be reversed. Avoid products that promise to add shine, as they typically create buildup problems.
Is it safe to use Murphy’s Oil Soap on luxury vinyl plank?
Murphy’s Oil Soap can leave an oily residue that attracts dirt and creates a sticky feeling underfoot. While it won’t immediately damage your floors, it’s not the best choice for vinyl plank. Stick with pH-neutral cleaners designed for hard surfaces.
Why do my vinyl floors look cloudy after mopping?
Cloudiness typically comes from using too much cleaning product, not rinsing properly, or using a cleaner that leaves residue. Switch to a no-rinse vinyl floor cleaner and use less product. If cloudiness persists, clean with plain water or diluted vinegar to remove buildup, then return to your regular cleaning routine with proper dilution ratios.
This article contains affiliate links. We may earn a small commission at no extra cost to you.