Nothing ruins the beauty of gorgeous hardwood floors quite like streaky residue or water damage from improper cleaning. You invested in these floors for their timeless elegance, but maintaining that pristine look requires more finesse than you might expect.
Most homeowners make critical mistakes that leave their floors looking worse than before they started cleaning. Soaking the wood with too much water, using harsh chemicals, or choosing the wrong tools can create permanent damage that costs thousands to repair.
The right approach transforms your cleaning routine from a frustrating chore into an efficient process that keeps your hardwood looking showroom-fresh for decades. Let me walk you through the proven techniques that professional floor cleaners use to get streak-free results every single time.
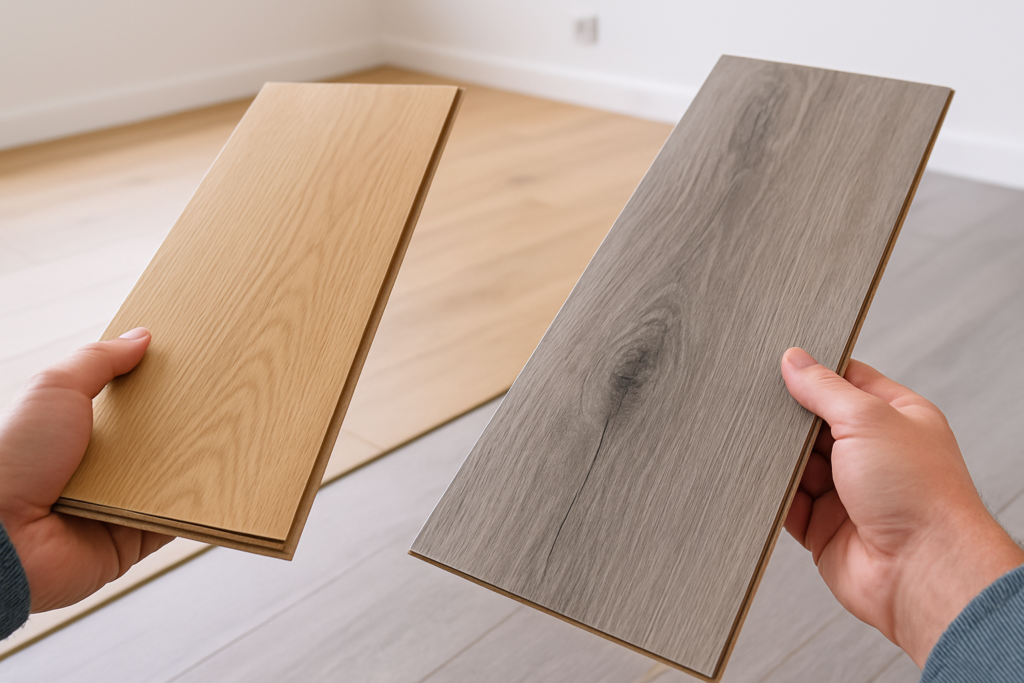
Understanding Your Hardwood Floor Finish
Before you grab any cleaning products, you need to identify what type of finish protects your floors. This determines everything about your cleaning approach.
Most modern hardwood floors have a polyurethane finish, either oil-based or water-based. These create a protective barrier that prevents water and dirt from penetrating the wood itself. You can clean these floors with appropriate cleaners without worrying about damaging the wood underneath.
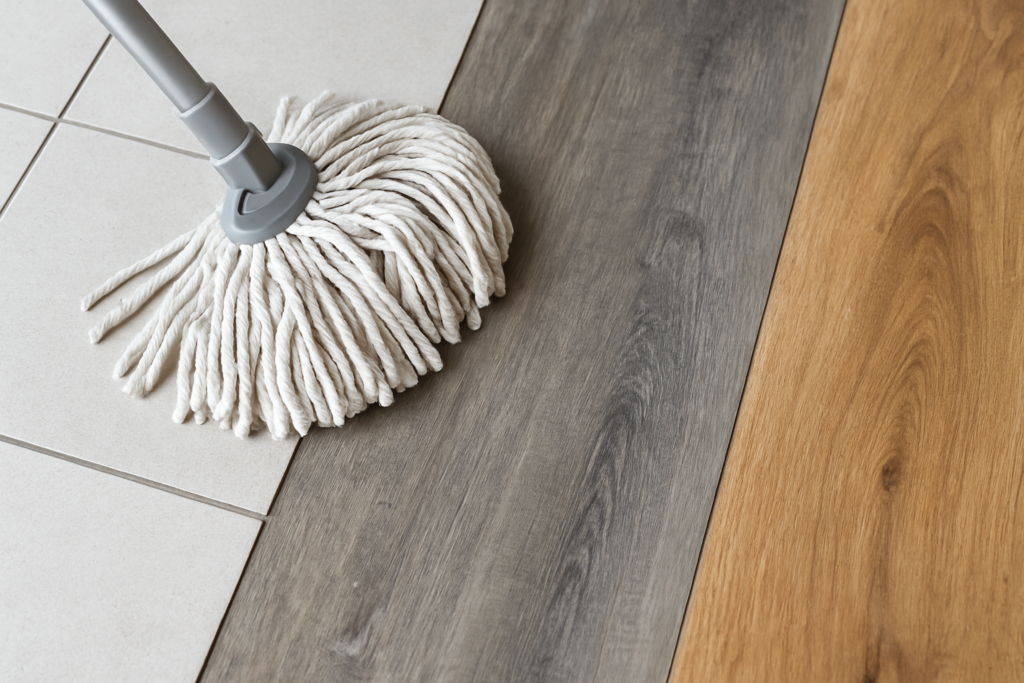
Older floors might have a wax finish or be completely unfinished. These require different care because liquids can soak directly into the wood grain. Test a small, inconspicuous area first by placing a drop of water on the surface. If it beads up, you have a sealed finish. If it soaks in within a few minutes, you’re dealing with unsealed wood.
Essential Tools for Streak-Free Cleaning
Your cleaning tools matter more than the products you use. The wrong mop or cloth will leave streaks no matter how carefully you work.
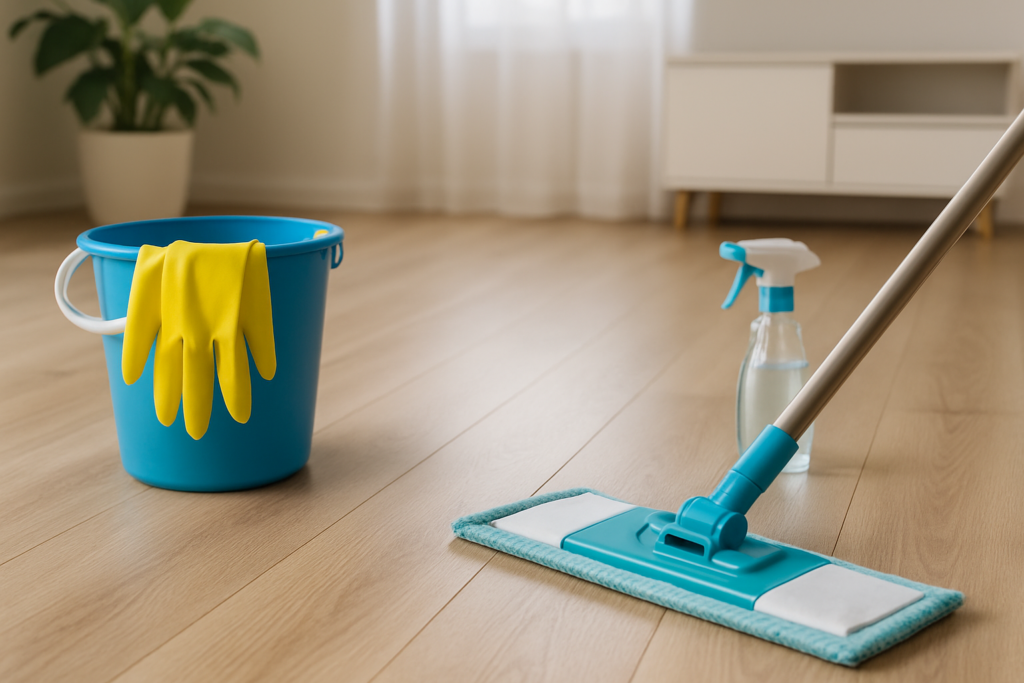
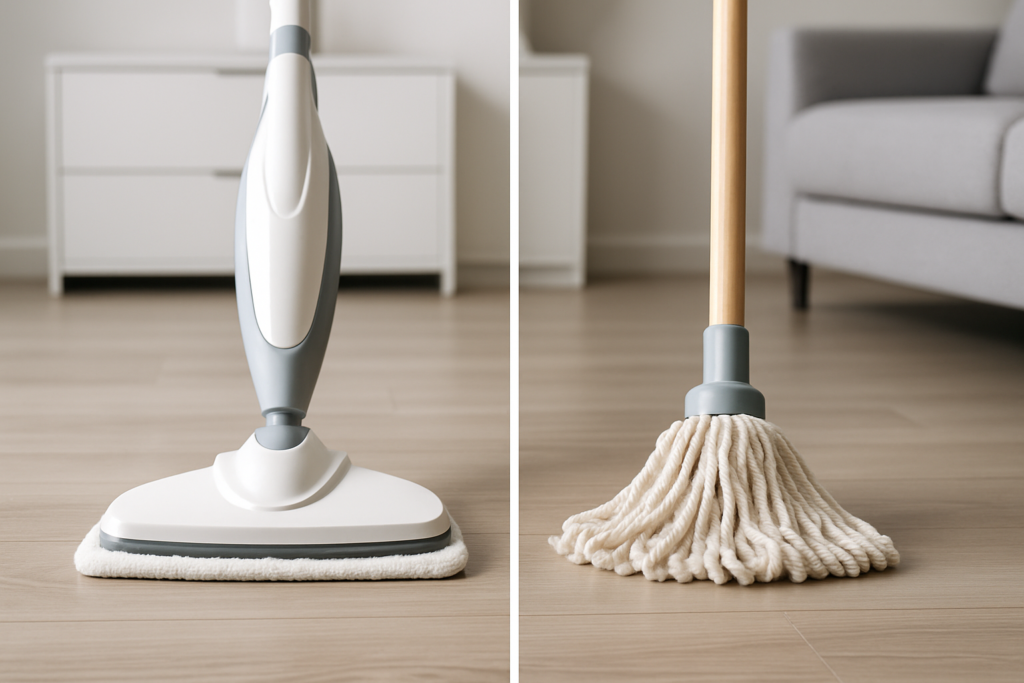
Microfiber Mops Are Your Best Friend
Traditional string mops hold too much water and leave streaky residue. Microfiber spray mops give you precise control over moisture levels while picking up dirt effectively.
The Bona Premium Spray Mop consistently outperforms other options because its microfiber pad wrings out completely and the spray mechanism delivers just the right amount of cleaner. You can find similar quality in the O-Cedar ProMist Max if you prefer a slightly wider cleaning head.
The Right Microfiber Cloths
Keep separate microfiber cloths for different tasks. Use one for applying cleaner, another for drying, and a third for polishing. High-quality microfiber cloths shouldn’t leave lint or require excessive pressure to remove dirt.
Replace your cloths every few months or when they start leaving streaks despite proper washing. Fabric softener destroys microfiber’s cleaning ability, so wash them with regular detergent only.
Choosing the Right Cleaning Products
pH-neutral cleaners protect your floor’s finish while removing dirt effectively. Avoid anything with ammonia, vinegar, or oil-based soaps, which can damage polyurethane finishes over time.
Professional-Grade Options
Bona Hardwood Floor Cleaner remains the gold standard for good reason. It’s specifically formulated for polyurethane finishes, dries quickly without residue, and won’t build up over time. The ready-to-use formula saves you from mixing mistakes that create streaking.
Bruce Hardwood and Laminate Floor Cleaner works equally well and costs slightly less. Both products are GREENGUARD certified, meaning they won’t introduce harmful chemicals into your home’s air.
DIY Cleaning Solutions
You can create an effective cleaner using one cup of distilled water mixed with one tablespoon of dish soap (Dawn works well). Add this to a spray bottle, but test it in a small area first. Some dish soaps contain additives that can leave residue.
Skip the popular vinegar and water mixture. While it won’t immediately damage sealed floors, acidic cleaners gradually break down polyurethane finishes, leading to expensive refinishing projects.
Step-by-Step Cleaning Process
Proper technique prevents streaking and protects your investment. Follow this sequence every time for consistent results.
Daily Maintenance
Sweep or vacuum daily to prevent dirt from scratching the finish. Use a vacuum with a hardwood floor attachment or ensure the beater bar is turned off. Grit acts like sandpaper under foot traffic, creating permanent damage that cleaning can’t fix.
Place doormats at every entrance and encourage family members to remove shoes. This single habit eliminates 80% of the dirt that would otherwise reach your floors.
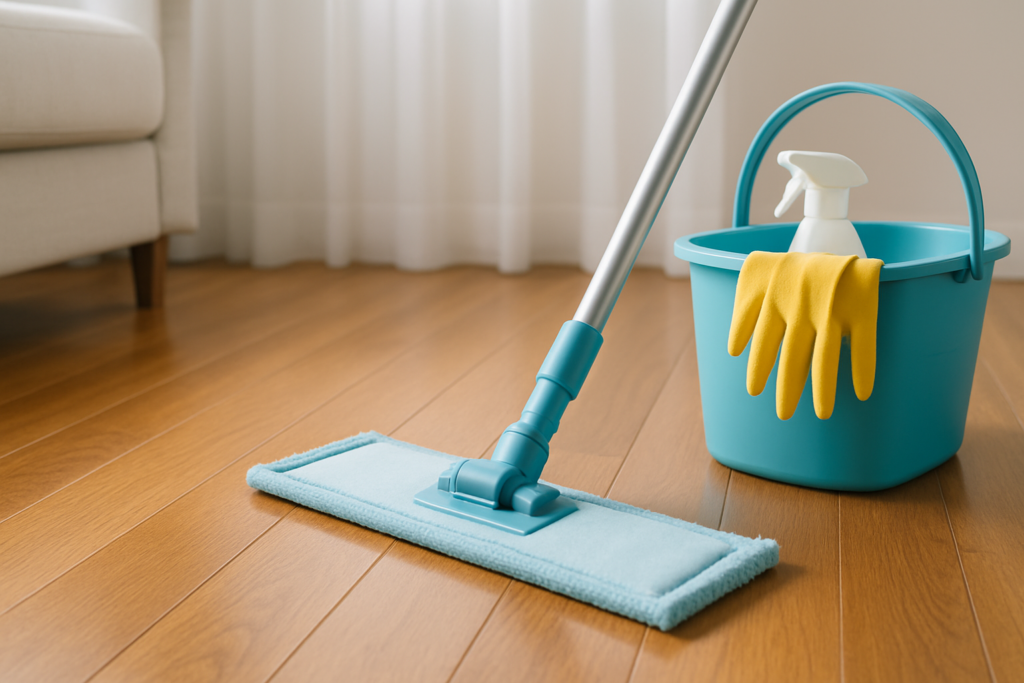
Weekly Deep Cleaning
Start by removing all loose dirt with a microfiber dust mop or vacuum. Any grit left behind will create streaks when you introduce moisture.
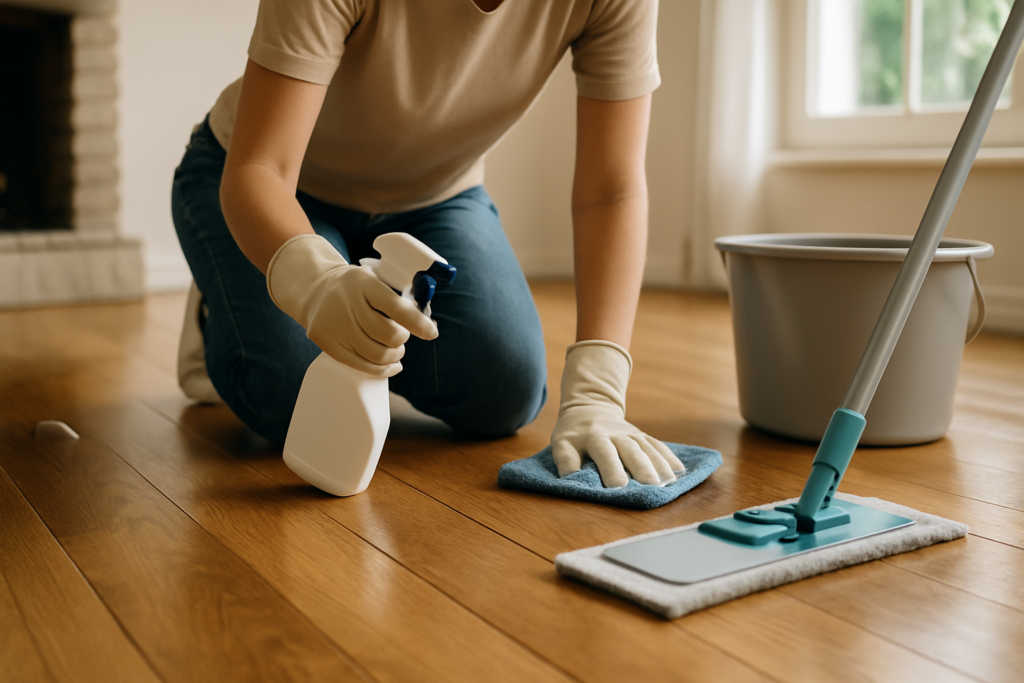
Spray your cleaner onto the floor in 4-foot sections, not onto the mop. This prevents over-wetting and gives you better control over coverage. Work the mop in the direction of the wood grain, using smooth, overlapping strokes.
Follow immediately with a dry microfiber cloth to remove any remaining moisture. This step is crucial for preventing streaks and water spots. Don’t let the cleaner air dry, as this almost always leaves residue.
Monthly Maintenance
Once a month, clean your floors with distilled water only to remove any product buildup. Even the best cleaners can accumulate over time, creating a dull film that attracts dirt.
Check for any areas showing wear or damage. Catching problems early saves money and prevents small issues from becoming major repairs.
Avoiding Common Cleaning Mistakes
Most streaking problems come from these easily avoidable errors that even experienced homeowners make regularly.
Using Too Much Water
Water is hardwood’s biggest enemy. Excess moisture seeps between boards, causing cupping, warping, and permanent damage. Your mop should be barely damp, never soaking wet.
Wipe up spills immediately, especially around pet water bowls and plant containers. Standing water can penetrate even sealed floors within hours.
Wrong Product Choices
All-purpose cleaners often contain ammonia or other harsh chemicals that strip floor finishes. Murphy’s Oil Soap, despite its popularity, leaves an oily residue that attracts dirt and creates streaking.
Steam mops generate too much heat and moisture for hardwood floors. The manufacturers who claim they’re safe are protecting themselves legally, not your floors.
Cleaning Against the Grain
Always move your mop parallel to the wood planks, not across them. Cleaning against the grain highlights every streak and can push dirt into the wood joints.
Seasonal Maintenance Tips
Your floors need different care throughout the year as humidity and temperature changes affect the wood.
Spring Cleaning
Spring brings higher humidity and more foot traffic from outdoor activities. Increase your cleaning frequency and pay special attention to entryways where mud and moisture accumulate.
This is also the perfect time to evaluate your floor’s condition and schedule any professional maintenance before summer humidity peaks.
Summer Care
High humidity can cause wood to expand and create gaps between boards. Focus your cleaning efforts on these gaps where dirt and debris collect.
Use your air conditioning to maintain consistent humidity levels between 30-50%. Extreme humidity swings cause more damage than any cleaning mistake.
Fall Preparation
As leaves fall and weather turns wet, upgrade your doormat system. Place mats both outside and inside every entrance to catch moisture before it reaches your floors.
Consider applying a fresh coat of floor polish if your finish is looking worn. Fall application protects your floors through the challenging winter months.
Winter Protection
Winter’s dry air can cause wood to shrink and crack. Run a humidifier to maintain proper moisture levels, but monitor it carefully to avoid over-humidifying.
Salt and ice melt tracked in from outside can damage floors and leave white residue. Clean these deposits immediately with a damp cloth, then dry thoroughly.
Troubleshooting Streaking Issues
When streaks appear despite following proper techniques, the problem usually lies in one of these areas.
Product Buildup
Layers of cleaning product create a filmy surface that attracts dirt and appears streaky. Strip this buildup using a solution of one cup white vinegar in one gallon of warm water, applied once and rinsed thoroughly with clean water.
After removing buildup, return to pH-neutral cleaners and reduce the amount you’re using. A little goes a long way with quality products.
Hard Water Spots
Minerals in tap water leave spots that look like streaks. Switch to distilled water for your final rinse, especially if you live in an area with hard water.
Install a water softener if hard water affects multiple areas of your home. The investment pays off in reduced cleaning time and better results across all surfaces.
Worn Floor Finish
Sometimes what looks like streaking is actually worn finish that no longer provides uniform protection. High-traffic areas often wear first, creating uneven absorption of cleaning products.
Professional refinishing becomes necessary when cleaning can’t restore your floors’ appearance. Address this sooner rather than later to prevent damage to the wood itself.
Frequently Asked Questions
How often should I deep clean my hardwood floors?
Clean high-traffic hardwood floors weekly and low-traffic areas every two weeks. Daily sweeping or vacuuming matters more than frequent wet cleaning. Over-cleaning with liquid products can actually damage floors faster than occasional deep cleaning.
Can I use a steam mop on sealed hardwood floors?
Never use steam mops on hardwood floors, even sealed ones. The heat and moisture can penetrate between boards and damage both the finish and the wood underneath. Stick to damp mopping with appropriate cleaners for the longest floor life.
What should I do if water gets under my hardwood floors?
Address water damage immediately by removing standing water and running fans to dry the area completely. Contact a flooring professional within 24 hours if you notice buckling, cupping, or discoloration. Quick action can often prevent the need for board replacement.
Why do my floors look dull after cleaning?
Dull floors usually indicate product buildup or a worn finish. Try cleaning with distilled water only to remove residue. If dulling persists, your floor finish may need professional attention or refinishing to restore its original luster.
This article contains affiliate links. We may earn a small commission at no extra cost to you.