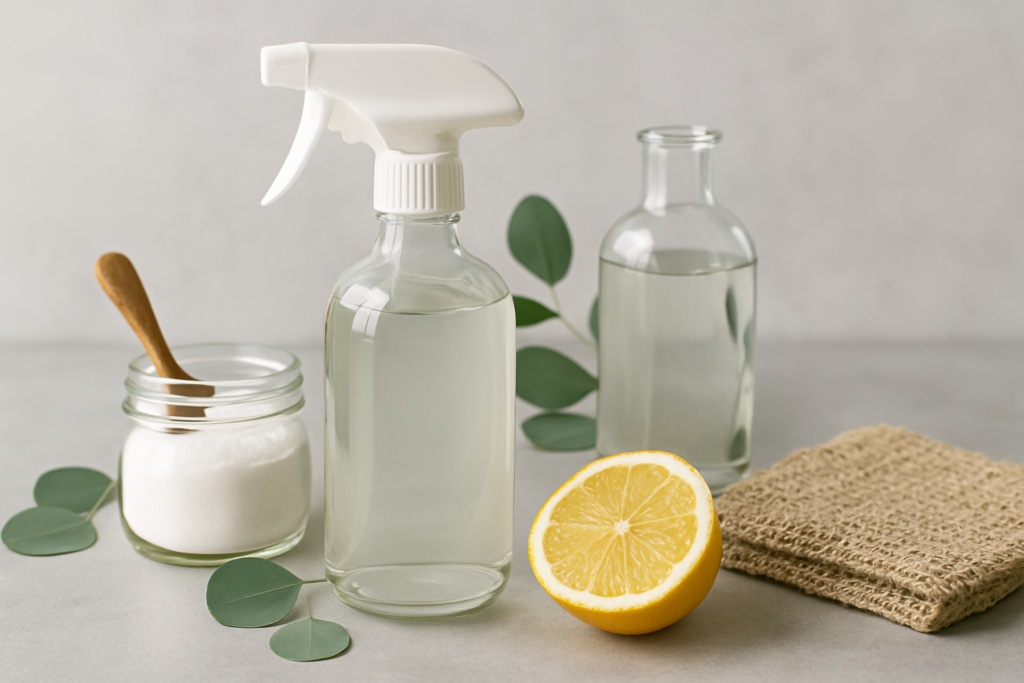
Grout cleaning doesn’t have to mean filling your home with toxic fumes or harsh chemicals that could damage your tiles. The tiny spaces between your tiles collect dirt, soap scum, and grime like magnets, but you can tackle even the most stubborn stains using common household items that are safer for your family and pets.
The best part about natural grout cleaning methods is that they’re not only gentler on your health but often work just as effectively as their chemical counterparts. Plus, you probably already have most of these ingredients sitting in your pantry or medicine cabinet right now.
Why Natural Grout Cleaning Methods Work Better
Commercial grout cleaners often contain bleach, ammonia, or other harsh acids that can actually break down your grout over time. These chemicals might give you immediate results, but they’re slowly eating away at the cement-based material that holds your tiles in place.
Natural cleaning methods work by using gentle abrasives and mild acids that break down stains without damaging the grout itself. They’re particularly effective because they target the specific types of buildup commonly found in bathrooms and kitchens: soap residue, mineral deposits, and organic matter like mold and mildew.
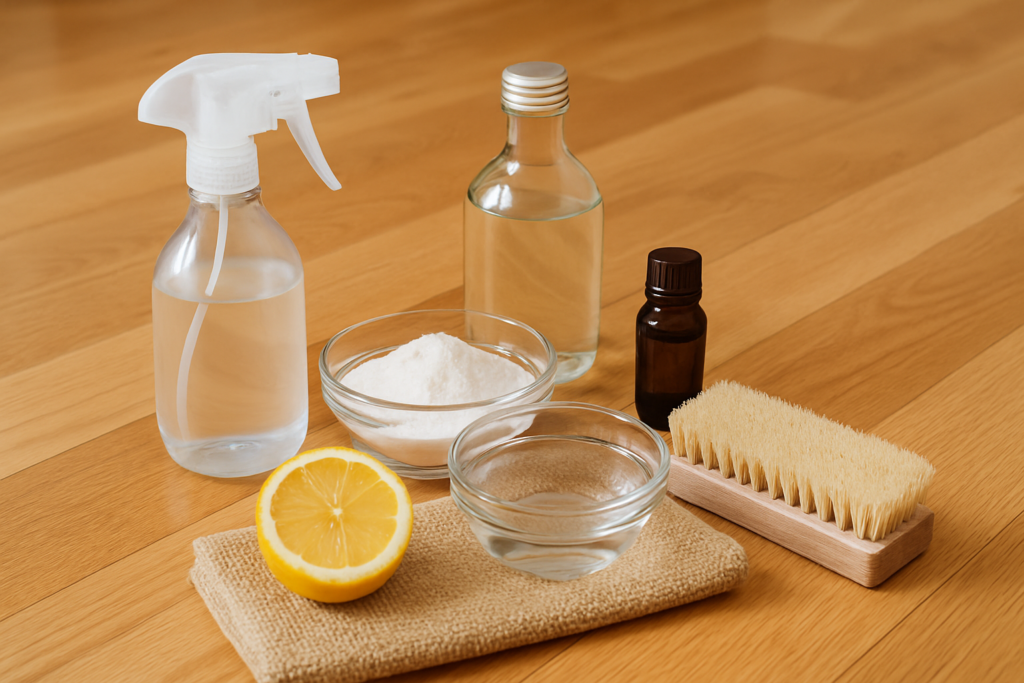
Essential Tools for Natural Grout Cleaning
Before diving into specific cleaning methods, you’ll need the right tools to make your efforts effective. The wrong brush can scratch your tiles, while the right one makes even tough stains disappear with minimal effort.
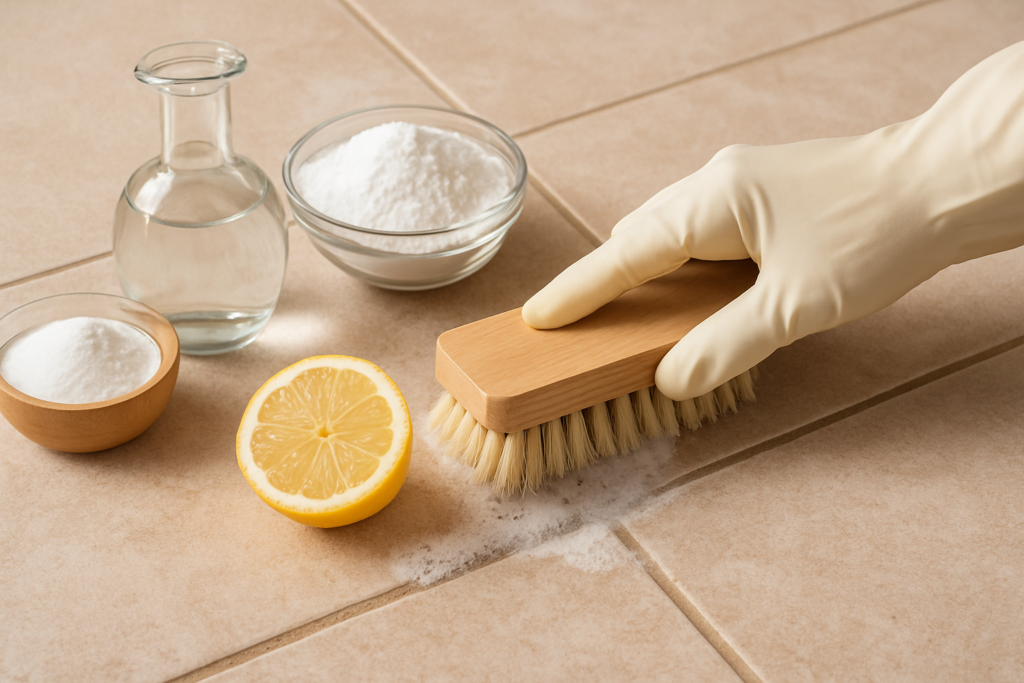
A quality grout brush is your most important tool. Look for one with firm but not overly stiff bristles. Old toothbrushes work in a pinch, but dedicated grout brushes have angled heads that fit better into grout lines.
You’ll also want microfiber cloths for wiping away cleaning solutions, a spray bottle for applying liquid cleaners, and rubber gloves to protect your hands. Even natural cleaners can dry out your skin with repeated exposure.
Choosing the Right Brush for Your Grout Type
Sanded grout (the rough, textured kind) can handle slightly more aggressive brushing than unsanded grout. If you’re not sure which type you have, err on the side of caution and use gentler pressure.
Epoxy grout, which is becoming more common in newer homes, is non-porous and cleans more easily than traditional cement-based grout. You can use slightly more acidic solutions on epoxy grout without worry.
Method 1: Baking Soda and Water Paste
This is the gentlest method and your best starting point for regular maintenance cleaning. Baking soda works as a mild abrasive while also neutralizing odors and breaking down greasy buildup.
Mix three parts baking soda with one part water to create a thick paste. The consistency should be similar to toothpaste, thick enough to stick to vertical surfaces but spreadable.
Apply the paste directly to the grout lines using your finger or a small brush. Let it sit for 10-15 minutes to give the baking soda time to work on the stains. Then scrub gently with your grout brush in circular motions.
Rinse thoroughly with clean water and wipe dry with a microfiber cloth. This method works particularly well for light stains and regular maintenance cleaning.
Method 2: White Vinegar Solution
White vinegar’s acetic acid makes it excellent for dissolving mineral deposits and soap scum. However, avoid using vinegar on natural stone tiles like marble or granite, as the acid can etch the surface.
Create a 50/50 solution of white vinegar and warm water in a spray bottle. Spray the solution directly onto the grout lines and let it sit for 5-10 minutes. The vinegar will start breaking down the buildup immediately.
Scrub with your grout brush, paying extra attention to heavily stained areas. You might hear a slight fizzing sound, which means the acid is working on mineral deposits.
Rinse thoroughly with clean water. The vinegar smell will dissipate as it dries, but you can speed up the process by opening windows or running a fan.
Method 3: Hydrogen Peroxide Power Clean
Hydrogen peroxide works differently than the previous methods. Instead of using acid or abrasion, it uses oxidation to break down organic stains like mold, mildew, and soap scum. This makes it particularly effective in bathrooms.
Use 3% hydrogen peroxide (the kind you find in the first aid section). You can use it straight from the bottle or dilute it slightly with water for lighter cleaning jobs.
Spray or apply the hydrogen peroxide directly to the grout lines. You’ll often see it foam up on contact with organic matter, which is exactly what you want. Let it work for 10-15 minutes before scrubbing.
The oxidizing action does most of the work, so you won’t need to scrub as aggressively as with other methods. Rinse thoroughly and dry with a clean cloth.
Method 4: The Baking Soda and Vinegar Combination
When you combine baking soda and vinegar, you get a fizzing reaction that helps lift stains from grout lines. This method is more aggressive than using either ingredient alone, making it perfect for stubborn stains.
Start by applying the baking soda paste from Method 1 to your grout lines. While the paste is still on the surface, spray it with the vinegar solution from Method 2. The immediate fizzing reaction helps break up embedded dirt and stains.
Let the mixture work for 15-20 minutes, then scrub with your grout brush. The combination creates a slightly abrasive action that’s still gentler than commercial cleaners.
This method can be messy due to the fizzing action, so work in small sections and have plenty of towels ready. Rinse thoroughly when finished.
Method 5: Hydrogen Peroxide and Baking Soda Paste
This combination gives you the oxidizing power of hydrogen peroxide with the gentle abrasive action of baking soda. It’s particularly effective against mold and mildew stains that have penetrated deep into the grout.
Mix baking soda with just enough hydrogen peroxide to create a paste. The mixture should be thicker than the water-based paste but still spreadable. Apply this paste directly to stained grout lines.
Cover the treated area with plastic wrap or a damp cloth to prevent the hydrogen peroxide from evaporating too quickly. Let it sit for 30 minutes to an hour for tough stains.
Scrub gently and rinse thoroughly. This method often produces dramatic results on grout that hasn’t been cleaned in months or years.
Method 6: Steam Cleaning with Natural Additives
If you have a steam cleaner, you can boost its effectiveness by adding natural ingredients to the cleaning process. Steam alone loosens dirt and kills bacteria without chemicals, but combining it with natural cleaners creates an even more powerful system.
First, apply one of the paste methods above to your grout lines. Then use your steam cleaner’s grout attachment to work over the treated areas. The heat helps the natural cleaners penetrate deeper while the steam pressure removes loosened debris.
This method requires the most equipment but produces the most thorough results. It’s particularly effective for annual deep cleaning sessions.
Follow up by wiping the area with a microfiber cloth to remove any residue. The steam heat will help everything dry quickly, reducing the chance of new mold growth.
Safety Considerations for Natural Cleaning
Even though these methods use natural ingredients, you should still take basic safety precautions. Always wear gloves when working with any cleaning solution, as repeated exposure can irritate your skin.
Never mix different cleaning solutions in the same container. While the combinations mentioned above are safe when mixed fresh, storing mixed solutions can create unexpected chemical reactions.
Ensure adequate ventilation when cleaning, especially when using vinegar or hydrogen peroxide. While these aren’t as harsh as commercial cleaners, good airflow makes the job more comfortable and helps everything dry faster.
Test any new cleaning method on a small, inconspicuous area first. This is particularly important if you have colored grout or natural stone tiles.
Maintaining Clean Grout Long-Term
The best grout cleaning strategy is prevention. Regular maintenance with these natural methods keeps stains from setting in and makes deep cleaning sessions much easier.
Wipe down tiled surfaces after each use, especially in showers. This removes soap residue and mineral deposits before they can penetrate the grout. Keep a squeegee in your shower for quick water removal.
Apply a baking soda paste to grout lines once a week for regular maintenance. This prevents buildup and keeps your grout looking fresh between deep cleaning sessions.
Consider sealing your grout annually with a natural, water-based sealer. This creates a barrier that prevents stains from penetrating while still allowing the grout to breathe.
Frequently Asked Questions
How often should I clean my grout with natural methods?
For regular maintenance, clean grout weekly with a simple baking soda paste. Do a deeper cleaning with the vinegar or hydrogen peroxide methods monthly, or whenever you notice staining. High-use areas like shower floors may need attention more frequently.
Can these natural methods damage my tiles or grout?
These natural methods are much gentler than commercial cleaners and won’t damage properly installed grout when used correctly. However, avoid vinegar on natural stone tiles like marble or travertine. Always test in an inconspicuous area first if you’re unsure about your tile type.
What should I do if natural methods don’t remove all the stains?
For extremely stubborn stains, try the hydrogen peroxide and baking soda paste method with a longer contact time (up to 2 hours under plastic wrap). If stains still persist, the grout may be permanently discolored and might need professional restoration or replacement.
Are these natural cleaning methods safe around children and pets?
Yes, these natural ingredients are much safer than commercial cleaners. However, you should still keep pets and small children away from freshly cleaned areas until everything is rinsed and dried. Store all cleaning ingredients, even natural ones, out of reach of children.
This article contains affiliate links. We may earn a small commission at no extra cost to you.