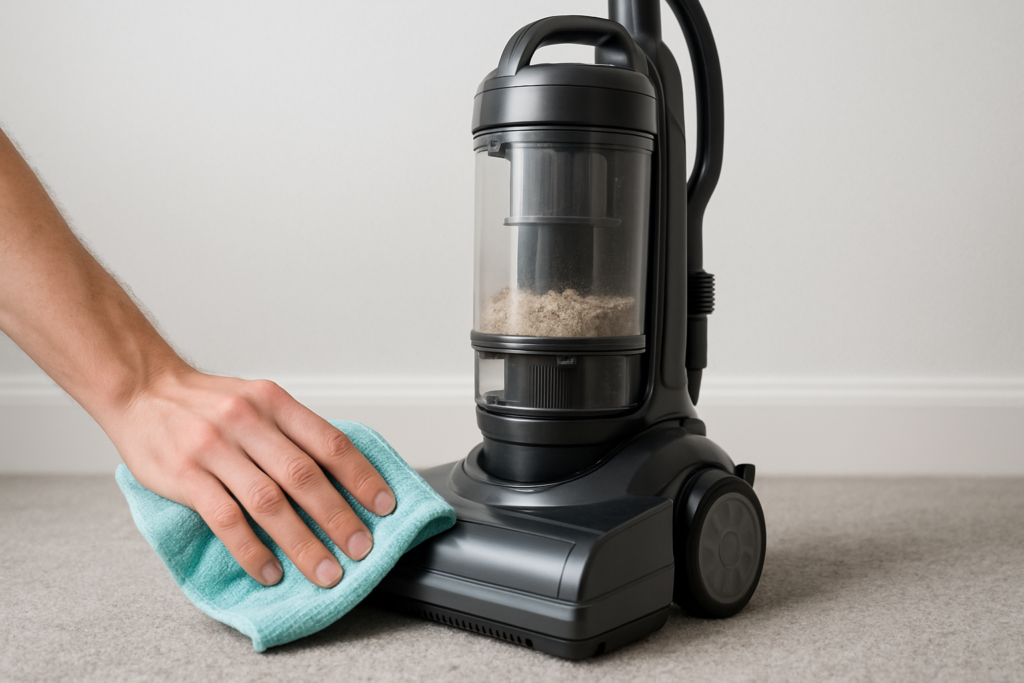
Your vacuum cleaner works hard to keep your home spotless, but when was the last time you showed it some love? Most people run their vacuums until they break down, then wonder why replacement costs are so high. The truth is, a little regular maintenance can extend your vacuum’s life by years and save you hundreds of dollars in repairs and premature replacements.
Think of vacuum maintenance like changing your car’s oil. Skip it, and you’ll face expensive consequences. But invest just 15-20 minutes monthly in basic upkeep, and your vacuum will reward you with better suction, cleaner air, and reliable performance for years to come.
Whether you own a bagless canister, upright bagged model, or robot vacuum, these maintenance fundamentals apply to virtually every machine. Let’s explore the essential tasks that will keep your vacuum running like new.
Understanding Your Vacuum’s Key Components
Before diving into maintenance tasks, you need to know what you’re working with. Every vacuum has four critical components that require regular attention: the filtration system, drive belt, brush roll, and debris collection system.
The filtration system captures dust and allergens, preventing them from recirculating through your home. Most modern vacuums use HEPA filters or multi-stage filtration that includes pre-filters, motor filters, and exhaust filters. These components get clogged over time, reducing suction and forcing your motor to work harder.
Your vacuum’s drive belt connects the motor to the brush roll, enabling the spinning action that lifts dirt from carpets. Belts stretch, crack, and eventually snap from normal use. The brush roll itself collects hair, string, and debris that can bind the bristles and reduce cleaning effectiveness.
Filter Cleaning and Replacement
Dirty filters are the number one cause of reduced vacuum performance. Most people don’t realize their vacuum has multiple filters, each serving a specific purpose in the cleaning process.
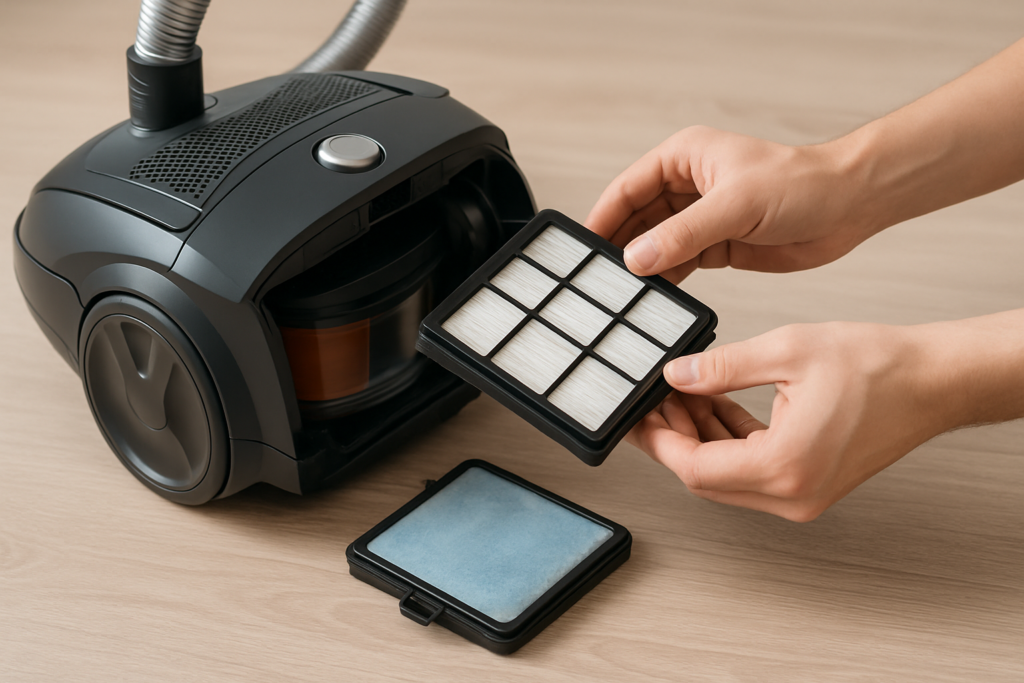
Pre-Filters and Foam Filters
Pre-filters catch larger debris before it reaches your main filter. These washable foam or fabric filters should be cleaned monthly. Remove them according to your manual’s instructions, rinse with cool water, and let them air dry completely before reinstalling. Never put wet filters back into your vacuum, as moisture can damage the motor.
For heavily used vacuums, you might need to clean pre-filters every two weeks. Pet owners should check these filters weekly, as pet hair and dander can clog them quickly.
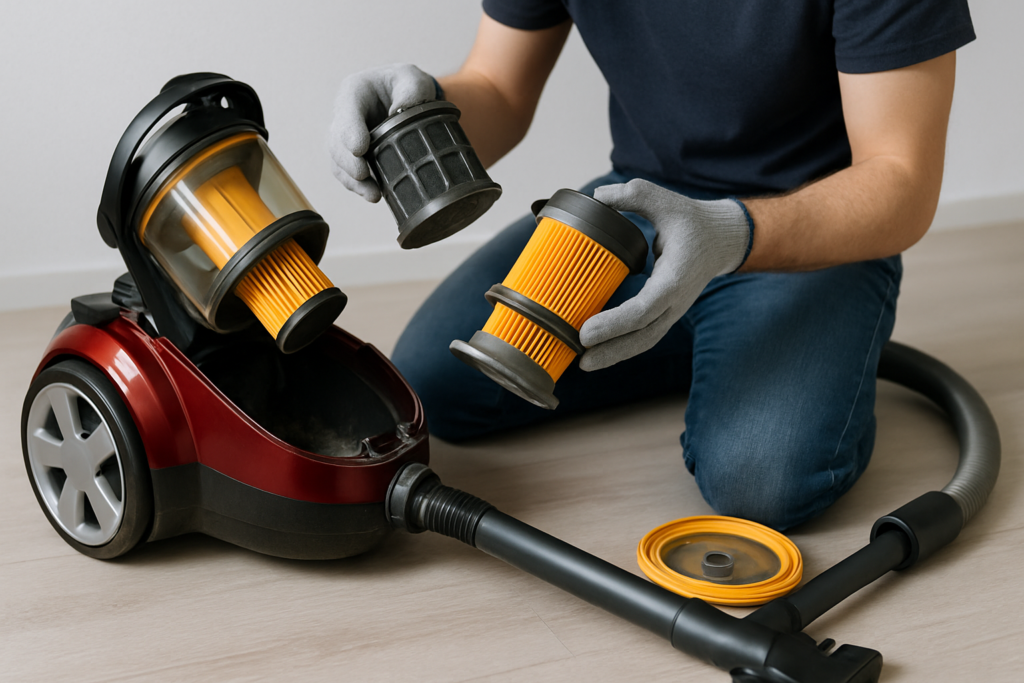
HEPA and Main Filters
HEPA filters require more careful handling. Some are washable, others need replacement every 6-12 months. Check your owner’s manual to determine which type you have. Washable HEPA filters should be rinsed monthly and replaced annually, even with proper cleaning.
Non-washable HEPA filters should be tapped gently to remove surface dust every month and replaced when they appear discolored or damaged. A clogged HEPA filter can reduce suction by up to 50% and strain your motor.
Filtrete Vacuum Filter Replacement Pack
Universal replacement filters that fit most major vacuum brands with excellent filtration performance
Motor and Exhaust Filters
These filters protect your vacuum’s motor and ensure clean air output. Motor filters typically need replacement every 3-6 months, while exhaust filters can last 6-12 months depending on usage. Both are usually inexpensive but critical for your vacuum’s longevity.
Drive Belt Inspection and Replacement
A broken or stretched belt will stop your brush roll from spinning, making carpet cleaning nearly impossible. Most people only discover belt problems when their vacuum suddenly stops picking up debris effectively.
Signs Your Belt Needs Attention
Listen for changes in your vacuum’s sound. A high-pitched squealing often indicates a stretched belt slipping on the motor shaft. If your brush roll isn’t spinning when you engage it, the belt has likely snapped completely.
Visual inspection reveals a lot too. Remove your vacuum’s bottom plate or brush roll housing to examine the belt. Look for cracks, stretching, or glazed surfaces that indicate wear. A healthy belt should feel firm and maintain its shape.
Belt Replacement Process
Replacing a vacuum belt is simpler than most people think. First, unplug your vacuum and remove the bottom plate or access panel. Lift out the brush roll and slip off the old belt. Clean any debris from the belt area before installing the new belt.
Thread the new belt over the motor shaft first, then stretch it over the brush roll. The belt should feel snug but not overly tight. Reinstall the brush roll, ensuring it spins freely before replacing the cover.
Genuine Shark Navigator Belt 2-Pack
OEM quality belts that maintain proper tension and last longer than generic alternatives
Replace belts every 6-12 months for average use, or every 3-6 months if you vacuum daily or have multiple pets. Keep a spare belt handy so you’re not caught off guard by unexpected failure.
Brush Roll Maintenance
Your brush roll takes a beating, collecting hair, string, carpet fibers, and debris with every pass. This buildup doesn’t just look unsightly; it prevents proper cleaning and can damage the brush bearings over time.
Regular Cleaning Routine
Remove hair and string from your brush roll weekly, or after every few uses if you have long-haired family members or pets. Use scissors to cut away wound-up hair, working carefully to avoid damaging the bristles.
A seam ripper works better than scissors for removing stubborn tangles. Start at one end of the brush and work methodically across its length. Some brush rolls have indicator lines showing where to cut safely.
Deep Cleaning
Monthly deep cleaning involves removing the entire brush roll and washing it. Most brush rolls can be rinsed with warm water and mild soap. Scrub gently with an old toothbrush to remove embedded dirt and debris.
Pay attention to the brush bearings and end caps. These areas collect fine dust that can cause the brush to bind or wear prematurely. Clean them with a damp cloth and ensure they’re completely dry before reassembly.
When to Replace
Brush rolls don’t last forever. Replace yours when bristles become significantly shortened, bent, or missing. A worn brush roll won’t agitate carpet effectively, reducing your vacuum’s cleaning performance.
Most brush rolls last 1-2 years with proper maintenance. Heavy-use vacuums or those used primarily on carpet may need replacement annually.
Bag and Canister Maintenance
How you handle your vacuum’s debris collection system directly impacts suction power and air quality. Both bagged and bagless systems require specific maintenance approaches.
Bagged Vacuum Maintenance
Change bags when they’re 2/3 full, not completely packed. An overstuffed bag restricts airflow and reduces suction significantly. The “bag full” indicator isn’t always accurate, especially with fine dust that can trigger the sensor prematurely.
Inspect the bag compartment each time you change bags. Vacuum out any debris that’s escaped and check for tears in the housing that might let dust bypass the bag.
Store replacement bags in a dry location. Humidity can weaken bag seals and cause premature failure. Buy bags in reasonable quantities; old bags may not seal properly even if they look fine.
Miele AirClean FilterBags Type U
Premium multi-layer bags that maintain suction longer and provide superior filtration compared to generic alternatives
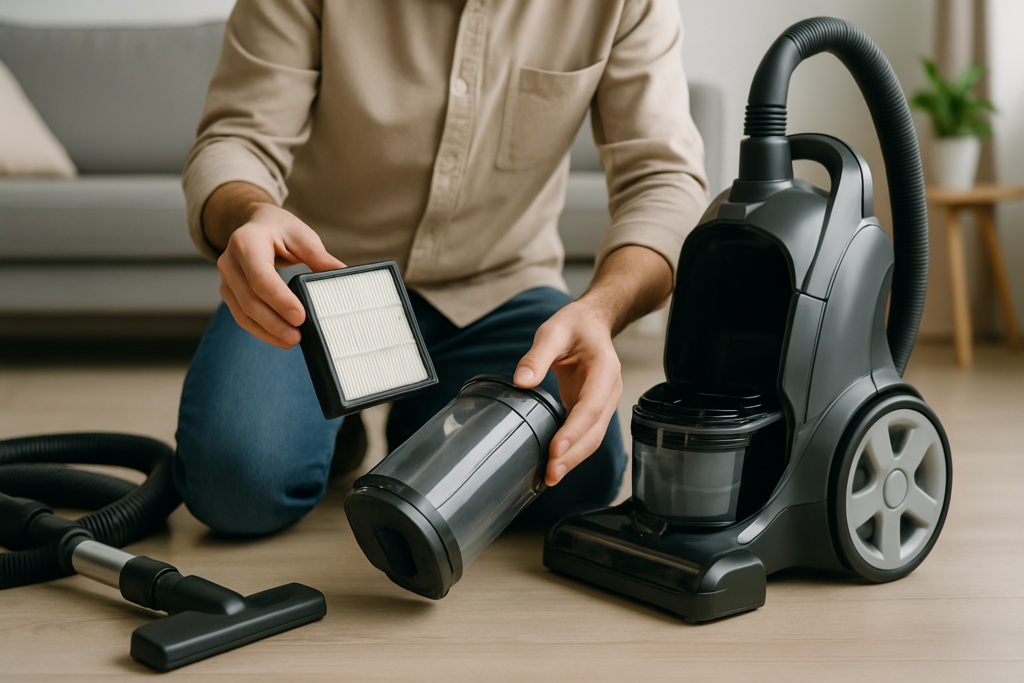
Bagless Canister Care
Empty bagless canisters when debris reaches the “max fill” line, typically after every 2-3 uses. Don’t wait until the canister is completely full, as this reduces suction and can damage internal components.
Wash the canister monthly with warm, soapy water. Remove all detachable parts and clean them separately. Pay special attention to the cyclone assembly, where fine dust often accumulates.
Check the canister seals regularly. Cracked or warped seals allow air leaks that reduce suction. Most manufacturers sell replacement seal kits for older vacuums.
Creating a Maintenance Schedule
Consistency is key to effective vacuum maintenance. Create a simple schedule that fits your usage patterns and stick to it.
After Every Use
Empty the bag or canister if it’s more than half full. Check for obvious clogs in the hose or attachments. Wind the cord properly to prevent damage.
Weekly Tasks
Remove hair and debris from the brush roll. Check the brush for proper spinning action. Inspect the hose for clogs or damage.
Monthly Maintenance
Clean or replace pre-filters. Wash the canister if you have a bagless model. Deep clean the brush roll. Check belt condition and tension.
Every 3-6 Months
Replace motor filters and drive belts. Clean or replace HEPA filters according to manufacturer guidelines. Inspect all seals and gaskets for wear.
Annual Tasks
Replace brush rolls if worn. Service or replace the main motor filter. Check all electrical connections for wear or damage. Consider professional servicing for high-end models.
Warning Signs Your Vacuum Needs Attention
Don’t wait for complete failure. Watch for these early warning signs that indicate maintenance needs.
Performance Issues
Reduced suction is the most obvious sign of maintenance needs. If your vacuum isn’t picking up debris like it used to, start with the basics: empty the bag or canister, clean the filters, and check for clogs.
Strange odors during operation often indicate clogged filters or trapped debris. Pet owners frequently encounter this when hair blocks airflow through the system.
Mechanical Problems
Unusual noises suggest mechanical wear or damage. Squealing indicates belt problems. Grinding sounds might mean debris is stuck in the brush roll or motor housing.
Visible dust escaping from the vacuum during operation indicates filter failure or poor sealing. This not only reduces cleaning effectiveness but also degrades indoor air quality.
Bissell Vacuum Maintenance Kit
Complete kit with belts, filters, and cleaning tools for most Bissell models, making maintenance simple and cost-effective
Electrical Issues
Intermittent operation or failure to start can indicate cord damage or internal electrical problems. Inspect the cord regularly for cracks or exposed wires. Replace damaged cords immediately for safety.
Motors that run hot or shut off unexpectedly often suffer from restricted airflow due to clogged filters or blocked passages. Address airflow issues before they cause permanent motor damage.
Cost-Saving Tips
Regular maintenance saves money, but smart purchasing decisions multiply those savings.
Buy filters and belts in multi-packs when possible. Unit costs drop significantly with quantity purchases, and you’ll always have spares available. Store extra parts in a labeled container near your vacuum storage area.
Generic parts work fine for many applications, but stick with OEM parts for critical components like HEPA filters and drive belts. The small price difference often translates to significantly better performance and longevity.
Learn to recognize when professional service makes sense. Simple belt and filter replacements are easy DIY tasks, but motor repairs or electrical issues require professional attention. Attempting complex repairs yourself can void warranties and create safety hazards.
Frequently Asked Questions
How often should I replace vacuum filters?
Pre-filters should be cleaned monthly and replaced every 6-12 months. HEPA filters need replacement every 6-12 months depending on usage, while motor filters typically last 3-6 months. Heavy use, pets, or dusty conditions may require more frequent replacement.
Why does my vacuum smell bad even after cleaning?
Persistent odors usually indicate trapped debris in hard-to-reach areas or mold growth in damp components. Check the hose thoroughly for clogs, ensure all washed parts are completely dry before reassembly, and consider replacing old filters that may have absorbed odors permanently.
Can I wash all vacuum filters?
Not all filters are washable. Check your owner’s manual to identify which filters can be washed and which need replacement. Generally, foam pre-filters and some HEPA filters are washable, while paper filters and certain synthetic filters are not. Never wash filters unless specifically approved by the manufacturer.
How do I know if my vacuum belt is the right size?
Vacuum belts are model-specific. Check your owner’s manual for the correct part number, or remove the old belt and measure its length and width. Most belts have part numbers printed on them. Using the wrong size belt can damage your vacuum’s motor or brush assembly.
This article contains affiliate links. We may earn a small commission at no extra cost to you.