Your pantry has potential, but right now it’s probably stressing you out. Between expired cans hiding in the back, cereal boxes toppling over, and that mysterious container of something you bought three months ago, finding what you need feels like an archaeological dig.
The solution isn’t buying more organizers or cramming everything into clear containers. You need a system that actually works with your cooking habits and space constraints. This ten-step approach will transform your pantry from chaos central into a functional space that saves you time, money, and daily frustration.
Skip the Pinterest-perfect pantry photos and focus on building something sustainable. You’ll learn exactly how to categorize your items, choose the right storage solutions, and maintain order without turning into a full-time pantry curator.
Step 1: Empty Everything and Start Fresh
Pull every single item out of your pantry. Yes, everything. This includes items tucked behind other things, forgotten condiments, and that bag of flour from 2019. Place everything on your kitchen counters, dining table, or wherever you have space.
While you’re emptying shelves, wipe down every surface with a damp cloth. Check for crumbs, spills, or any signs of pests. This is also the perfect time to assess your shelf spacing and see if adjustments could create more usable space.
Take photos of the empty pantry from different angles. You’ll use these later to plan your new layout and remember what worked before you started this process.
Step 2: Sort Items Into Clear Categories
Create distinct piles for each category of food and supplies. Start with these basic groups: baking supplies, canned goods, grains and pasta, snacks, condiments and sauces, breakfast items, and cleaning supplies.
Don’t overthink the categories at this stage. Put similar items together and let natural groupings emerge. You might discover you have enough hot sauce to stock a restaurant or realize you’ve been buying the same spice repeatedly.
Check expiration dates as you sort. Toss anything that’s clearly expired, but don’t be too rigid about “best by” dates on shelf-stable items that look and smell fine. Create a separate pile for items approaching expiration that you’ll use first.
Check What You Actually Use
Be honest about your cooking habits. That expensive truffle oil you bought for one recipe but never touched again takes up valuable real estate. Same goes for specialty flours, exotic spices, or ingredients for cuisines you don’t actually cook.
Consider donating unopened, unexpired items you know you won’t use. Your local food bank will appreciate them more than your pantry shelves will.
Step 3: Measure Your Space and Plan Zones
Measure the width, depth, and height of each shelf. Note any obstacles like light fixtures, electrical outlets, or slanted ceilings that might affect what you can store where.
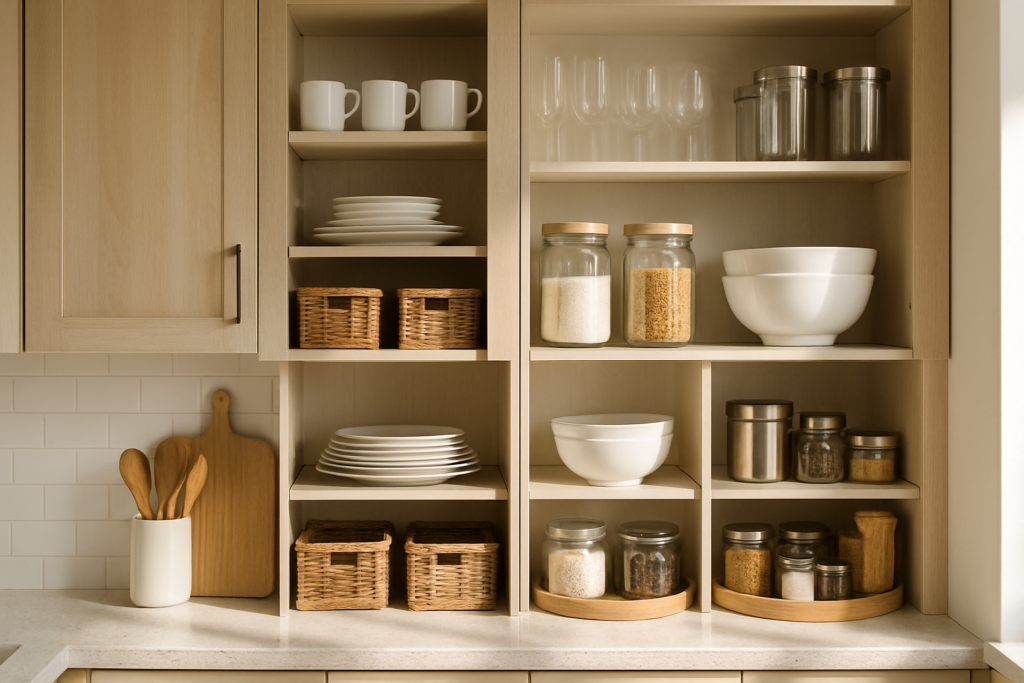
Assign zones based on how often you use different categories. Eye-level shelves should hold your most frequently used items. Reserve top shelves for items you use occasionally, and bottom shelves for heavy items like bulk grains or large containers.
Think vertically. Most pantries have wasted space between the top of your items and the shelf above. You can reclaim this space with stackable containers or shelf risers.
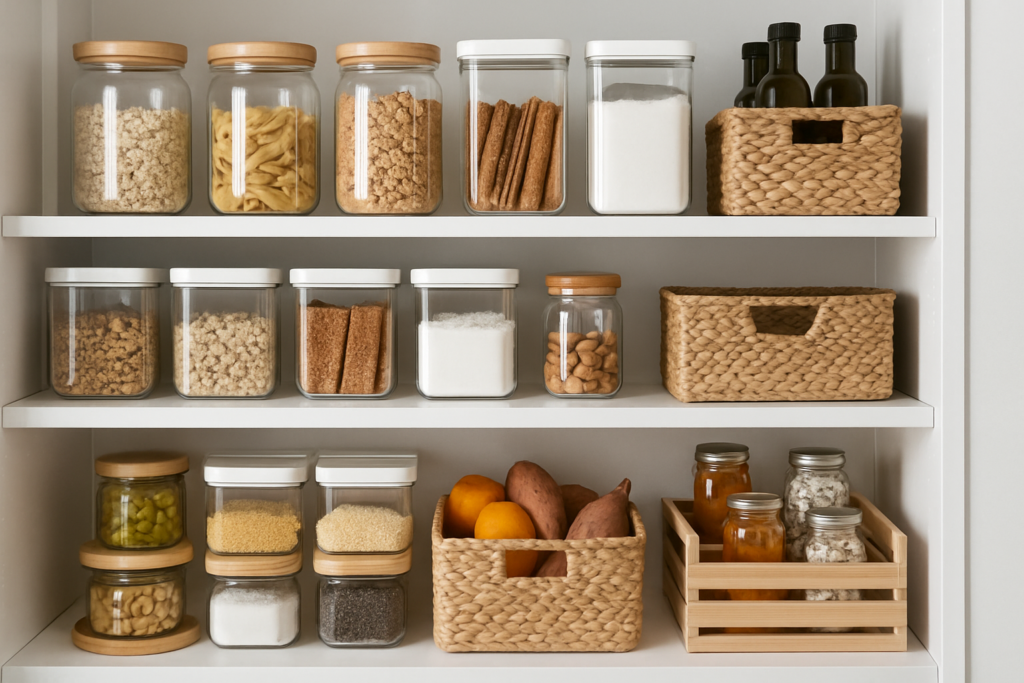
Step 4: Choose the Right Storage Containers
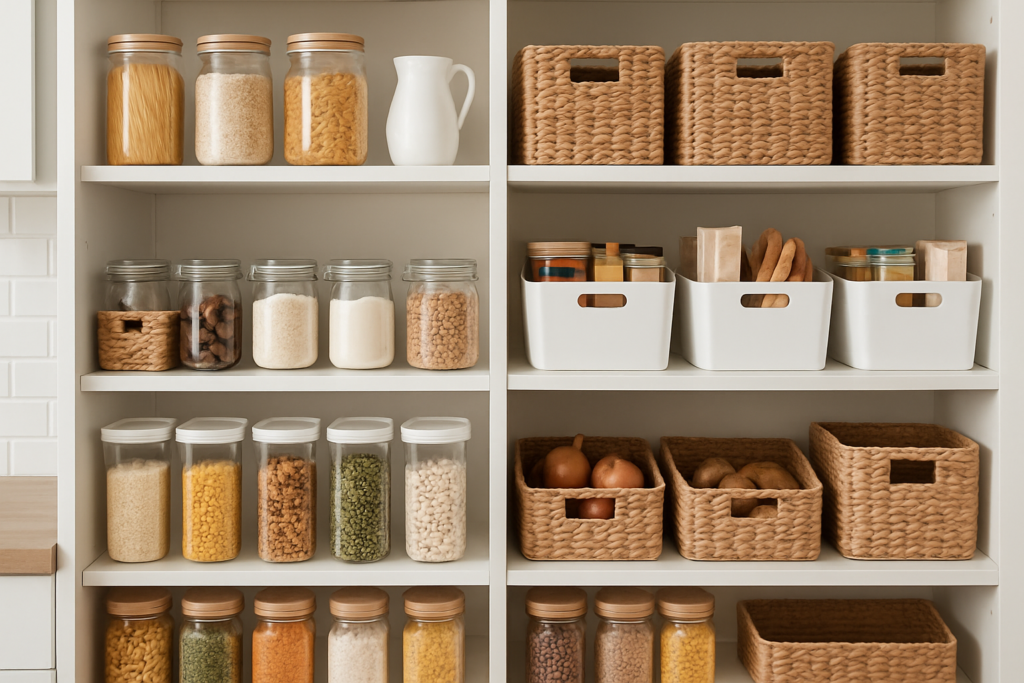
Not everything needs to go in a container, but certain items benefit from airtight storage. Cereals, crackers, flour, sugar, rice, and pasta all stay fresher longer when properly sealed.
Square and rectangular containers use space more efficiently than round ones. Look for containers that nest inside each other when empty and have measurement markings on the side.
OXO Good Grips POP Container Set
These airtight containers have a satisfying one-touch seal and stack perfectly to maximize space.
Buy a few containers to test before committing to a full set. Different brands have slightly different dimensions, and mixing sets often creates gaps and inefficient stacking.
Glass vs. Plastic Considerations
Glass containers look beautiful and don’t absorb odors, but they’re heavy and breakable. Plastic containers are lighter and safer around kids, but they can crack over time and may retain smells from strong spices.
Consider your priorities. If you’re storing on high shelves or have young children, plastic makes more sense. For countertop storage or items you access daily, glass might be worth the extra weight.
Step 5: Create a Smart Labeling System
Labels aren’t just about looking organized. They prevent you from buying duplicates, help family members find things, and make restocking much faster.
Use a label maker or printable labels for a clean, consistent look. Include both the item name and expiration date for perishables. For bulk items like flour or rice, note the quantity so you can track when you’re running low.
Brother P-touch Label Maker
This reliable label maker produces crisp, durable labels that won’t peel off over time.
Position labels where you can easily see them when containers are in place. Front corners work well for most setups, but adjust based on your specific shelf configuration.
Step 6: Maximize Vertical Storage Space
Most pantries have more vertical space than people realize. Add shelf risers to create two levels on deep shelves, especially for canned goods and jars.
Over-the-door organizers work well for spices, small condiment bottles, or snack packets. Choose one with adjustable shelves so you can customize the spacing for your specific items.
Consider adding hooks or small baskets to the inside walls for lightweight items like seasoning packets or tea bags. Every square inch counts in a small pantry.
Step 7: Implement the First In, First Out Rule
Store newer items behind older ones so you use products before they expire. This is especially important for canned goods, boxed items, and anything with a shorter shelf life.
When you bring groceries home, move older stock to the front and place new purchases in back. It takes an extra thirty seconds but prevents waste and saves money.
Use a small piece of masking tape to mark purchase dates on items without clear expiration dates. This simple system helps you rotate stock effectively.
Step 8: Group Items by Cooking Function
Store items together based on how you actually cook, not just by food type. Create a baking zone with flour, sugar, vanilla, and measuring cups nearby. Keep pasta, sauce, and parmesan together for quick weeknight dinners.
This functional grouping saves time when you’re cooking and helps you spot what you’re missing for specific recipes. You’ll quickly see if you have everything for pancakes or need to add something to your shopping list.
Simple Trending Stackable Can Rack Organizer
This expandable can dispenser keeps canned goods organized and easily accessible while following the first-in-first-out principle.
Don’t fight your natural habits. If you always grab the olive oil when you’re getting pasta, store them in the same area even if it seems illogical on paper.
Step 9: Design Easy Maintenance Systems
Your organization system only works if you can maintain it with minimal effort. Build habits that keep things tidy without requiring major overhauls every few months.
Designate one day each month for a quick pantry check. Rotate older items forward, wipe down shelves, and update your shopping list based on what’s running low.
Keep a running grocery list posted inside the pantry door. When you use the last of something or notice you’re getting low, add it immediately rather than trying to remember later.
Get Your Family On Board
Everyone who uses the pantry needs to understand the system. Show family members where things belong and explain why the organization matters.
Make it easy for others to maintain your system by keeping it simple. Complex category rules or hard-to-open containers will be ignored when people are in a hurry.
Step 10: Monitor and Adjust Your System
Give your new system at least a month before making major changes. You need time to see how it works with your actual cooking and shopping patterns.
Pay attention to which items consistently end up in the wrong place. This might indicate your categories don’t match how you think about these foods, or the designated storage spot isn’t convenient.
Adjust shelf heights if needed. Many pantry shelves are adjustable, and small changes can make a big difference in how well your containers fit and how easily you can access items.
mDesign Metal Wire Food Storage Organizer Bins
These ventilated bins are perfect for potatoes, onions, and other produce that needs air circulation.
Don’t be afraid to evolve your system. Your pantry organization should grow and change with your cooking habits, family size, and lifestyle changes.
Common Mistakes to Avoid
Buying containers before you know what you need is expensive and often wasteful. Measure your space and plan your categories first, then shop for storage solutions.
Over-containerizing creates more work than necessary. Items that are already well-packaged like unopened crackers or boxed pasta don’t need additional containers unless you have specific freshness or pest concerns.
Ignoring your actual cooking habits leads to pretty but impractical organization. Design your system around how you really use your kitchen, not how you think you should use it.
Frequently Asked Questions
How long does it take to organize a pantry completely?
Plan on spending 3-4 hours for the initial organization, plus time to shop for any containers or organizing tools you need. The emptying and sorting phases take the longest, while putting everything back goes relatively quickly once you have a plan.
What should I do with opened packages of food?
Transfer opened cereals, crackers, and snacks to airtight containers to maintain freshness. For items you use quickly like bread or chips, you can use clips to reseal the original packaging. The key is preventing air exposure and keeping pests out.
How often should I reorganize my pantry?
Do a quick maintenance session monthly to rotate items and clean shelves, but you shouldn’t need to completely reorganize more than once or twice a year. If you find yourself doing major overhauls frequently, your system might be too complicated or not suited to your habits.
Should I store everything in clear containers?
Clear containers work well for frequently used items like flour, sugar, cereal, and pasta because you can quickly see quantities and freshness. However, items you use infrequently or that come in good packaging don’t necessarily need new containers. Focus your container budget on items that will benefit most from airtight storage.
This article contains affiliate links. We may earn a small commission at no extra cost to you.