Your beautiful hardwood floors are an investment worth protecting, but regular maintenance isn’t always enough. Over time, even well-maintained floors accumulate layers of buildup, dulled finish, and ground-in dirt that weekly mopping simply can’t tackle. When your floors start looking lackluster despite your best efforts, it’s time for a deep clean.
The challenge lies in cleaning thoroughly without damaging the protective finish that keeps your wood looking gorgeous. Too much moisture can cause warping, cupping, or gaps between planks. Harsh cleaners can strip the finish or leave unsightly residue. Many homeowners either avoid deep cleaning altogether or accidentally damage their floors in the process.
With the right approach, tools, and products, you can restore your hardwood floors to their original beauty while preserving the finish for years to come. Here’s exactly how to do it safely and effectively.
Understanding Your Hardwood Floor Finish
Before you begin cleaning, you need to identify what type of finish protects your floors. Most modern hardwood floors have either polyurethane, wax, or oil-based finishes, and each requires slightly different care.
Polyurethane finishes are the most common in homes built after 1970. They create a clear, protective barrier over the wood and can handle pH-neutral cleaners well. You can test for polyurethane by placing a small drop of water in an inconspicuous area. If the water beads up, you likely have a polyurethane finish.
Waxed floors, more common in older homes, have a softer, more natural appearance. Water will absorb into waxed floors rather than beading up. These floors require special wax-safe cleaners and should never be cleaned with water-based solutions.
Oil-finished floors have become increasingly popular for their natural look. They penetrate into the wood rather than sitting on top like polyurethane. These floors need oil-based maintenance products and gentle cleaning methods.
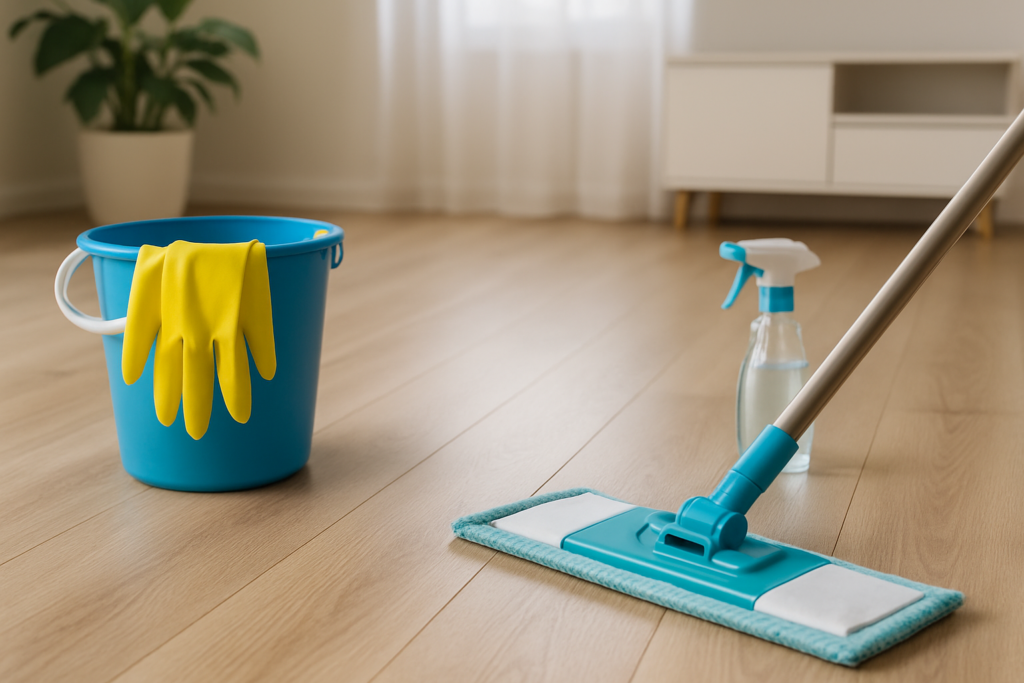
Essential Tools and Supplies
Having the right equipment makes the difference between a successful deep clean and potential damage. Here’s what you’ll need for the job.
Cleaning Tools
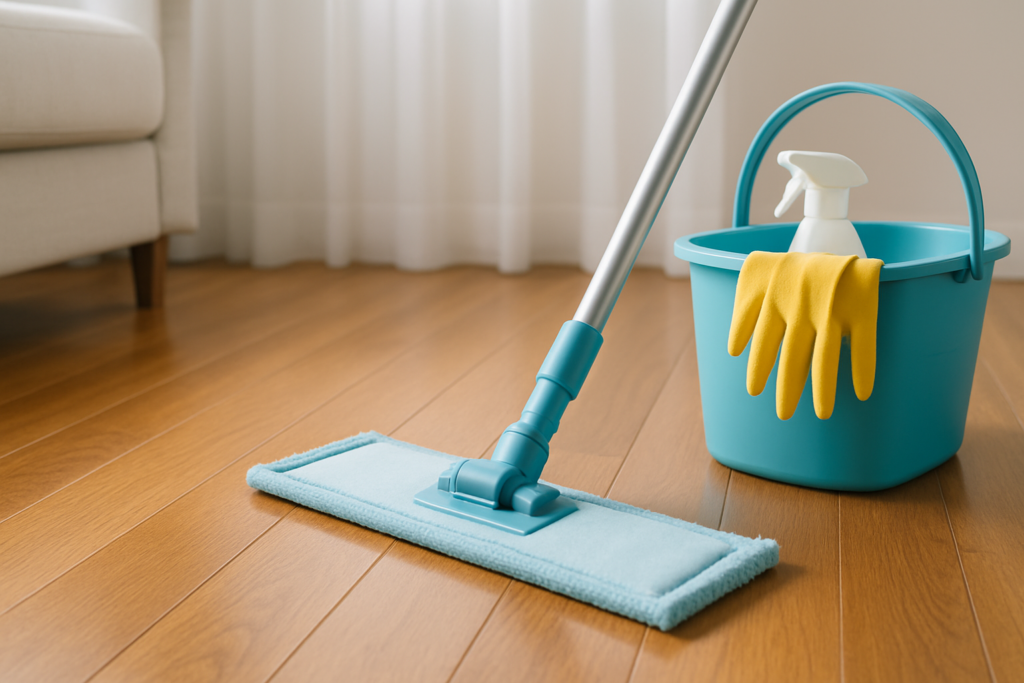
A high-quality microfiber mop is your most important tool. Unlike string mops that can oversaturate the floor, microfiber mops control moisture while effectively capturing dirt and grime. Look for one with a flat, rectangular head that can reach into corners and under furniture.
O-Cedar ProMist MAX Microfiber Spray Mop
This spray mop gives you precise control over moisture levels while the microfiber pad captures dirt effectively.
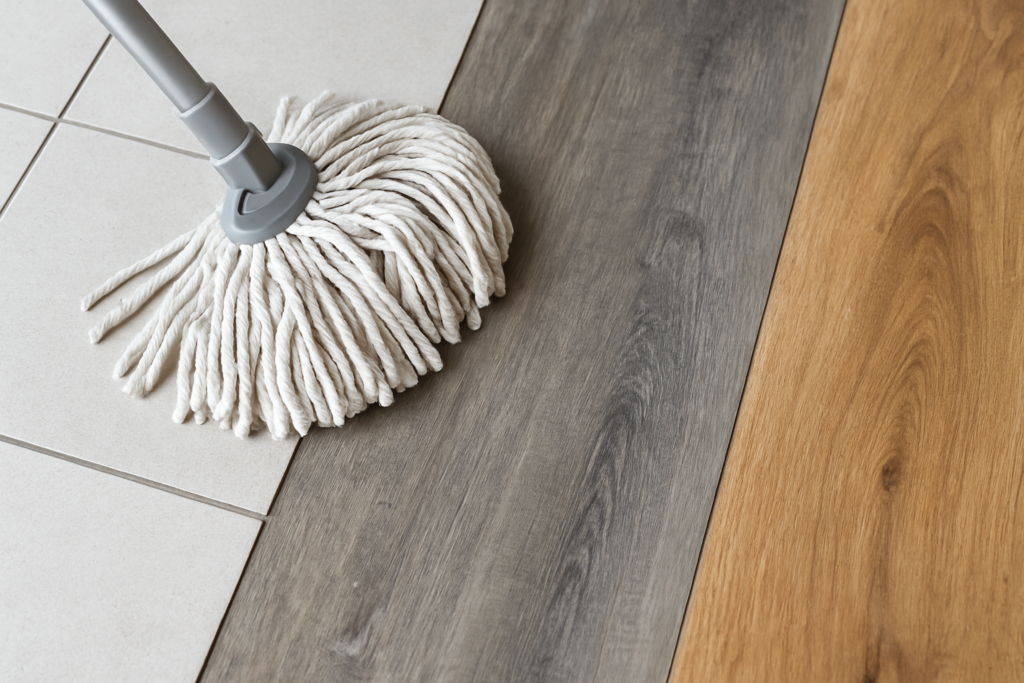
You’ll also need a good vacuum cleaner with a hard floor attachment or a broom with fine bristles. Avoid vacuums with beater bars that can scratch the finish. For detail work, keep a few microfiber cloths on hand for spot cleaning and drying.
A bucket with a wringer is essential if you’re using a traditional mop, but spray mops eliminate this need entirely. Whatever you choose, make sure you can control the amount of moisture you’re applying to the floor.
Cleaning Solutions
The key to safe hardwood floor cleaning is using pH-neutral cleaners specifically designed for wood floors. These cleaners remove dirt and grime without damaging the protective finish or leaving residue.
Avoid vinegar, ammonia, or dish soap, despite what you might read online. Vinegar’s acidity can dull polyurethane finishes over time, while dish soap leaves a film that attracts more dirt. Ammonia is too harsh and can damage most wood finishes.
Bona Hardwood Floor Cleaner
This pH-neutral formula is specifically designed for polyurethane-finished floors and won’t leave residue.
For polyurethane floors, commercial hardwood floor cleaners work best. For waxed floors, you’ll need cleaners specifically labeled as wax-safe. Oil-finished floors typically require specialized oil-based cleaners from the floor manufacturer.
Pre-Cleaning Preparation
Proper preparation sets the stage for effective deep cleaning and prevents damage to your floors and furniture.
Start by removing all furniture and rugs from the area you’re cleaning. Don’t try to clean around furniture as you’ll miss dirt and create uneven cleaning patterns. For heavy pieces you can’t move, place furniture pads or plastic sheeting underneath to protect both the furniture and your newly cleaned floors.
Sweep or vacuum thoroughly to remove all loose dirt, dust, and debris. Pay special attention to corners, baseboards, and areas under furniture where dirt accumulates. Any grit left on the floor can scratch the finish when you begin mopping.
Check for any sticky spots, scuff marks, or stubborn stains that might need pre-treatment. Mark these areas mentally or with removable tape so you can give them extra attention during the cleaning process.
Step-by-Step Deep Cleaning Process
Follow this systematic approach to ensure thorough cleaning without damage to your floors.
Step 1: Initial Cleaning Pass
Begin with a lightly dampened microfiber mop using your chosen hardwood floor cleaner. The mop should be damp, not wet. Excess moisture is hardwood flooring’s biggest enemy, so wring out your mop thoroughly or use a spray mop for better moisture control.
Work in sections of about 4×4 feet, cleaning with the grain of the wood whenever possible. Start at the farthest corner from your exit point and work toward the door so you don’t walk on freshly cleaned areas.
Use overlapping strokes to ensure even coverage, but don’t oversaturate any area. If you notice excess moisture pooling on the surface, immediately wipe it up with a dry microfiber cloth.
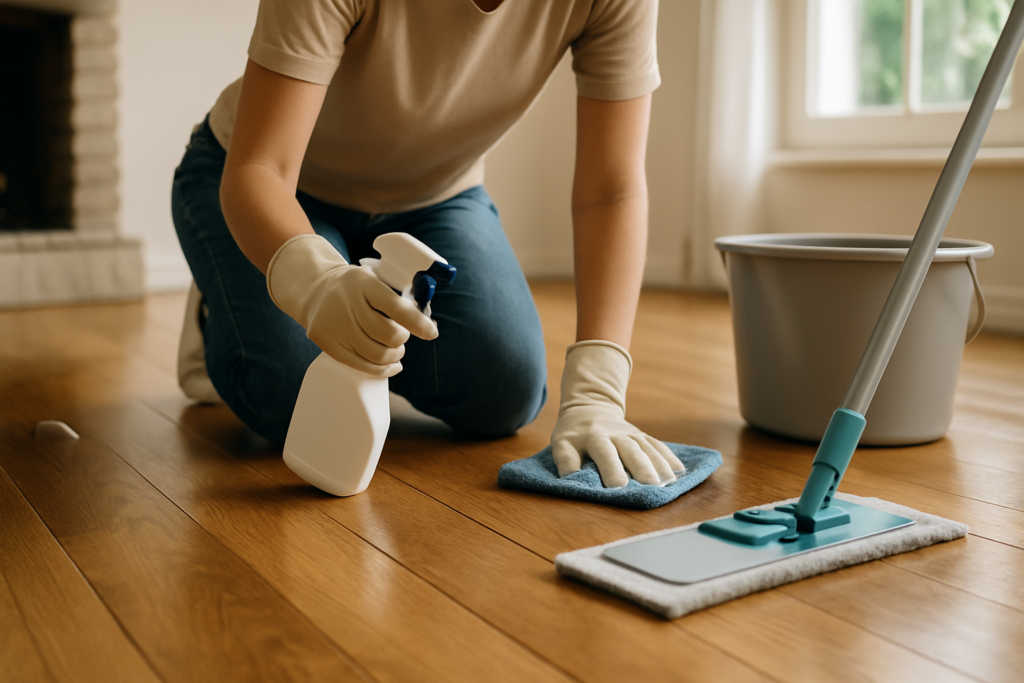
Step 2: Address Problem Areas
Return to any areas you marked during preparation that need extra attention. For scuff marks, try gently rubbing with a tennis ball or pencil eraser. These methods often remove marks without chemicals.
For sticky residue or stubborn dirt, apply a small amount of hardwood floor cleaner to a microfiber cloth and gently rub the area. Avoid scrubbing harshly, which can damage the finish. Instead, let the cleaner do the work by allowing it to sit for 30 seconds before wiping.
Dried-on spills might require multiple gentle passes with your cleaner. Be patient rather than aggressive. If something won’t come off with multiple attempts, you may need to consult a flooring professional rather than risk damage.
Step 3: Final Cleaning Pass
Once you’ve addressed problem areas, do a final pass over the entire floor with a clean, slightly damp mop. This removes any residue from the initial cleaning and ensures an even finish.
Follow immediately with a dry microfiber mop or cloth to remove any remaining moisture. This step is critical for preventing water damage and ensuring your floors dry quickly and evenly.
Check your work as you go. The floor should look clean and uniform without streaks, spots, or residue. If you notice any problems, address them immediately while the floor is still slightly damp.
Dealing with Specific Challenges
Different types of buildup require specific approaches for safe removal.
Removing Wax Buildup
If your floors have been treated with paste wax or wax-based cleaners over the years, you might notice a yellowed or cloudy appearance. This buildup requires special wax strippers designed for hardwood floors.
Apply the stripper according to manufacturer directions, working in small sections. Use a plastic scraper or credit card to gently remove softened wax, then clean with a wax-safe floor cleaner.
Addressing Water Stains
White or cloudy spots usually indicate moisture has penetrated the finish slightly. Try rubbing gently with a cloth dampened with mineral spirits. For persistent spots, a mixture of equal parts white toothpaste and baking soda applied with a soft cloth can help.
Black stains typically mean water has reached the wood itself and may require professional refinishing. Don’t attempt to sand or scrub these aggressively as you’ll likely make them worse.
Pet-Related Issues
Pet urine requires immediate attention as it can permanently stain wood and damage finishes. Clean fresh accidents immediately with an enzyme-based cleaner designed for hardwood floors. These break down odor-causing compounds without damaging the finish.
Anti Icky Poo Odor Remover
This enzyme cleaner effectively eliminates pet odors without damaging hardwood finishes.
For older stains or lingering odors, you may need multiple treatments or professional help. Don’t use steam cleaners or excessive moisture, which can make the problem worse by driving odors deeper into the wood.
Post-Cleaning Care and Maintenance
After deep cleaning, your floors need time to fully dry and cure. Avoid walking on them for at least 30 minutes, and don’t replace furniture or rugs for at least two hours.
Once dry, inspect your work in different lighting conditions. Natural daylight often reveals streaks or spots you might miss under artificial light. Address any issues immediately with spot cleaning.
Consider applying a hardwood floor polish or refresher product if your floors still look dull after cleaning. These products can restore shine and provide additional protection, but make sure they’re compatible with your floor’s finish.
To maintain your newly cleaned floors, return to regular weekly cleaning with appropriate products. Place mats at entrances to reduce dirt and moisture, and clean spills immediately to prevent staining or damage.
When to Call Professionals
Some situations require professional intervention rather than DIY deep cleaning.
If your floors have deep scratches, gouges, or extensive staining, a flooring contractor can assess whether refinishing is necessary. Attempting to fix serious damage yourself often makes it worse and more expensive to repair properly.
Floors that haven’t been deep cleaned in many years might have multiple layers of buildup that require commercial-grade equipment and products. Professional cleaning services have access to tools and techniques not available to homeowners.
When you’re unsure about your floor’s finish type or appropriate cleaning methods, consulting a professional can save you from costly mistakes. Many flooring companies offer consultations that can guide your DIY efforts or recommend professional services when needed.
Common Mistakes to Avoid
Learning from others’ mistakes can save you time, money, and frustration.
Never use excessive water or allow moisture to pool on hardwood floors. Even sealed floors can suffer damage if water seeps into gaps or stays on the surface too long.
Avoid using steam mops, despite marketing claims about safety for hardwood. The heat and moisture combination can damage finishes and cause wood movement that leads to gaps or cupping.
Don’t mix different cleaning products, even if they’re both designed for hardwood floors. Chemical reactions can damage finishes or leave residues that attract dirt.
Resist the urge to clean more frequently than necessary. Over-cleaning can wear down protective finishes faster than normal wear and tear.
Frequently Asked Questions
How often should I deep clean my hardwood floors?
Deep cleaning frequency depends on foot traffic, pets, and environmental factors, but most homes benefit from deep cleaning every 3-6 months. High-traffic areas or homes with pets might need attention every 2-3 months, while low-traffic areas might only need deep cleaning twice a year. Regular weekly maintenance cleaning reduces the need for frequent deep cleaning.
Can I use homemade cleaning solutions on hardwood floors?
While some homemade solutions won’t immediately damage your floors, commercial products designed specifically for hardwood are safer and more effective. Vinegar, a popular DIY cleaner, can gradually dull polyurethane finishes. Stick to pH-neutral commercial cleaners to protect your investment and maintain your warranty.
What should I do if my floors look cloudy after cleaning?
Cloudiness usually indicates residue from cleaning products or hard water minerals. Try cleaning again with distilled water and a minimal amount of cleaner, followed by thorough drying with a clean microfiber cloth. If cloudiness persists, you may need a specialized residue remover or professional assessment.
Is it normal for hardwood floors to show water spots after cleaning?
Water spots shouldn’t appear on properly finished floors after normal cleaning. If you’re seeing spots, you might be using too much moisture, have hard water, or your finish may be wearing thin. Try using distilled water and less cleaning solution. Persistent spots may indicate the need for finish maintenance or refinishing.
This article contains affiliate links. We may earn a small commission at no extra cost to you.